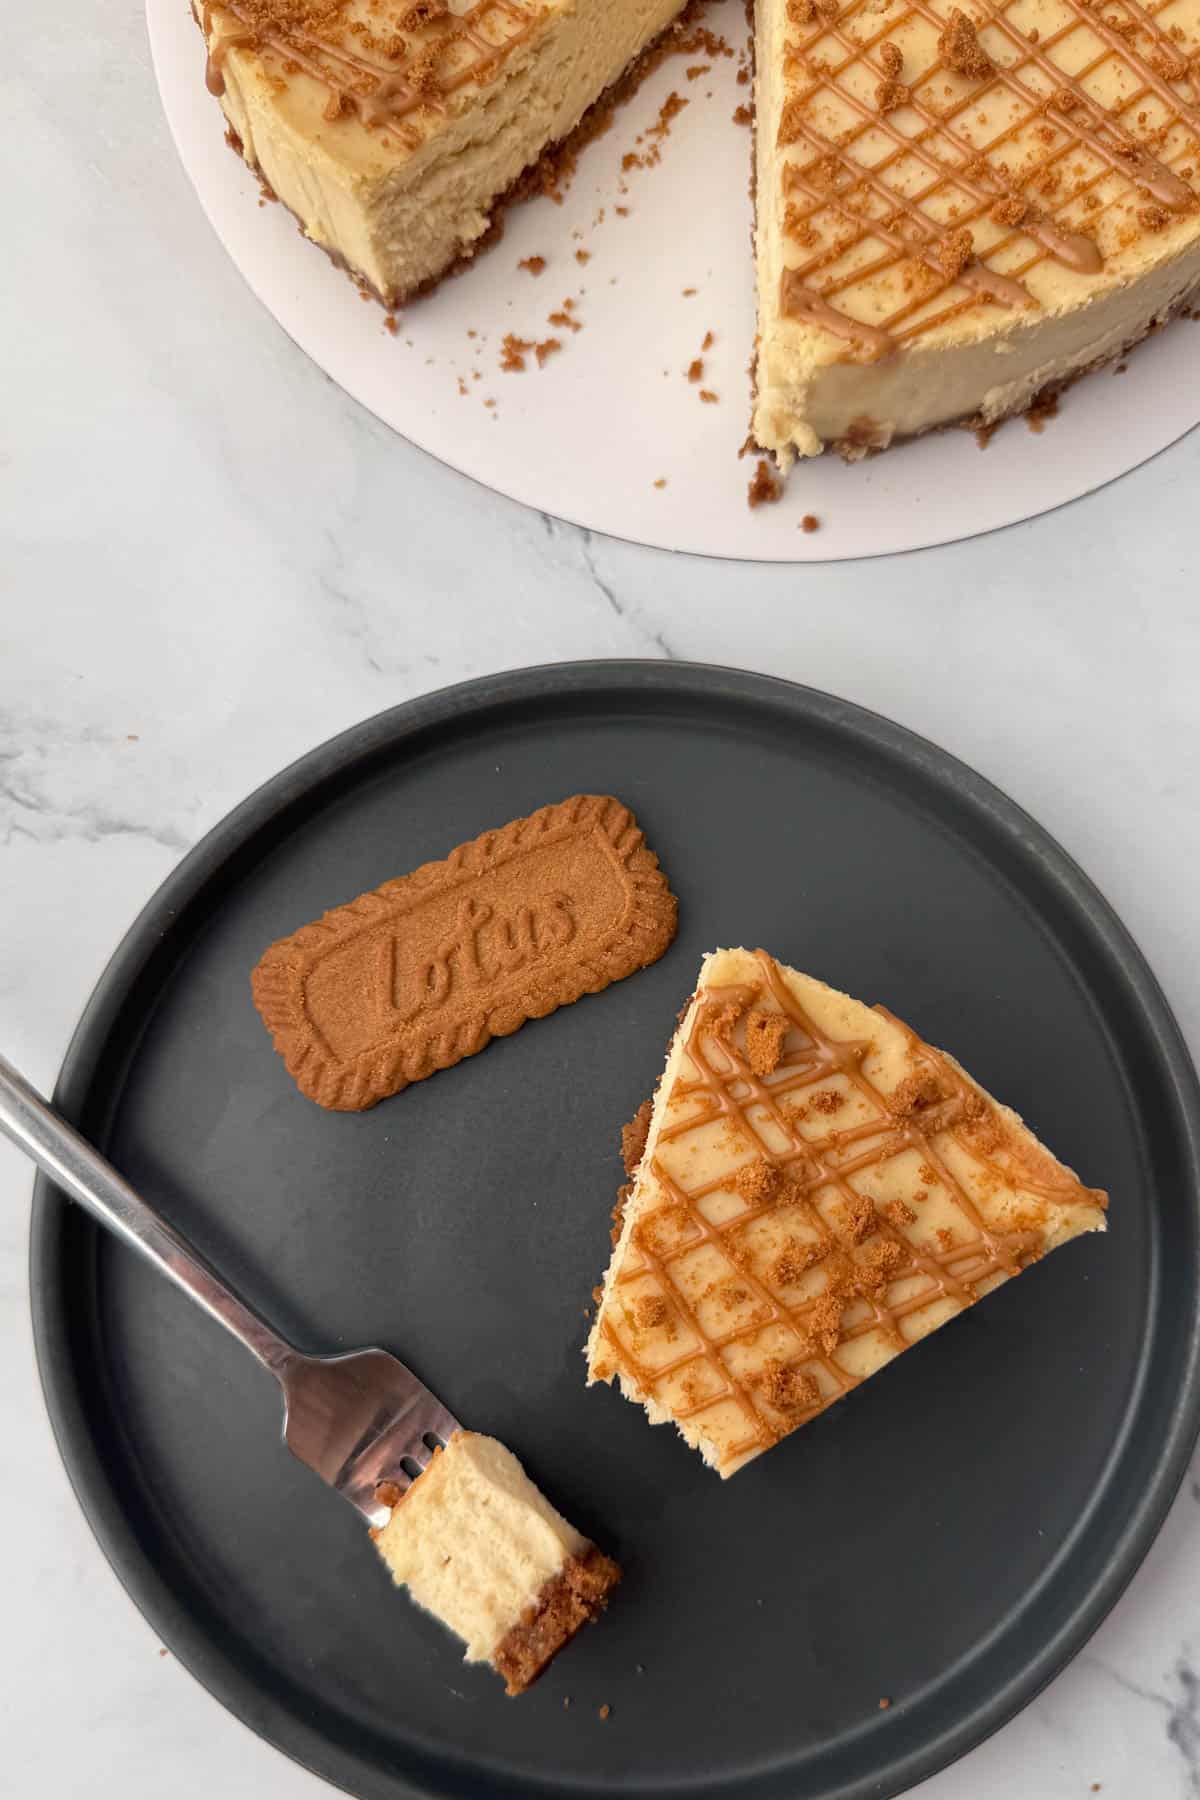
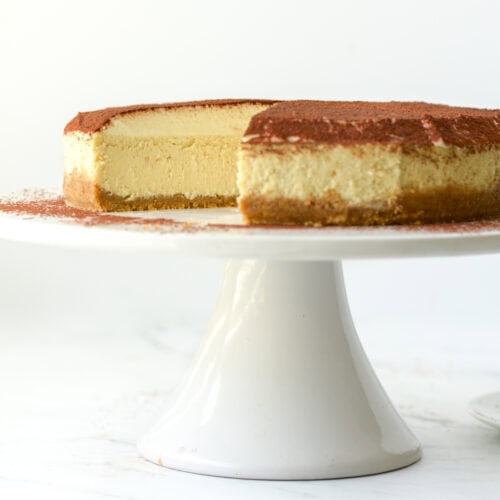
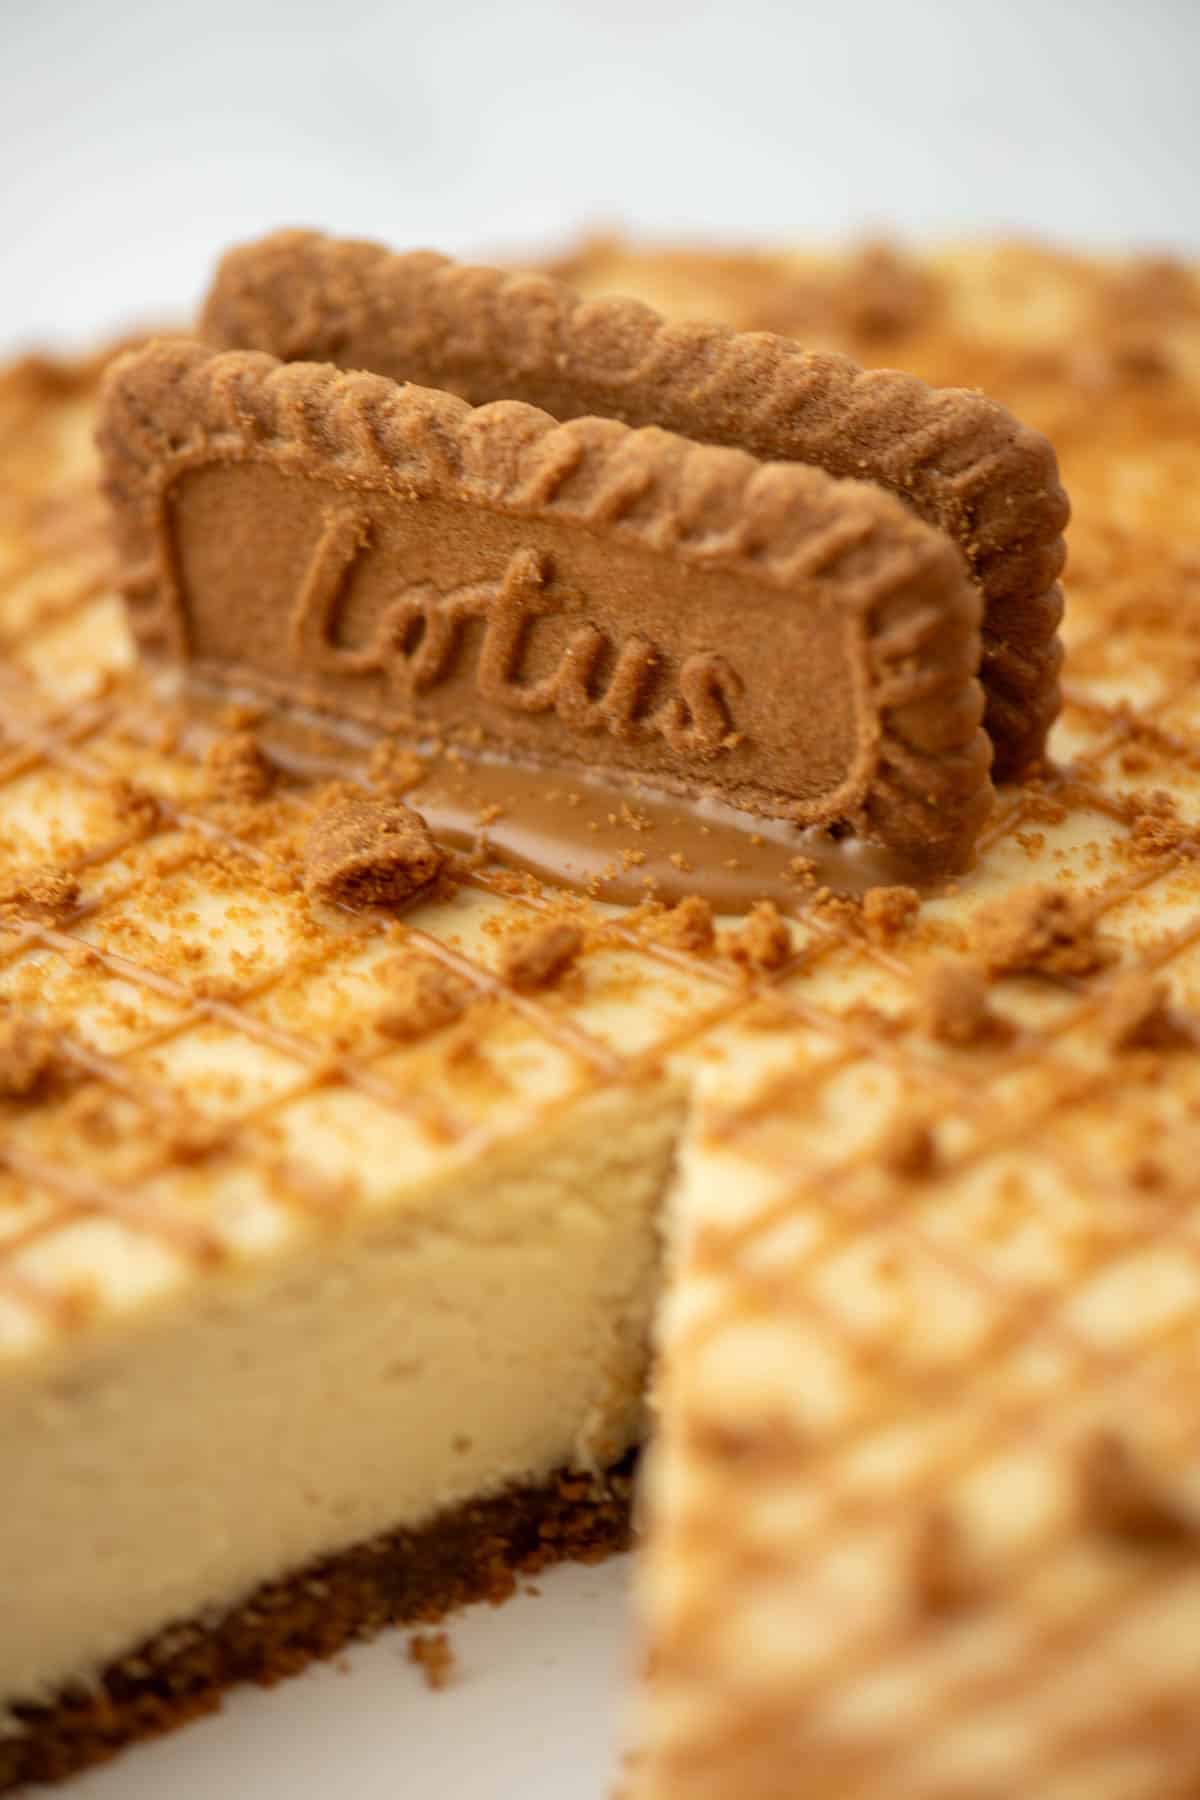
Biscoff Cookie Butter Cheesecake combines the warm cinnamon and caramelized sugar flavors of speculoos cookie butter and Biscoff cookies with the creaminess of a cheesecake. It's the perfect blend of richness and warm spices on a crisp crust made with Biscoff cookies.
My first experience with speculoos cookies was love at first bite. When we lived in Europe, they would often serve a little treat on the side of your coffee orders. A lot of times, it was a little biscotti or a speculoos cookie. Perfect for dunking if you're the dunking type! I'm not, but I still loved the little treat. This Biscoff Cookie Butter Cheesecake, it perfectly blends that familiar crunchy Biscoff cookie with a creamy cookie butter cheesecake filling. Crunchy and creamy. Warm and sweet. Old memories and new memories. All the best combinations.
Jump to:
Ingredients
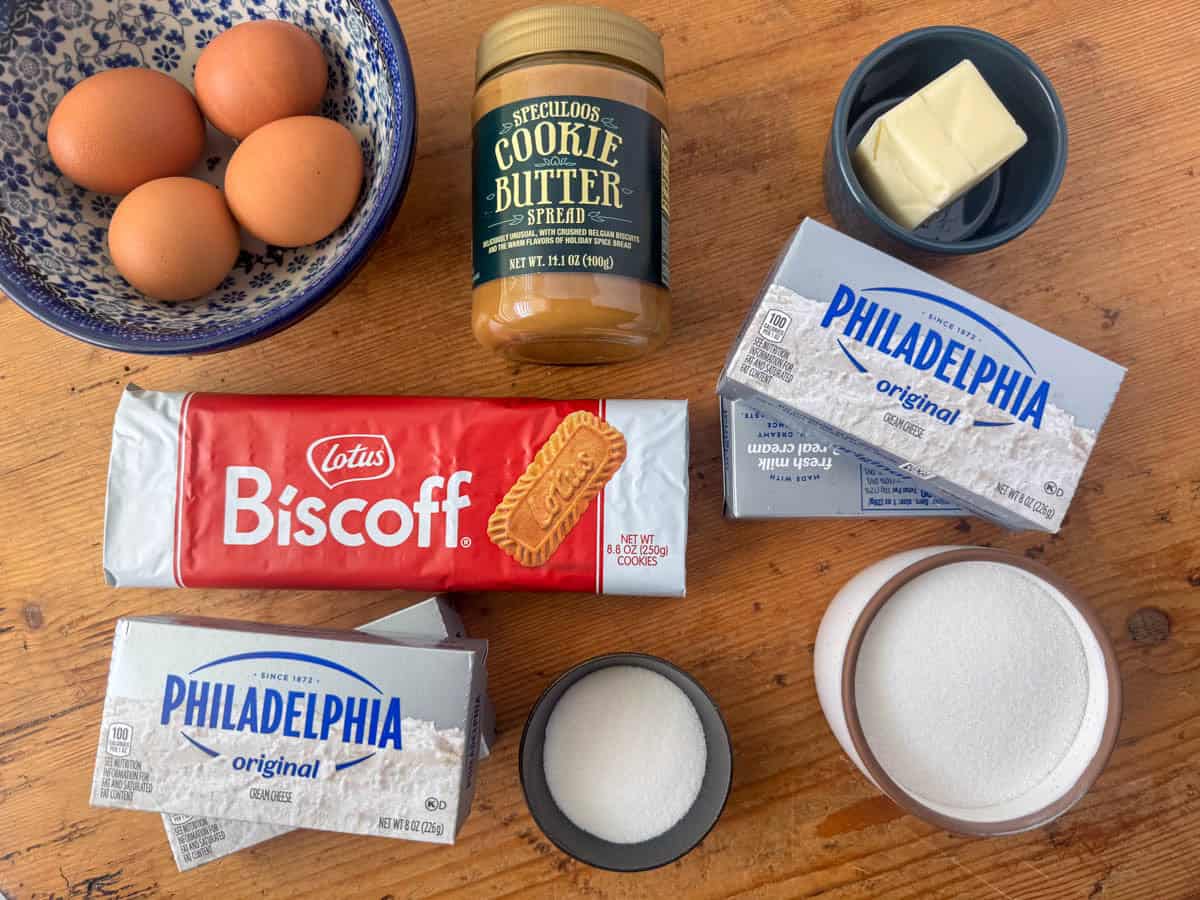
- Biscoff cookies
- Cookie butter
- Cream cheese
- White sugar
- Eggs
- Salted butter
See recipe card for quantities.
HOW TO BAKE A CHEESECAKE WITHOUT CRACKS
Okay, let's get to one of the biggest issues with cheesecakes: unsightly cracks. Cracks don't make the cheesecake taste any differently and, of course, they could be covered up. But, there are two main things to know to avoid cracks: baking temperature and water baths.
BAKE AT A LOWER TEMPERATURE
For temperature, cheesecakes turn out best when baked at a lower temperature. For that reason, I bake almost all of my cheesecakes, including this one, at 325 degrees.
USE THE MOAT METHOD FOR THE WATER BATH
The most basic way to do a water bath is to wrap the springform pan with aluminum foil and place it in a roasting pan with water and then hope it doesn't leak. But, have you ever wrapped it super carefully with the extra wide aluminum foil only to discover that it still leaked? Yes, me too. Instead, I use the moat method. To use the moat method, place your 8 or 9 inch springform pan inside a 10 inch cake pan. Then place the 10 inch cake pan into a larger roasting pan with water. With this moat method, there is no possible way that water gets in to your springform pan. I've never had a cheesecake crack when I've combining lower baking temperature with the moat method.
STEAM BATHS
Ok, say you don't have a roasting pan big enough to fit your springform pan and cake pan. You can do the steam bath method, which usually works. I say usually because it's not quite as foolproof as the moat method. But, you can fill a 9x13 pan with one inch of water and place it on the oven rack directly beneath the springform pan. (If you have a cake pan, you can still put the springform pan in a cake pan according to the above moat method.) The water in the pan creates steam and a humid environment in the oven which helps to prevent cracks.
Instructions for Moat Method
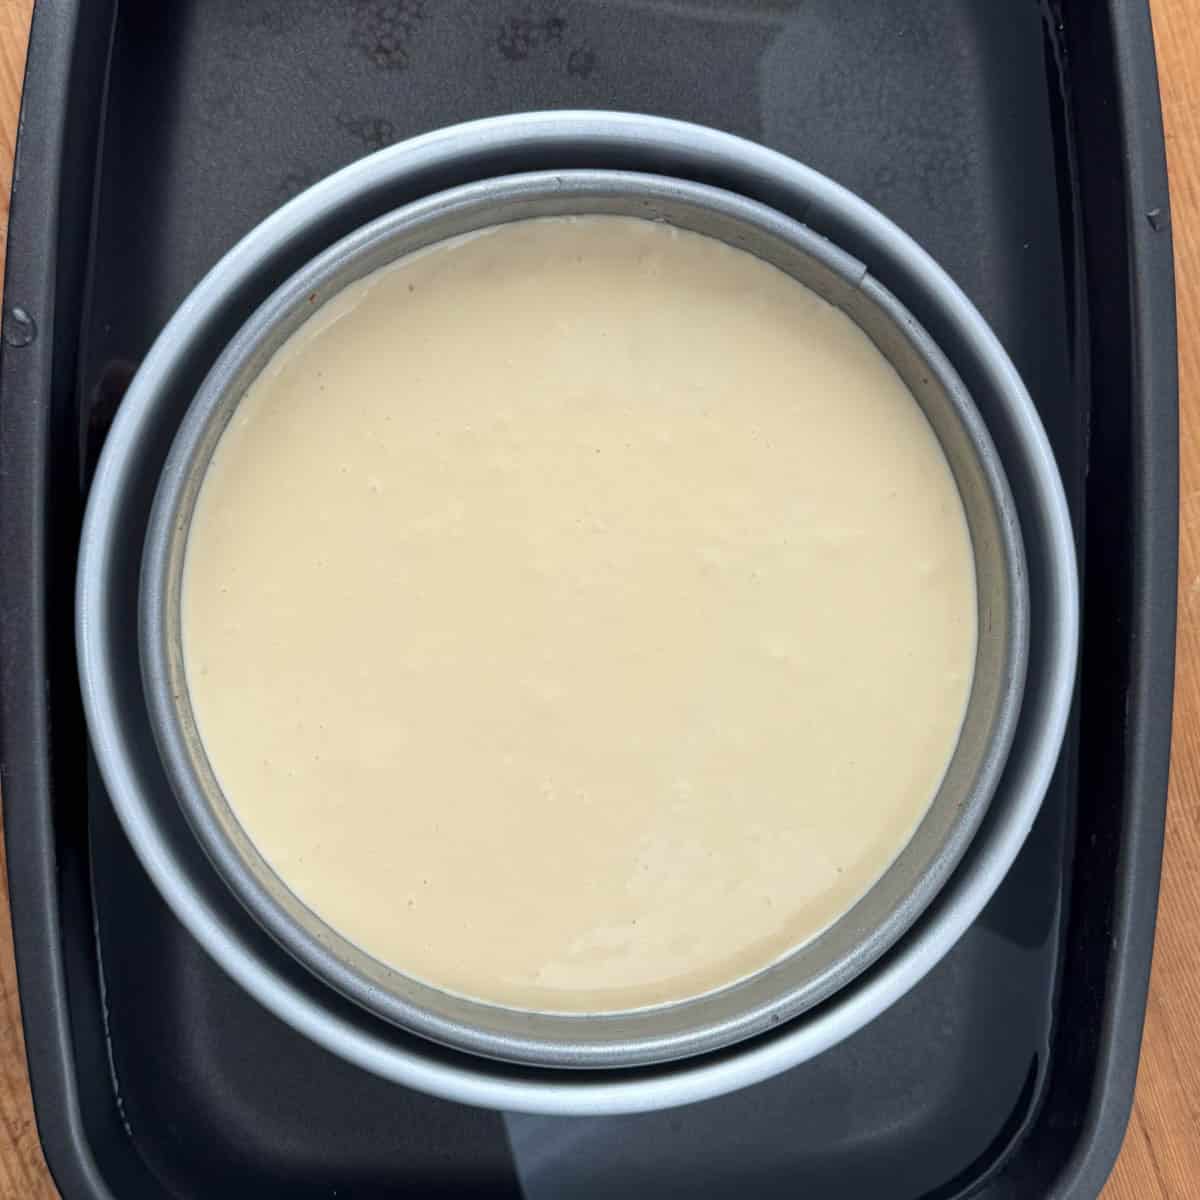
Step 1: Fill the roasting pan with one inch of water. Place the springform pan inside of a cake pan and then place the cake pan in the roasting pan.
Variations
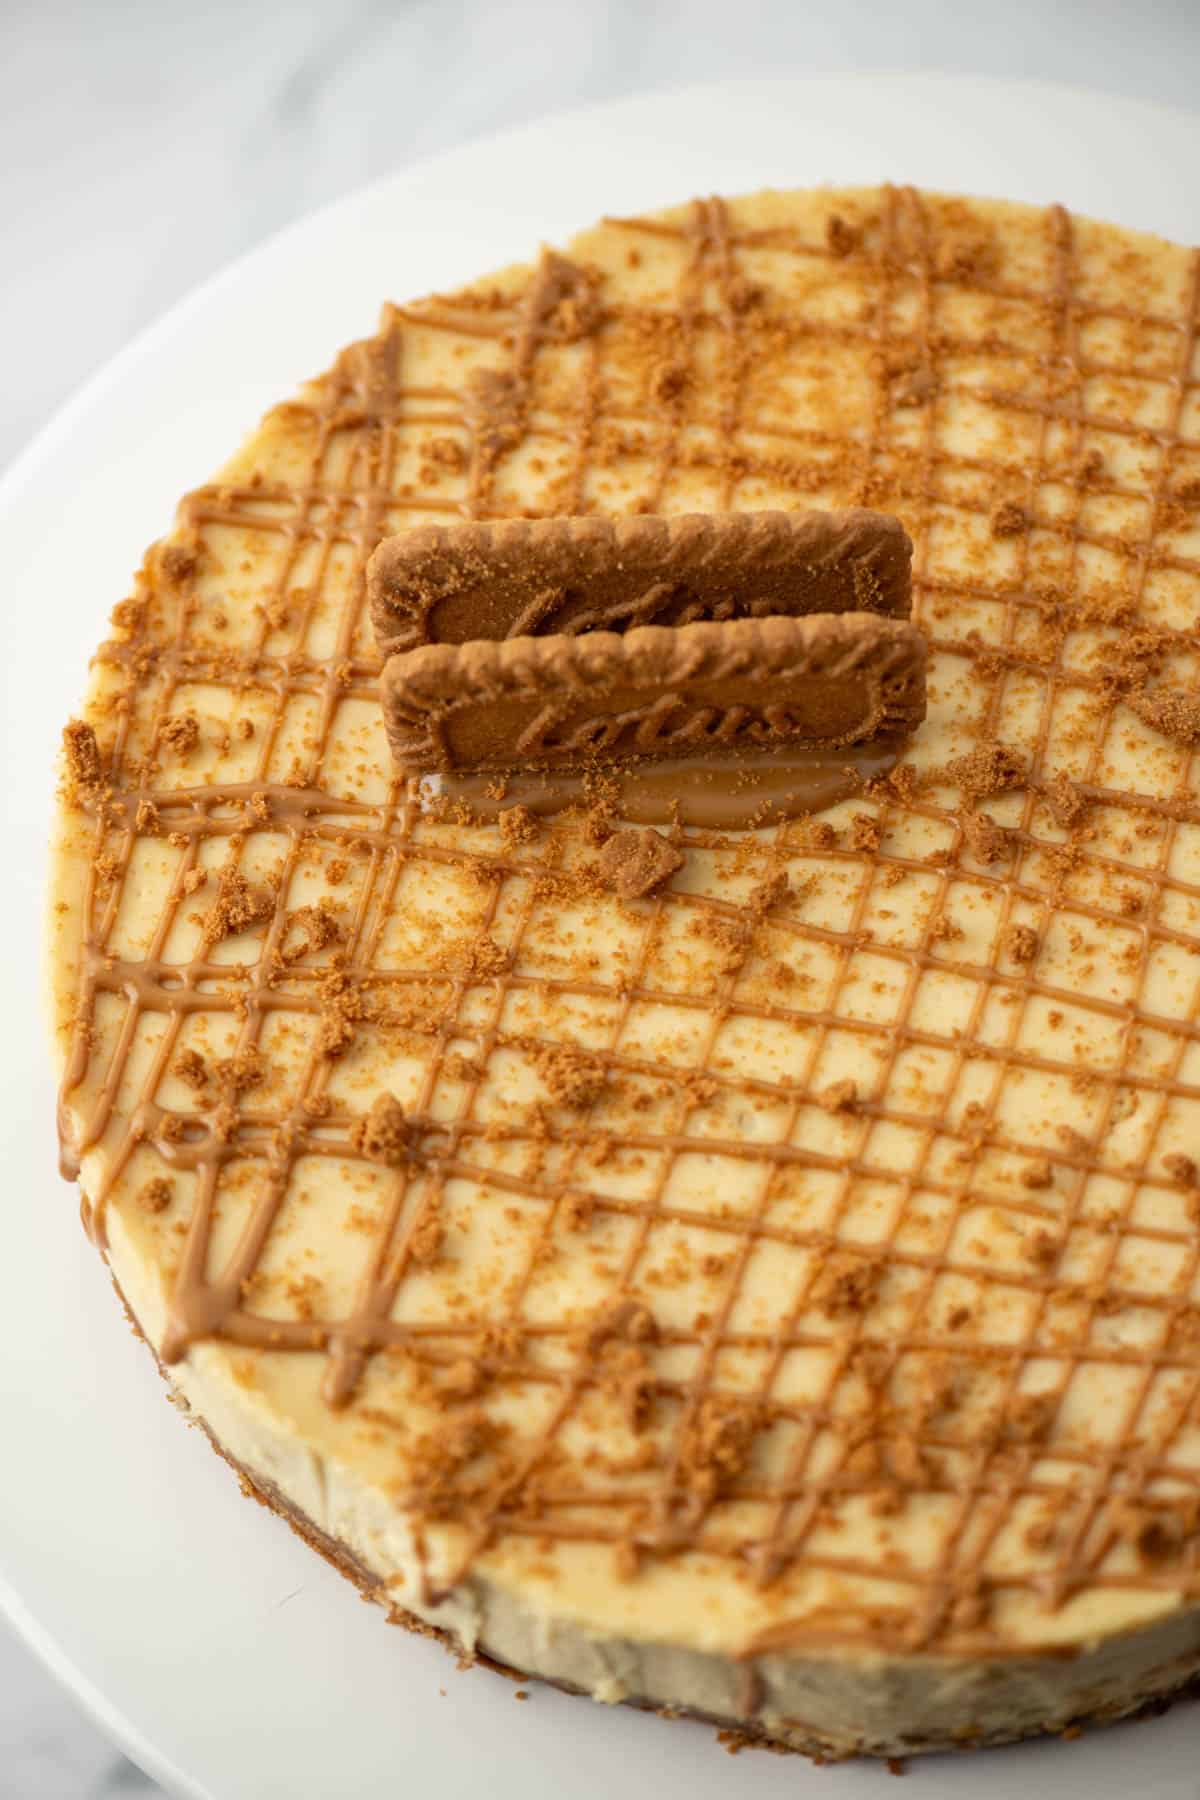
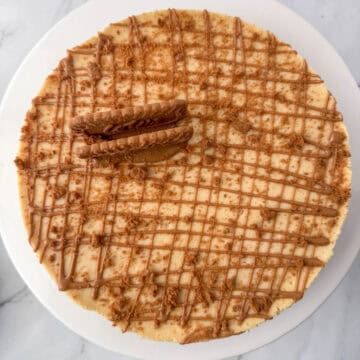
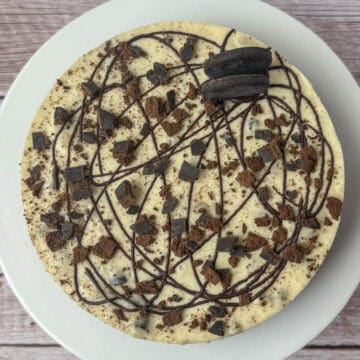
- Decorations - there are many, many ways to decorate a cheesecake. I love drizzle, and cookie butter works like a charm for drizzling. All you have to do is slightly heat it in the microwave, and it's super easy to drizzle with a spoon, piping bag, or decorator bottle. You can do straight lines of drizzle back and forth across the top. Or use a more random design like I did for my Thin Mints Cheesecake. You can add a whipped cream topping. Extra full cookies on top. No cookies on top. So many options!
Equipment
To make the best cheesecakes, a stand up mixer or hand mixer is needed. Also, a springform pan is needed to take the cheesecake out of the pan. A roasting pan is also helpful. However, if you don't have a roasting pan big enough for the moat method, you can fill a 9x13 pan with an inch or two of water to create a steam bath instead.

Storage
Store in an airtight container in the refrigerator for up to 5 to 7 days.
Next Level Tips
- Always use room temperature cream cheese and room temperature eggs for cheesecakes.
- The very best way to avoid cheesecake cracks is to bake at a lower temperature and use the moat method, as described above and in the FAQ section. In short, this is where you place your springform pan inside of a cake pan and then put the cake pan in a roasting pan with water. This avoids leaky aluminum foil yet still doesn't allow direct heat on the springform pan.
- Allow the cheesecake to cool in the oven without touching it for two hours. Then move the springform pan to a cooling rack and allow the cheesecake to come to room temperature before placing it in the refrigerator.
- Cheesecake needs time to set in the refrigerator after baking. Refrigerate for at least 6-8 hours; however, overnight is best.
- I love to use offset or artsy designs on the tops of cheesecakes. If you like a dead-center kind of centerpiece or a ring of whipping cream swirls around the edges, go for it. I've done lots and lots of those. Currently, I go for more of an artsy look. The best part about art is that it's meant to be imperfect. Have fun and don't worry about any mess ups!
- Love cookie butter? Also try my cookie butter cinnamon rolls!
FAQ
Yes! However, you can carefully speed up this process if you forgot to set out the cream cheese and eggs. Most microwaves now have a soften option. You can carefully soften the cream cheese in the microwave to room temperature but not melted. For the eggs, you can place them from the refrigerator into a bowl of warm (not hot) water to quicken up the process for the eggs. However, I do recommend letting the cream cheese and eggs come to room temperature naturally on the counter. Unless you're in a pinch, of course. We've all been there!
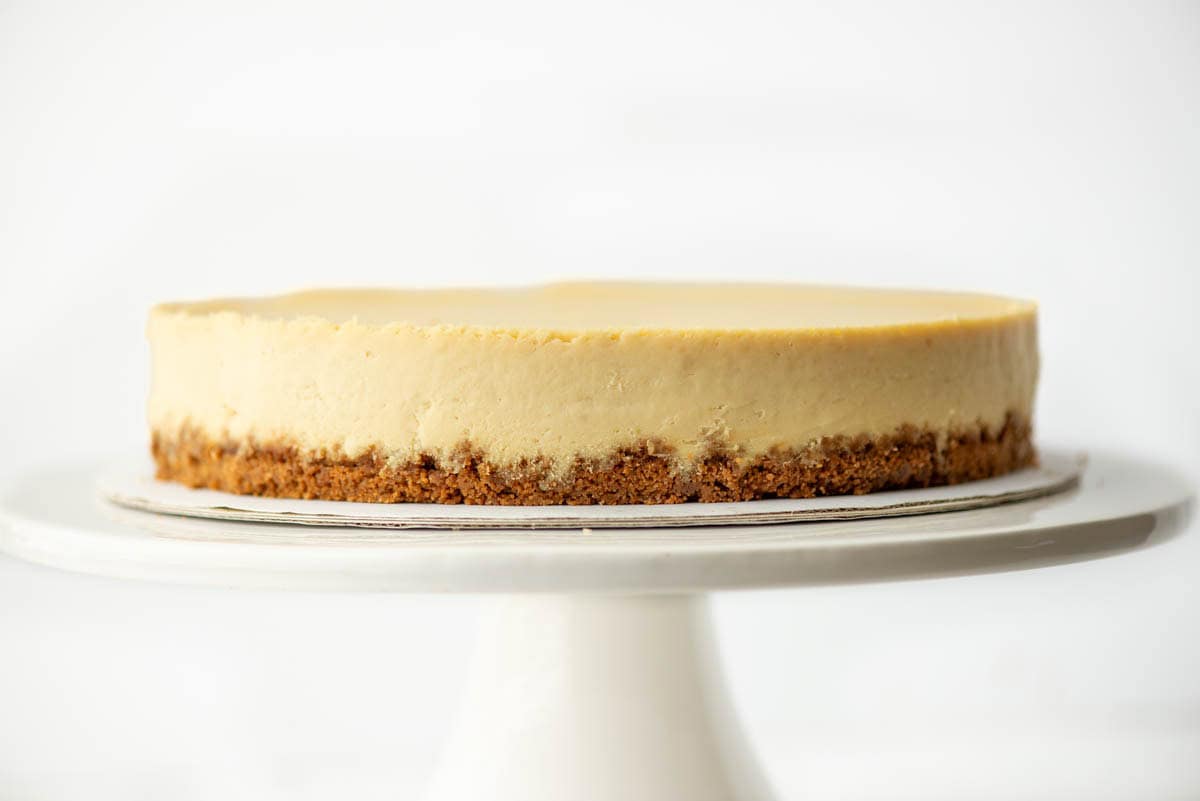
The reason we pack the crust tightly, but not too tightly, into the springform pan is so that we can easily remove the bottom of the springform pan without the crust crumbling. After the rim of the springform pan is off, take a cake lifter (or metal pizza peel or a very large spatula) and gently slide it in between cheesecake crust and bottom of springform pan. Don't lift the cheesecake up in the air. Instead, use the cake lifter to slide the cheesecake sideways off of the springform bottom onto a serving plate or a round cardboard cake board. You can buy a cheap cake lifter on Amazon or at a Hobby Lobby type store in the baking section. If you're using a large metal spatula, run it under the entire outer edge first before using it to gently slide the cheesecake.
The moat method creates a barrier between the springform pan and the direct heat of the oven. Kind of like in the olden days when castles used moats to protect the castles from invaders! So, in the moat method, we place the springform pan into a larger cake pan before putting the cake pan into a larger roasting pan with the water bath. There ends up being a moat (of air) that separates the springform pan from the cake pan and the water bath. I highly recommend doing it this way as it works great.
Par-baking the crust is optional but highly recommended. Par-baking the crust doesn't take very long and it helps maintain a crisp crust for your cheesecake.
I recommend either Trader Joe's brand of Speculoos cookie butter spread or Lotus brand of creamy Biscoff cookie butter. Both will work well.
Related
Looking for other recipes like this? Try these:


Biscoff Cookie Butter Cheesecake
Equipment
- 1 Stand or hand mixer
- 1 8 or 9 inch springform pan
- 1 10 inch cake pan optional
- 1 roasting pan optional
Ingredients
Crust
- 1 package Biscoff cookies (8.8 ounces) Reserve 6 cookies for decorating
- 2 tablespoons white sugar
- 5 tablespoons salted butter melted
Filling
- 4 cream cheese blocks (8 ounces each) room temperature
- 1 cup white sugar
- 4 eggs room temperature
- ½ cup cookie butter
Topping (optional)
- ½ cup cookie butter
- 6 Biscoff cookies reserved from crust
Instructions
Making the crust
- Preheat oven to 325°. Spray an 8 or 9 inch springform pan, including the sides, with cooking spray and set aside.
- Set aside 6 Biscoff cookies for decorating. Put the other 26 cookies in a food processor and grind the cookies into small crumbs. [It's okay to have some bigger pieces of cookies as the grind doesn't need to be super fine.]
- Mix the cookie crumbs, melted butter and 2 tablespoons of white sugar together in a medium bowl until well combined.
- Add the crust mixture to the springform pan. Pat down flat with hands or a flat measuring cup with medium pressure. It should be packed firmly but not too hard.
- Bake the crust for 6 minutes and set aside to cool. [This step is optional but highly recommended for a crisp crust.]
Making the filling
- Place the room temperature cream cheese into the mixing bowl and mix on low speed until creamy and all lumps are gone. Scrape down the sides of the mixing bowl.
- Add the cookie butter to the cream cheese in the mixing bowl and mix on low speed until well combined. Scrape down the sides of the mixing bowl as needed.
- Add the white sugar to the cream cheese mixture in the mixing bowl and mix on low speed until well combined. Scrape down the sides of the mixing bowl.
- Next, add the eggs one at a time. Mix on low speed just until each egg is combined before adding the next egg. Between eggs, scrape down the sides of the mixing bowl.
Baking and cooling the cheesecake
- Pour the filling into the crust in the springform pan. Place the springform pan in a larger cake pan (or cover the sides of the springform pan with aluminum foil). Fill the roasting pan with one inch of water to create the water bath. Carefully add the cake pan (or the wrapped springform pan) into the water. [See FAQ or post description on why the moat method is preferred.]
- Bake at 325° for about 60 minutes until the center is mostly set. Then, turn off the oven and open the oven door to start cooling. Leave it alone for two hours. After two hours, remove the cake pan (or wrapped springform pan) from the oven and the water bath and let cool on a cooling rack until room temperature.
- Before placing in the refrigerator, run a knife around the edges to loosen the cheesecake from the sides. Cover and refrigerate a minimum of 8 hours but preferably overnight.
- After 8 hours, or preferably the next day, remove the rim. Also, remove the cheesecake from the bottom of the springform pan (see FAQ if needed) if so desired and decorate the cheesecake.
Topping the cheesecake (optional)
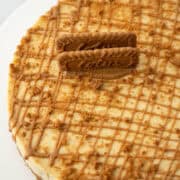
- Warm the cookie butter in the microwave for 15 to 30 seconds until the cookie butter is pourable but still holds its shape. Use a spoon, piping bag or a decorator bottle to drizzle the cookie butter across the cheesecake in any pattern. You can also spread on the pourable cookie butter with a knife. Crumble the reserved cookies and add them on top. You can also create a pooled spot of drizzle to secure full cookies as shown in the photos.
Would you like to save this?
Don't worry! We won't spam you!


Linda Wehmueller says
What is cookie butter?
Tracy @ Next Level Baker says
Think spiced cookie flavor meets the consistency of peanut butter. It's delicious! The most popular brands are Lotus Biscoff Cookie Butter (which can be found at most regular grocery stores) and Trader Joe's Cookie Butter.
Stephanie James says
Oh Wow!!! This looks really good. I love these cookies too. I first tried them in 2019. I will have to try this recipe.