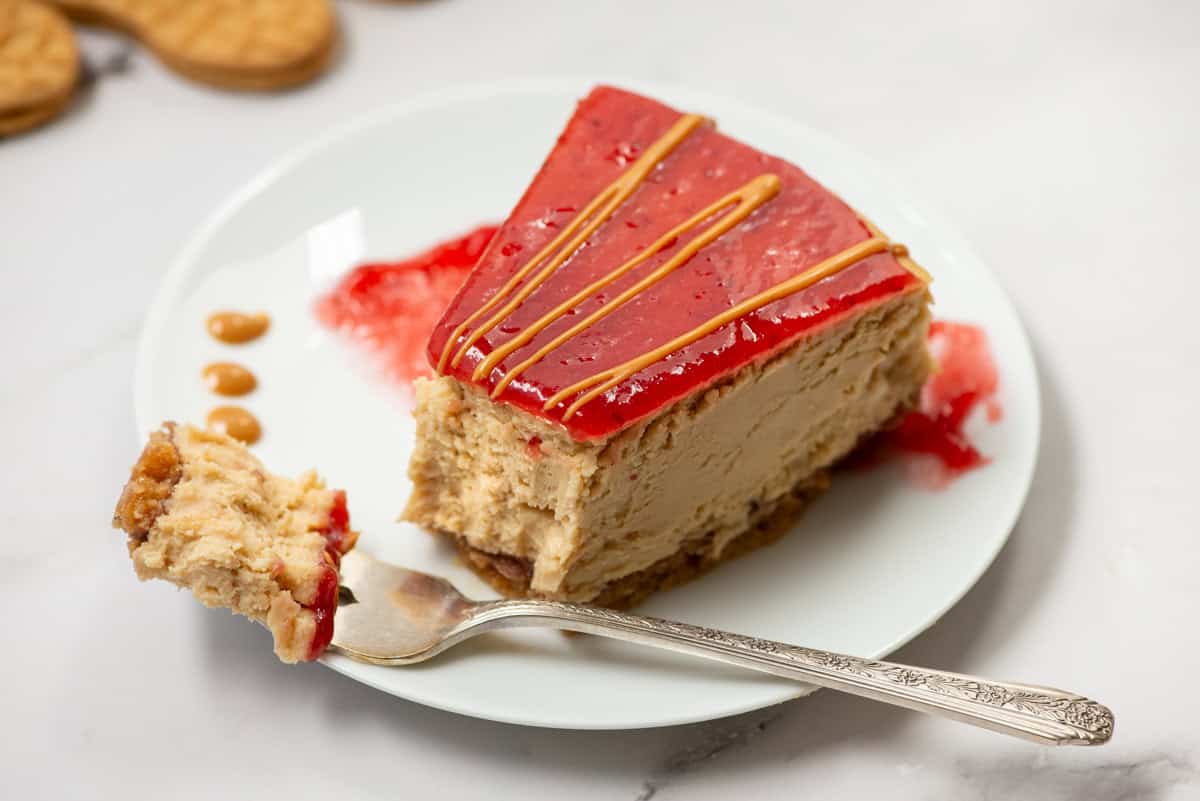
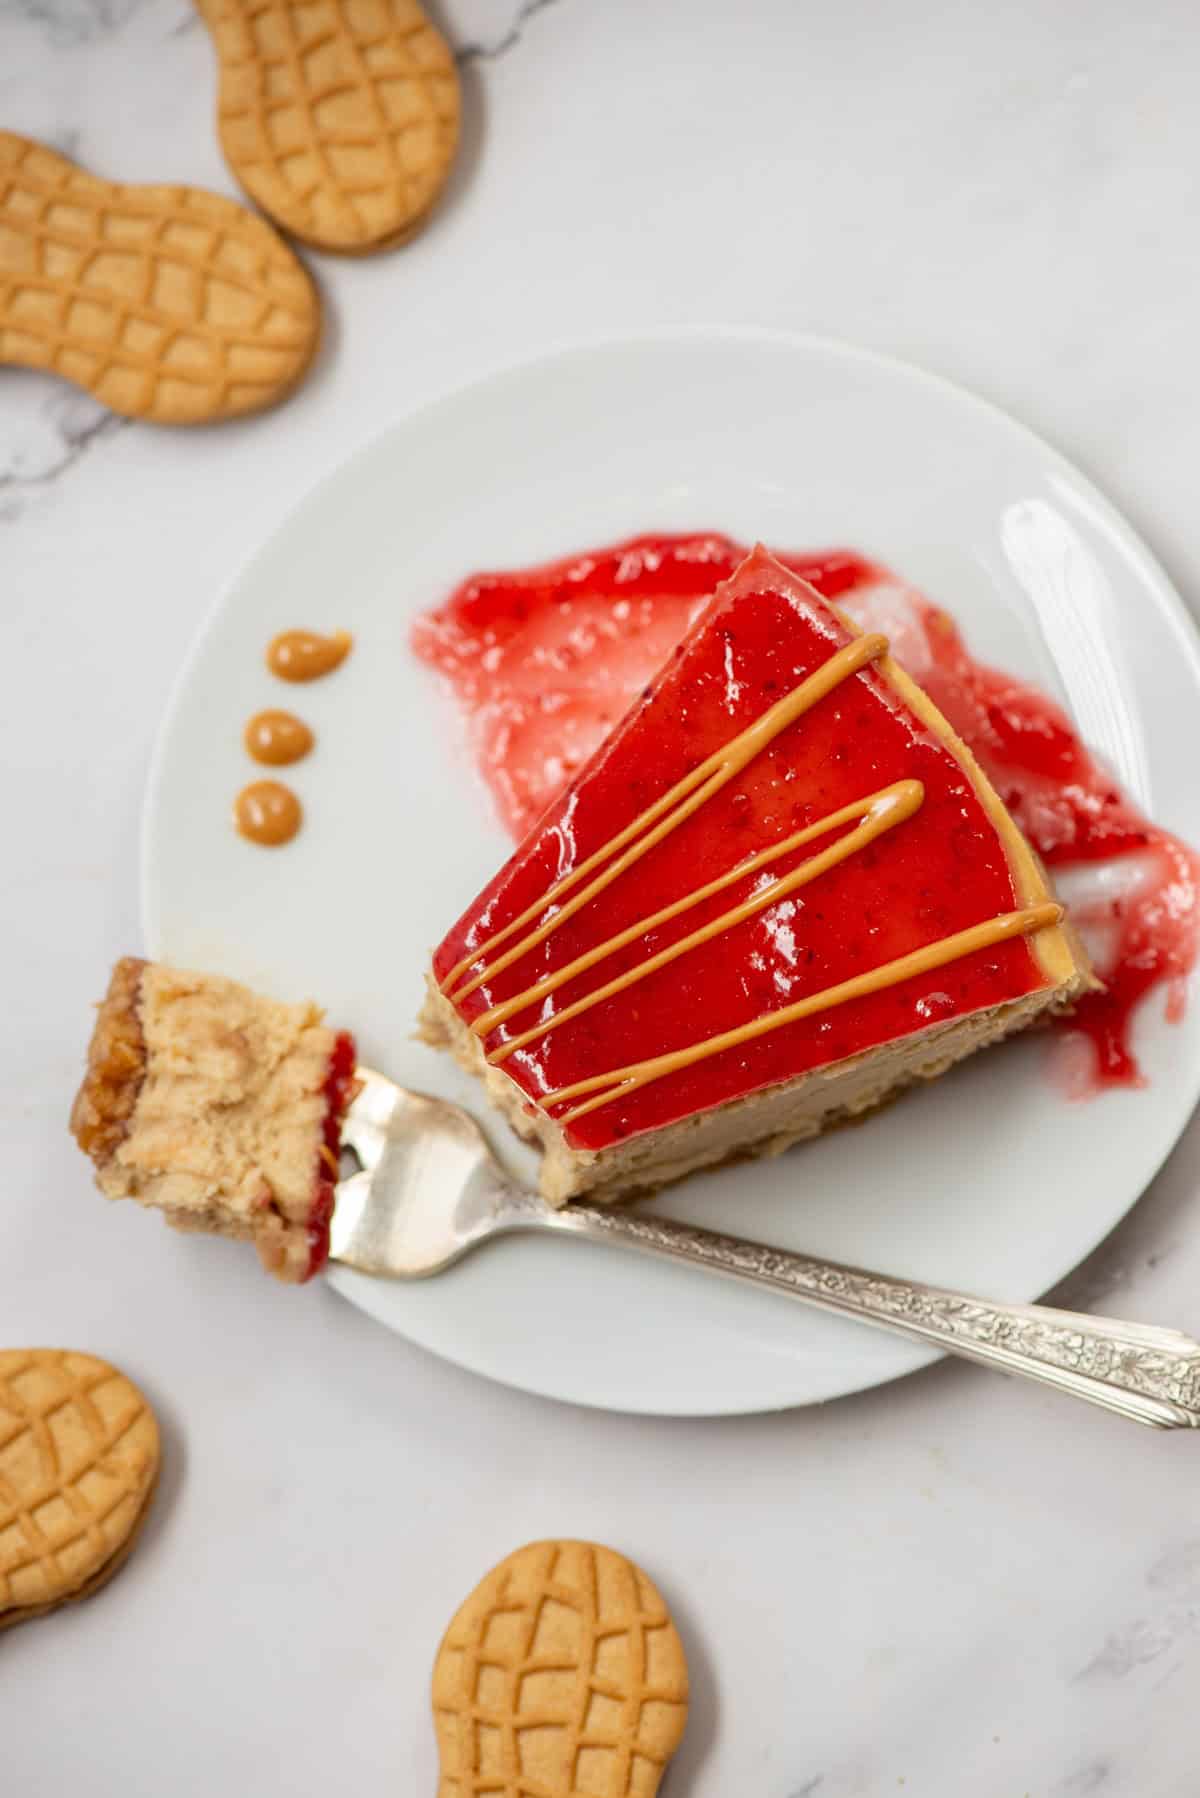
Peanut butter and jelly cheesecake takes the classic sandwich everyone grew up with and turns it into a creamy, rich dessert. Smooth peanut butter cheesecake sits on a buttery cookie crust, then gets finished off with a sweet jelly topping and a peanut butter drizzle for the perfect mix of nostalgia and whimsy. It's a fun dessert for birthdays, holidays or anytime you're craving a cheesecake with a playful twist.
Growing up, peanut butter and jelly was one of my favorite lunches, and it's still one of those combinations I never get tired of. I've always loved cheesecakes too, so combining the two into one dessert had been on my list for a long time. The result is a creamy, whimsical cheesecake that brings a little childhood nostalgia to every slice.
Jump to:
Ingredients
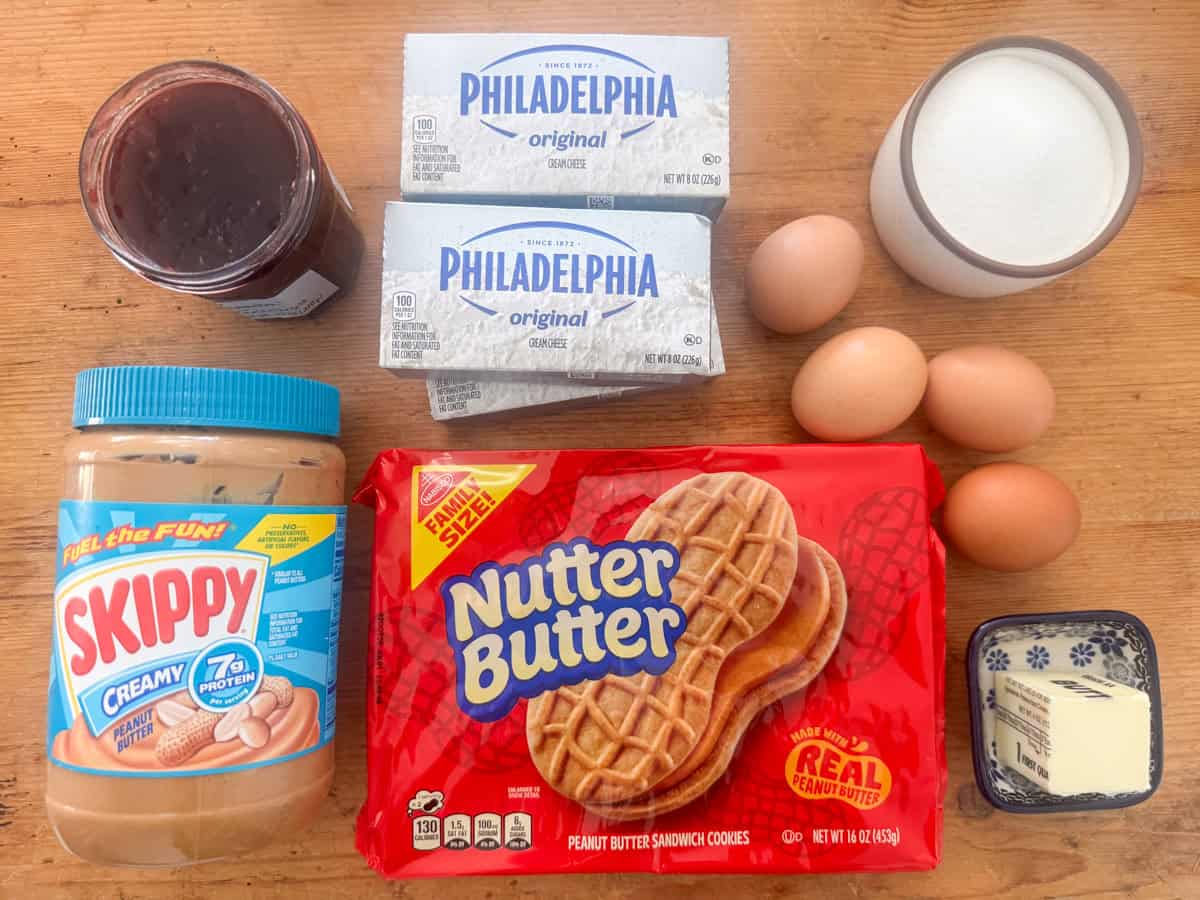
- Peanut butter sandwich cookies
- Salted butter
- White sugar
- Jelly or jam of choice
- Creamy peanut butter
- Cream cheese
- Eggs
See recipe card for quantities.
Instructions for decorating the cheesecake
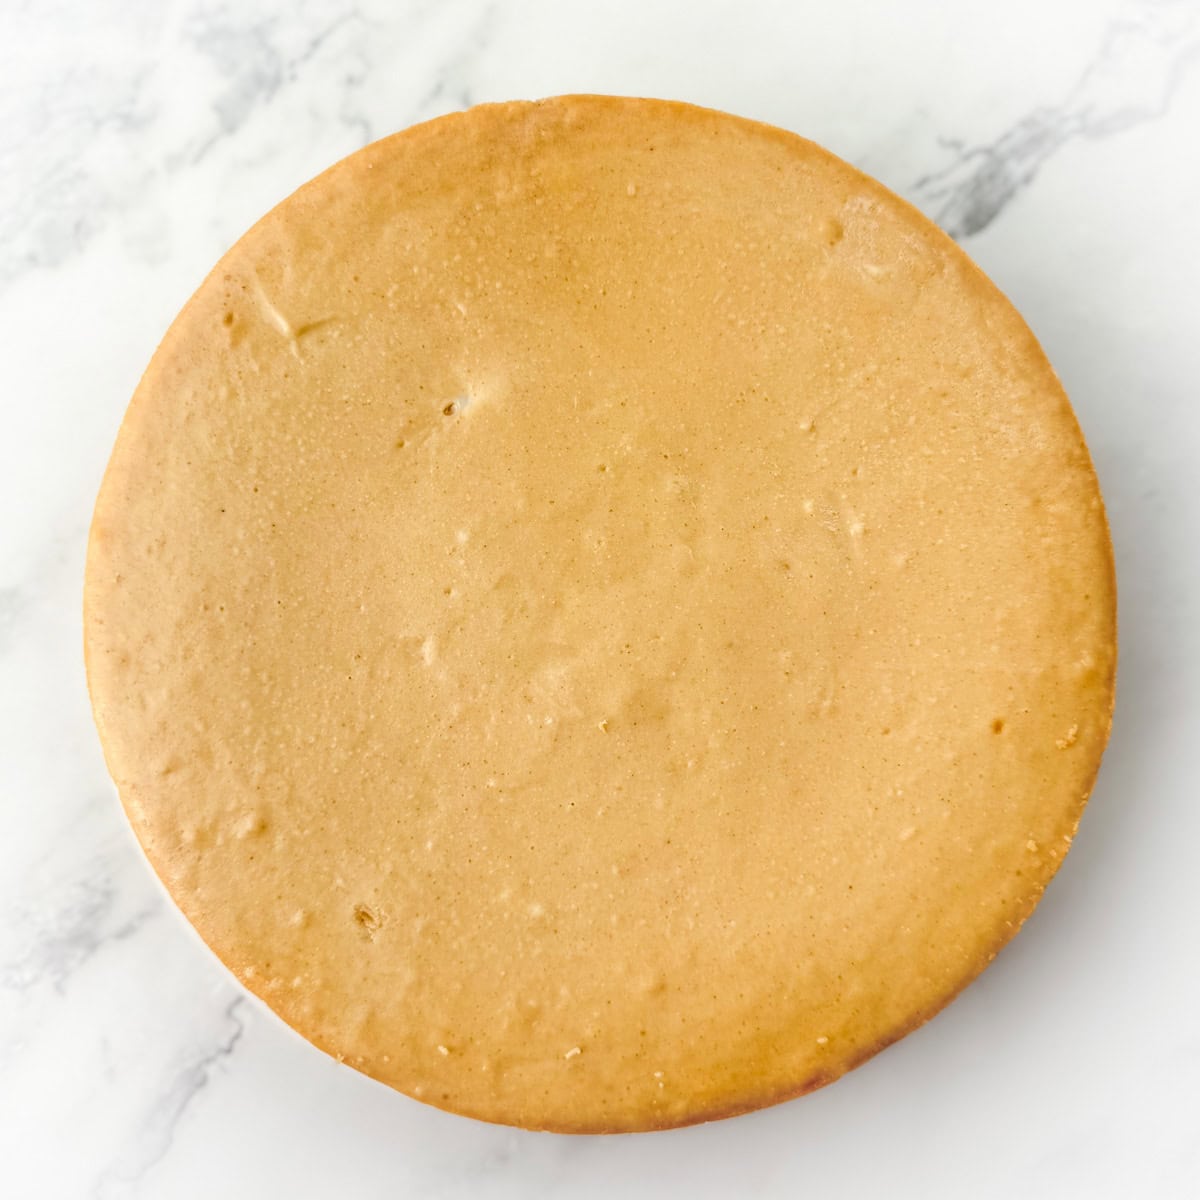
Step 1: Cool the baked cheesecake for a minimum of 6 hours, preferably overnight.
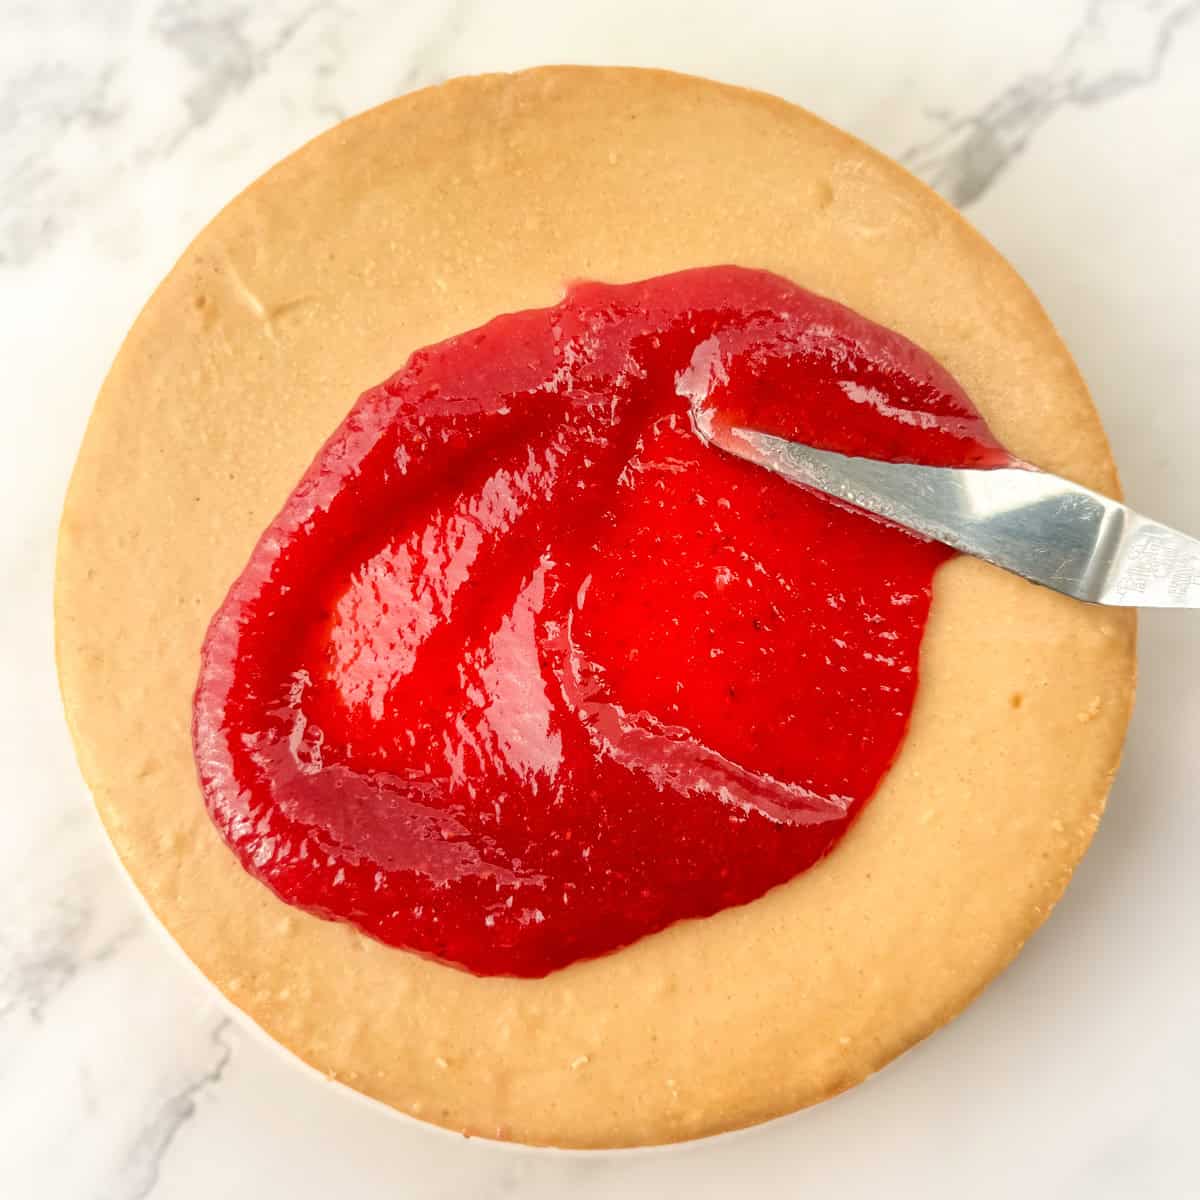
Step 2: If needed, heat the jelly in the microwave for 15 to 30 seconds to make it more spreadable. Add it to the top of the cooled cheesecake.
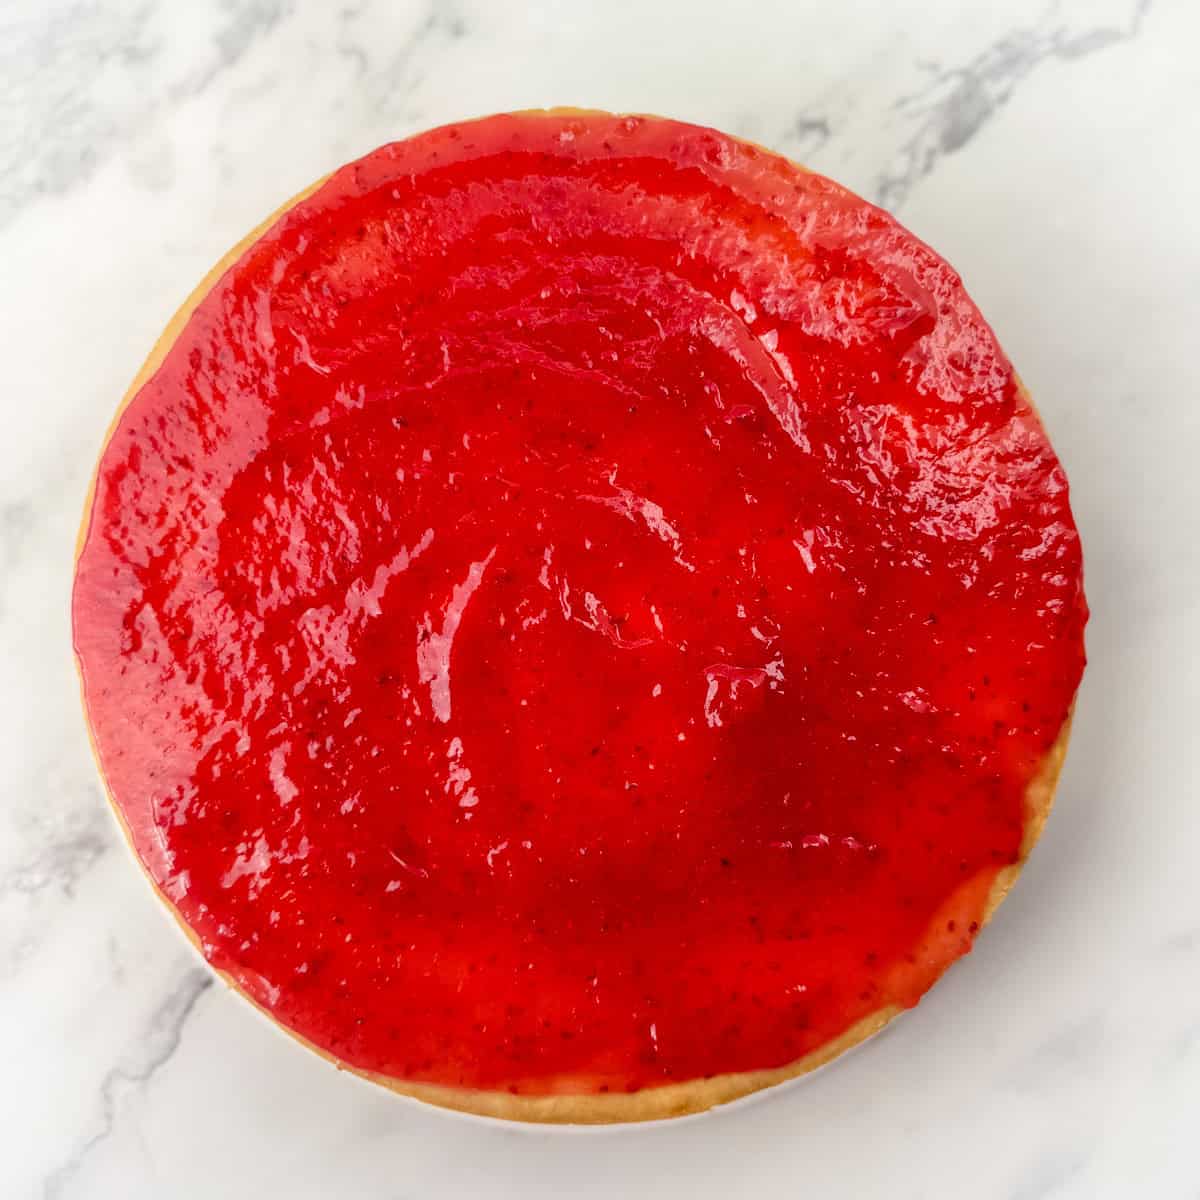
- Step 3: Spread the jelly into an even layer.
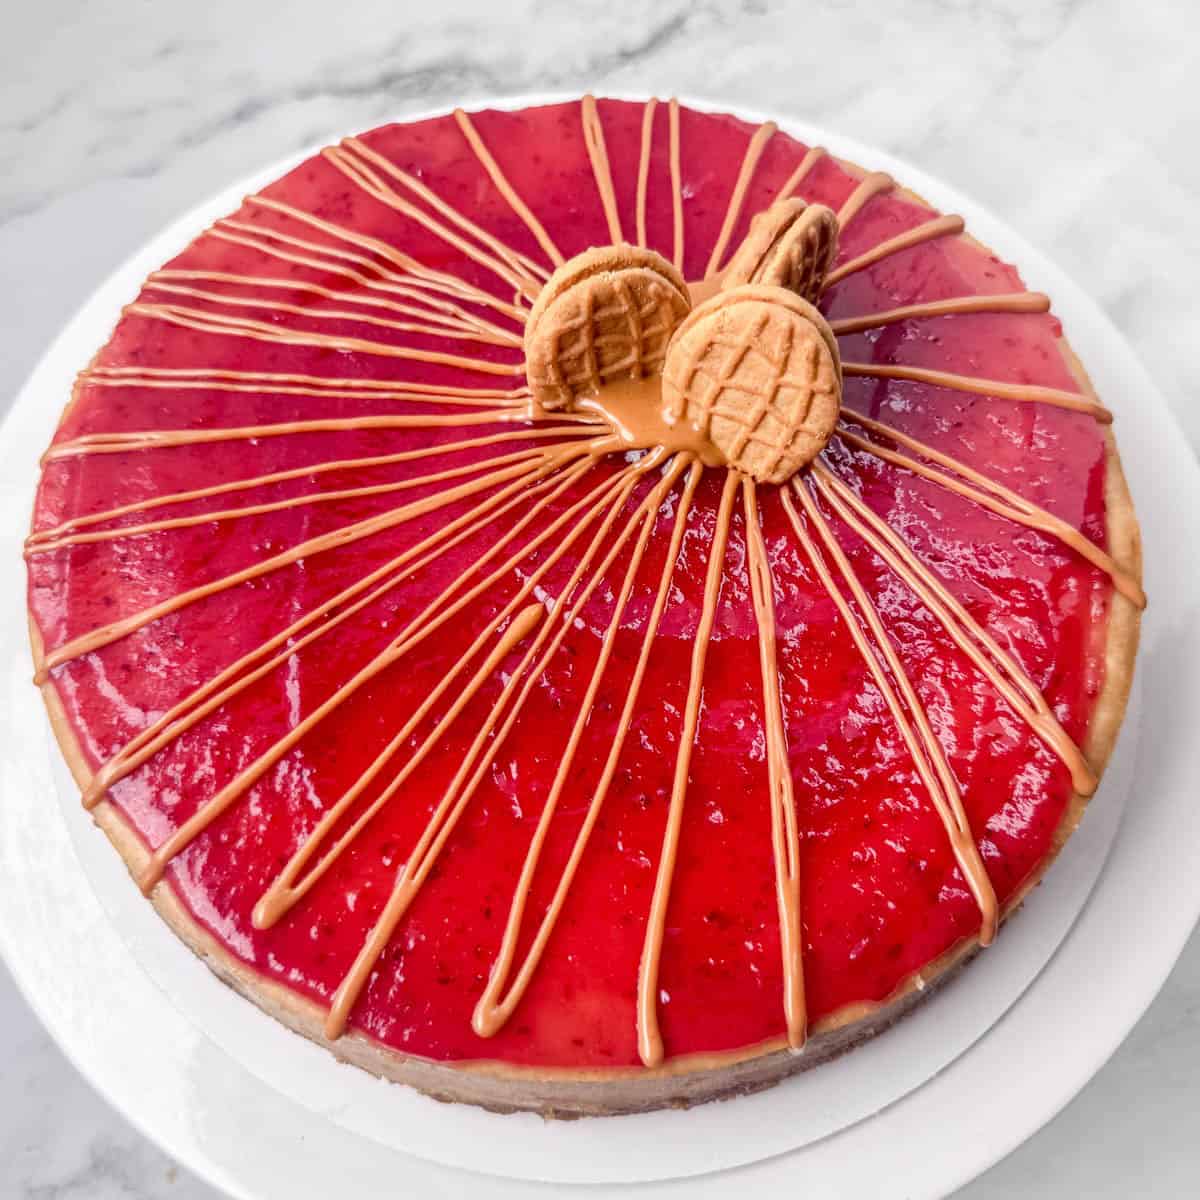
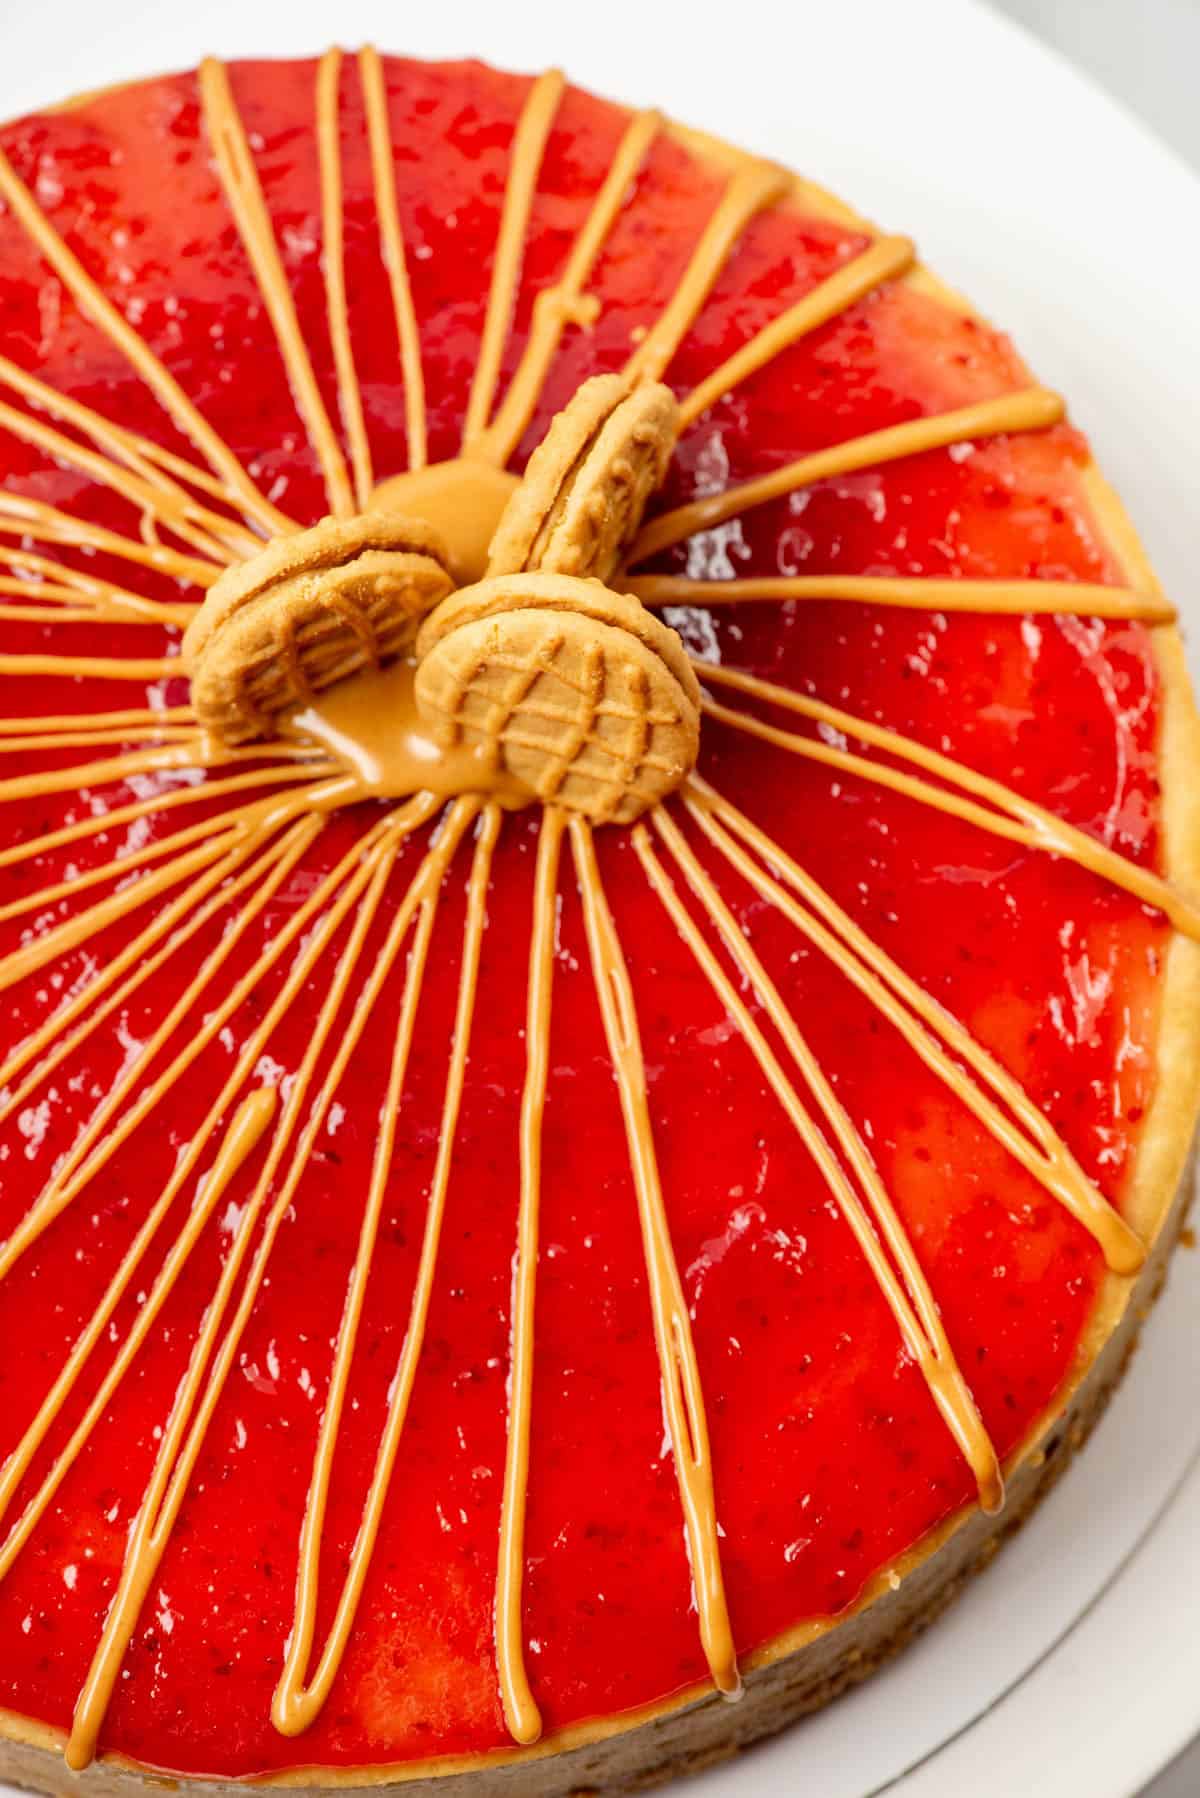
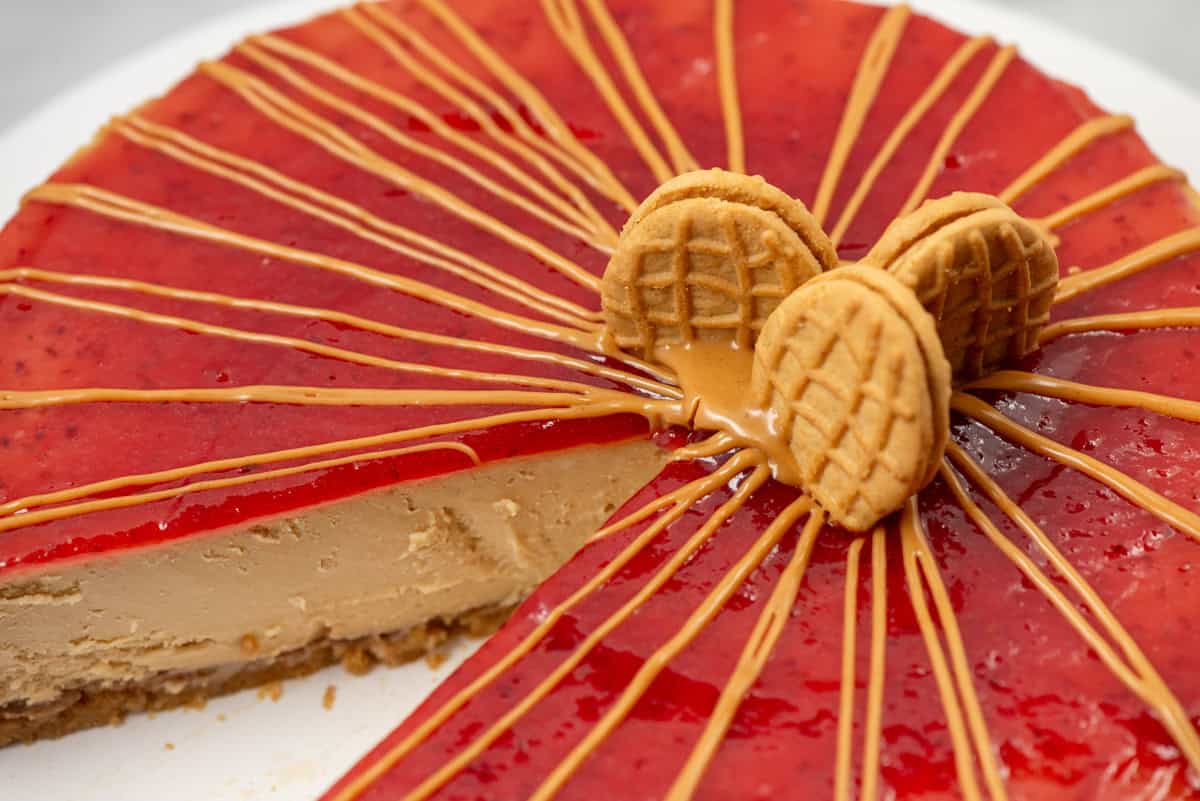
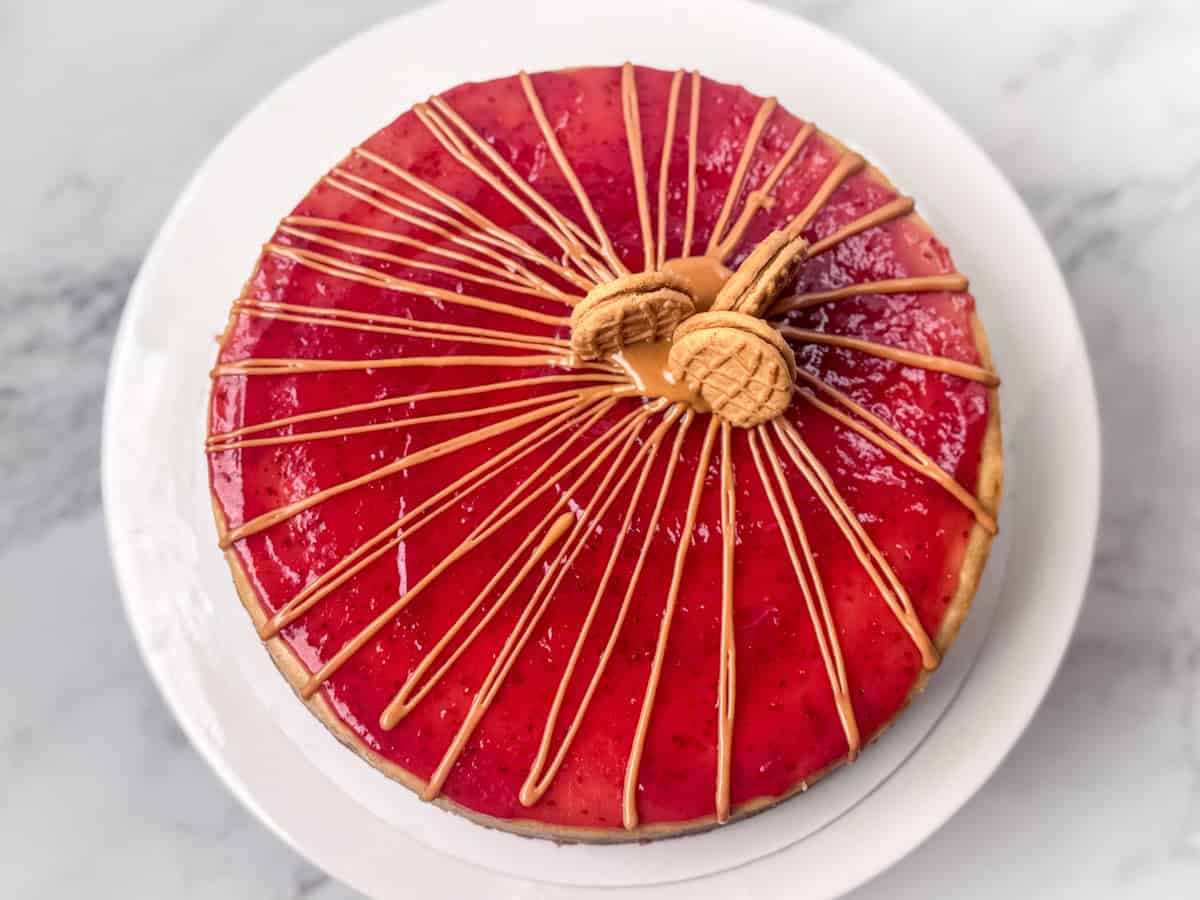
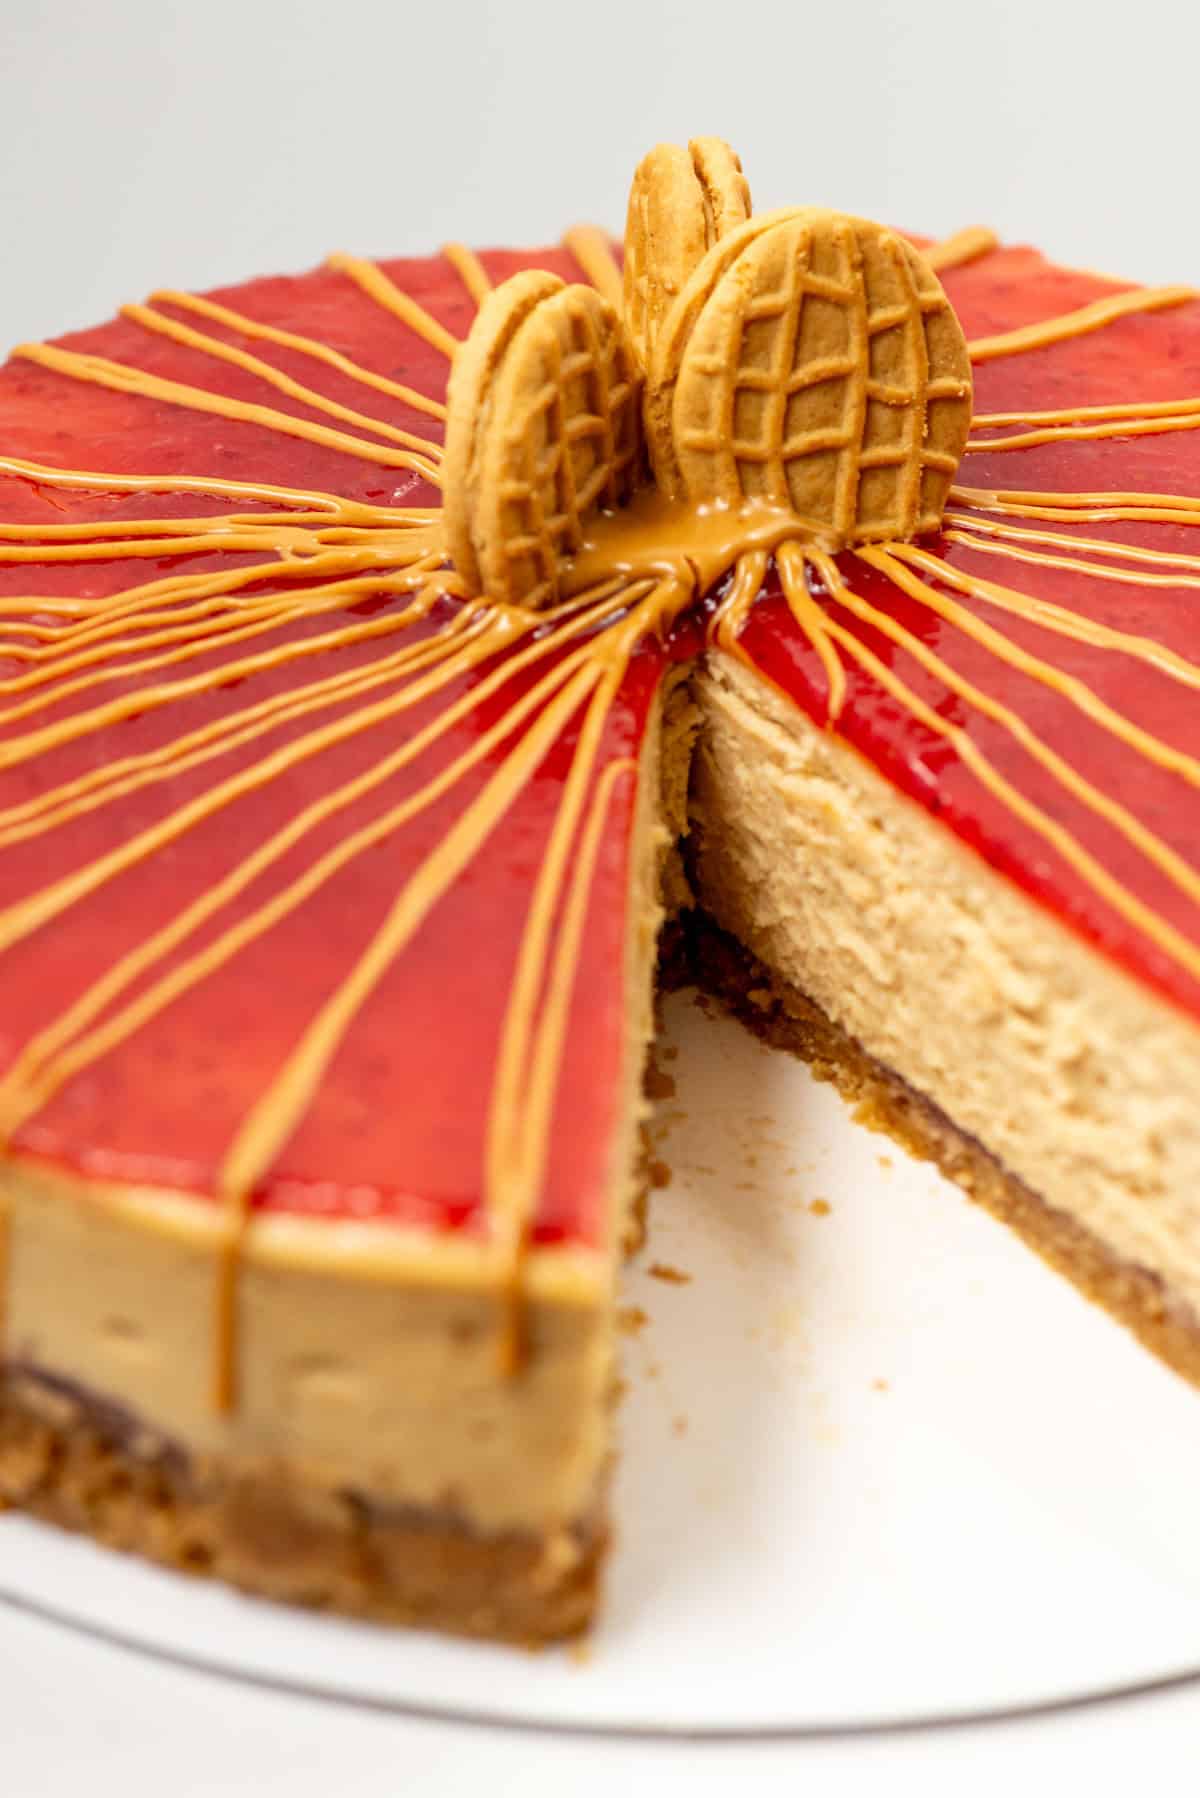
- Step 4: Microwave the peanut butter in 15 second increments until it's slightly runny for drizzling. Use a spoon or a piping bag to drizzle the peanut butter over the cheesecake. I like to use asymmetrical designs so there's less pressure for it to be perfect. Chop a few Nutter Butters in half and use the peanut butter as glue to add them to the top.
Substitutions
- Nutter Butter Cookies - I used Nutter Butter cookies for this version. You can substitute another brand of peanut butter sandwich cookie. I've also made this cheesecake with Do Si Dos Girl Scout cookies. If you use Do Si Dos, substitute the whole box for the Nutter Butter cookies. (You can eat one Do Si Do though. I won't tell and it won't ruin the crust.)
Equipment
You'll need a stand or hand mixer to make cheesecake.
Storage
Store in an airtight container in the refrigerator for up to 5 to 7 days.
Next Level Tips
- Always use room temperature cream cheese and room temperature eggs for cheesecakes. For this tiramisu cheesecake, use room temperature mascarpone for the whipped topping too.
- Allow the cheesecake to cool in the oven without touching it for 2 hours. Then, move the springform pan to a cooling rack and allow the cheesecake to come to room temperature before placing it in the refrigerator. Then, refrigerate for at least 6 to 8 hours, but overnight is best.
- Looking for other fun flavors of cheesecake? Try my No Bake Nutella, Pistachio or Biscoff cookie butter cheesecakes. Or what about cheesecakes made with Girl Scout cookies? Try my Samoas cheesecake or Thin Mints cheesecake. So yummy!
HOW TO BAKE A CHEESECAKE WITHOUT CRACKS
Okay, let's get to one of the biggest issues with cheesecakes: unsightly cracks. Cracks don't make the cheesecake taste any differently. And, of course, they could be covered up. But, there are two main things to know to avoid cracks: baking temperature and water baths.
BAKE AT A LOWER TEMPERATURE
For temperature, cheesecakes turn out best when baked at a lower temperature. For that reason, I bake almost all of my cheesecakes, including this one, at 325 degrees.
USE THE MOAT METHOD FOR THE WATER BATH
The most basic way to do a water bath is to wrap the springform pan with aluminum foil and place it in a roasting pan with water and then hope it doesn't leak. But, have you ever wrapped it super carefully with the extra wide aluminum foil only to discover that it still leaked? Yes, me too. Instead, I use the moat method. To use the moat method, place your 8 or 9 inch springform pan inside a 10 inch cake pan. Then place the 10 inch cake pan into a larger roasting pan with water. With this moat method, there is no possible way that water gets into your springform pan. I've never had a cheesecake crack when I've combined a lower baking temperature with the moat method.
STEAM BATHS
Ok, say you don't have a roasting pan big enough to fit your springform pan and cake pan. You can do the steam bath method, which usually works. I say usually because it's not quite as foolproof as the moat method. But, you can fill a 9x13 pan with one inch of water and place it on the oven rack directly beneath the springform pan. (If you have a cake pan, you can still put the springform pan in a cake pan according to the above moat method.) The water in the pan creates steam and a humid environment in the oven which helps to prevent cracks.
INSTRUCTIONS FOR MOAT METHOD
Fill the roasting pan with one inch of water. Place the springform pan inside of a cake pan and then place the cake pan in the roasting pan. Then place the roasting pan in the preheated oven. It's that easy!

FAQ
Par-baking the crust is optional but highly recommended. Par-baking the crust doesn't take very long and it helps maintain a crisp crust for your cheesecake.
The reason we pack the crust tightly, but not too tightly, into the springform pan is so that we can easily remove the bottom of the springform pan without the crust crumbling. After the rim of the springform pan is off, take a cake lifter (or metal pizza peel or a very large spatula) and gently slide it in between the cheesecake crust and the bottom of the springform pan. Don't lift the cheesecake up in the air. Instead, use the cake lifter to slide the cheesecake sideways off of the springform bottom onto a serving plate or a round cardboard cake board. You can buy a cheap cake lifter on Amazon or at a Hobby Lobby type store in the baking section. If you're using a large metal spatula, run it under the entire outer edge first before using it to gently slide the cheesecake.
The moat method creates a barrier between the springform pan and the direct heat of the oven. Kind of like in the olden days when castles used moats to protect the castles from invaders! So, in the moat method, we place the springform pan into a larger cake pan before putting the cake pan into a larger roasting pan with the water bath. There ends up to be a moat (of air) that separates the springform pan from the cake pan and the water bath. I highly recommend doing it this way as it works great.
Related
Looking for other recipes like this? Try these:
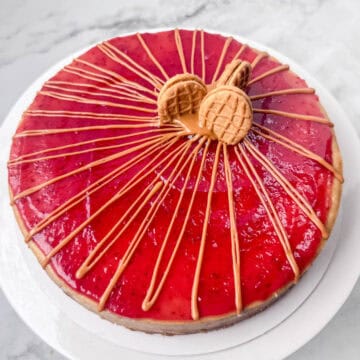
Peanut Butter and Jelly Cheesecake
Ingredients
Crust
- 16 Nutter Butter cookies
- 4 tablespoons salted butter melted
- 2 tablespoons white sugar
- ½ cup jelly or jam
Cheesecake filling
- 4 blocks cream cheese (8 ounces each) room temperature
- 1 cup peanut butter room temperature
- 1 cup white sugar
- 4 large eggs room temperature
Topping
- ¾ cup jam or jelly
- ¼ to ½ cup peanut butter
Instructions
Make the crust
- Preheat the oven to 325°. Spray a 6 inch springform pan, including the sides, with cooking spray and set aside.
- Add the Nutter Butters to a food processor and pulse until they form small crumbs. A few larger pieces are ok.
- Melt the butter in the microwave for 15-30 seconds until mostly melted. Stir until completely melted. The residual heat will finish melting any remaining pieces.
- In a medium bowl, stir together the cookie crumbs, melted butter and sugar until evenly combined.
- Press the crumb mixture firmly into the bottom of the sprayed springform pan using your hands or the flat bottom of a measuring cup. Pack it firmly without pressing too hard.
- Bake for 6 minutes. Remove from the oven and let the crust cool completely.
- Once the crust has cooled, spread a thin layer of jelly on the crust.
Make the filling
- Add the room temperature cream cheese and peanut butter to a large mixing bowl. Mix on low speed until smooth and creamy, with no lumps remaining. Scrape down the sides and bottom of the bowl before adding the remaining ingredients.
- Add the sugar and mix on low speed until combined. Scrape down the bowl again.
- Add the eggs one at a time, mixing on low speed just until each egg is incorporated before adding the next. Scrape down the bowl between each addition.
Baking and cooling the cheesecake
- Pour the filling over the prepared crust.
- Place the springform pan inside a larger cake pan. (Alternatively, wrap the outside of the springform pan tightly with aluminum foil if placing it directly into the water bath.)
- Place the cheesecake into a roasting pan and carefully pour in enough hot water to reach about 1 inch up the sides of the pan.
- Bake at 325° for about 55 to 60 minutes, or until the center is set or only slightly jiggly.
- Turn off the oven and crack the oven door open. Let the cheesecake cool in the oven for 2 hours.
- Remove the cheesecake from the oven and let it cool completely on a wire rack.
- Before refrigerating, run a thin knife around the edge of the cheesecake to loosen it from the sides of the springform pan. Cover loosely and refrigerate for at least 6 hours, preferably overnight.
- Once chilled, remove the springform pan rim. If desired, remove the cheesecake from the bottom of the pan before decorating. (See the FAQ for tips.)
Decorate the cheesecake
- Spread the jelly in an even layer over the chilled cheesecake. If the jelly is cold and thick, microwave it for 15 to 30 seconds to make it easier to spread.
- If using a peanut butter drizzle, microwave the peanut butter in 15 second intervals until it reaches a drizzle consistency, about 15 to 45 seconds total. Use ¼ cup for a light drizzle like the photos or ½ cup or more for a heavier drizzled design. Drizzle the peanut butter over the cheesecake using a spoon, knife, piping bag or decorating bottle. I like creating an asymmetrical design by starting in one spot and drizzling outward from that spot. The pooled peanut butter at the starting point makes a great place to secure a few chopped or halved Nutter Butter cookies for decoration.
- Serve immediately after decorating or refrigerate. Enjoy!
Would you like to save this?
Don't worry! We won't spam you!


Sandi Newell says
What a beautiful dessert and it looks so delicious! Thank you so much.