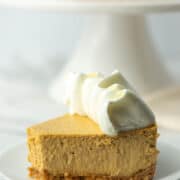
Pumpkin spice cheesecake combines the flavors of pumpkin and warm spices with the texture of cheesecake on a graham cracker crust. Its rich flavor and creamy texture is the perfect dessert for fall or anytime you have a pumpkin craving.
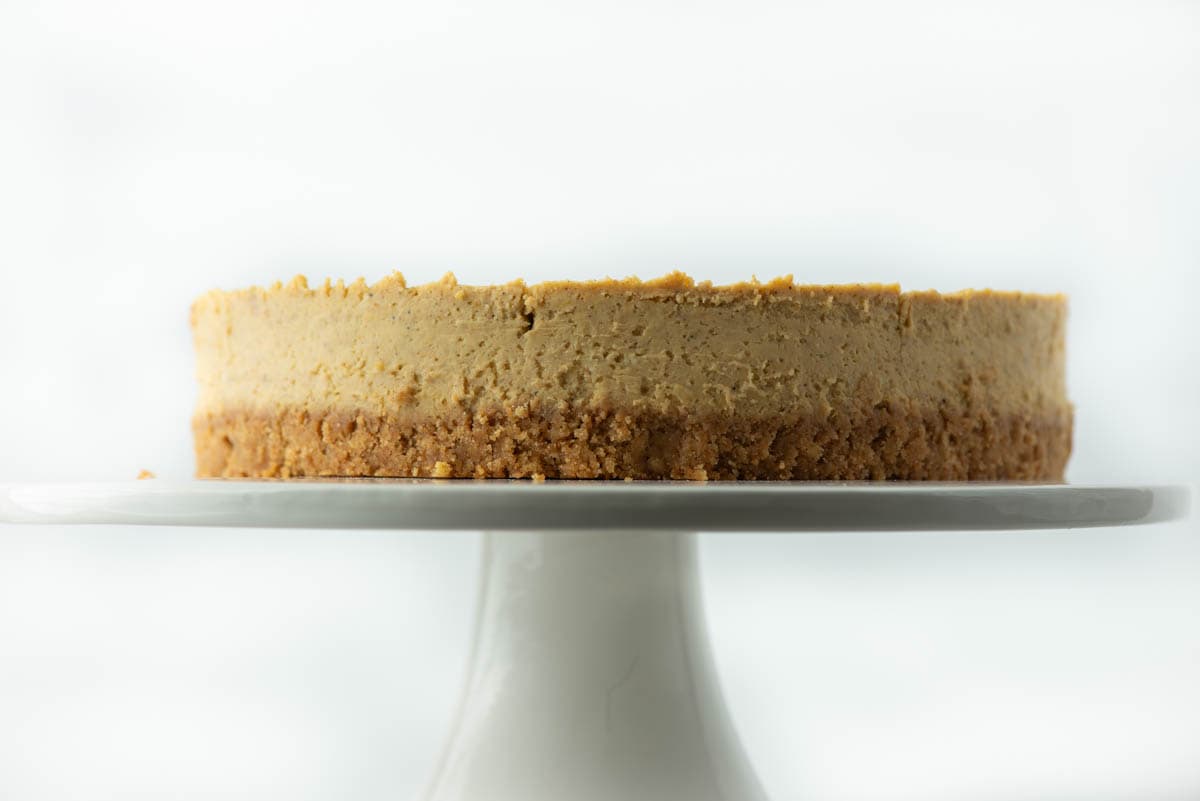
I love, love, love cheesecake. If I had to pick only one kind of dessert to eat for the rest of my life, it would be cheesecake. I love the creaminess and bit of tang from the cream cheese, a hint of sweetness, and a crisp crust. Pumpkin cheesecake made with pumpkin pie spice is one of my very favorite cheesecakes too. It's the perfect alternative to pumpkin pie and a great addition to the dessert table for the family Thanksgiving. I also make it for no special reason. Every bite reminds me of cozy fall evenings!
Jump to:
Ingredients
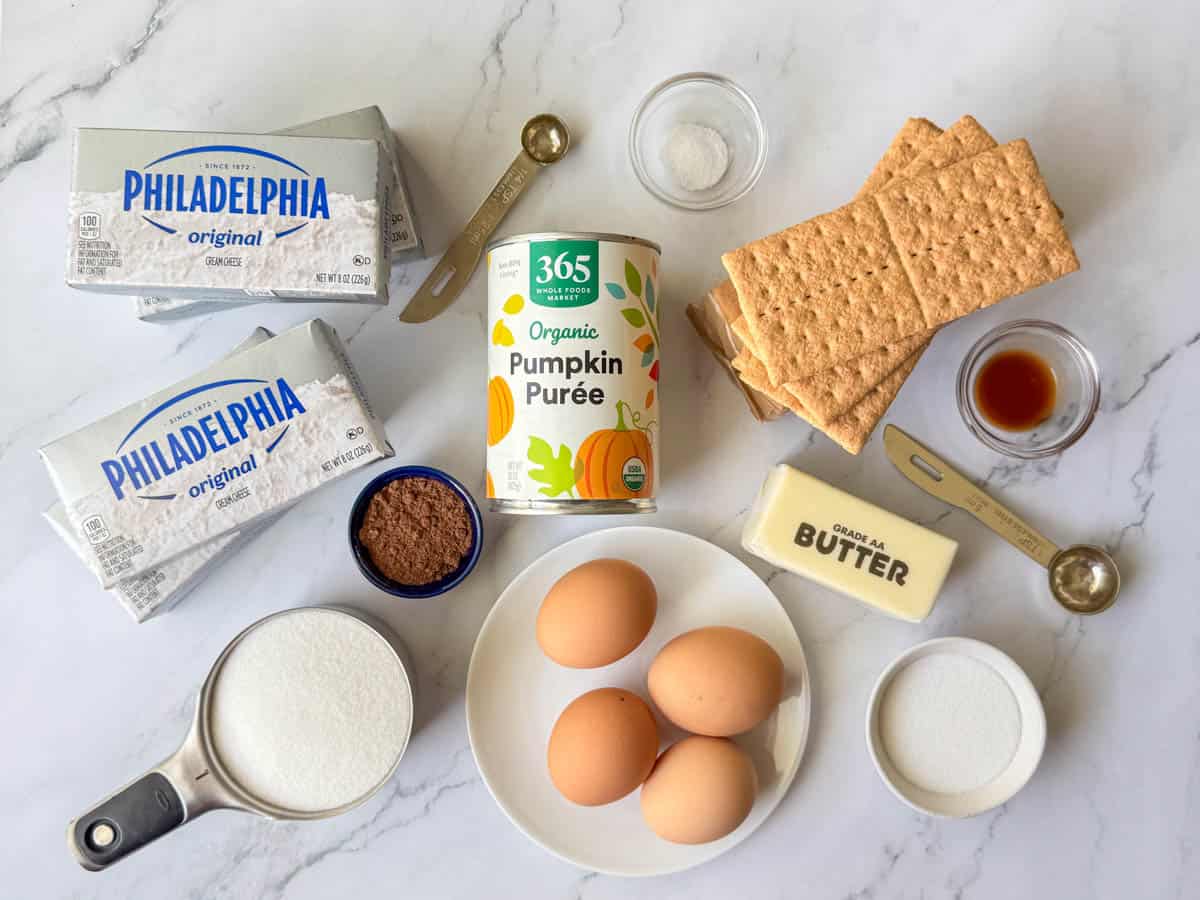
- Cream cheese
- Eggs
- White sugar
- Pumpkin puree
- Pumpkin pie spice
- Vanilla
- Salt
- Graham crackers
- Salted butter
See recipe card for quantities.
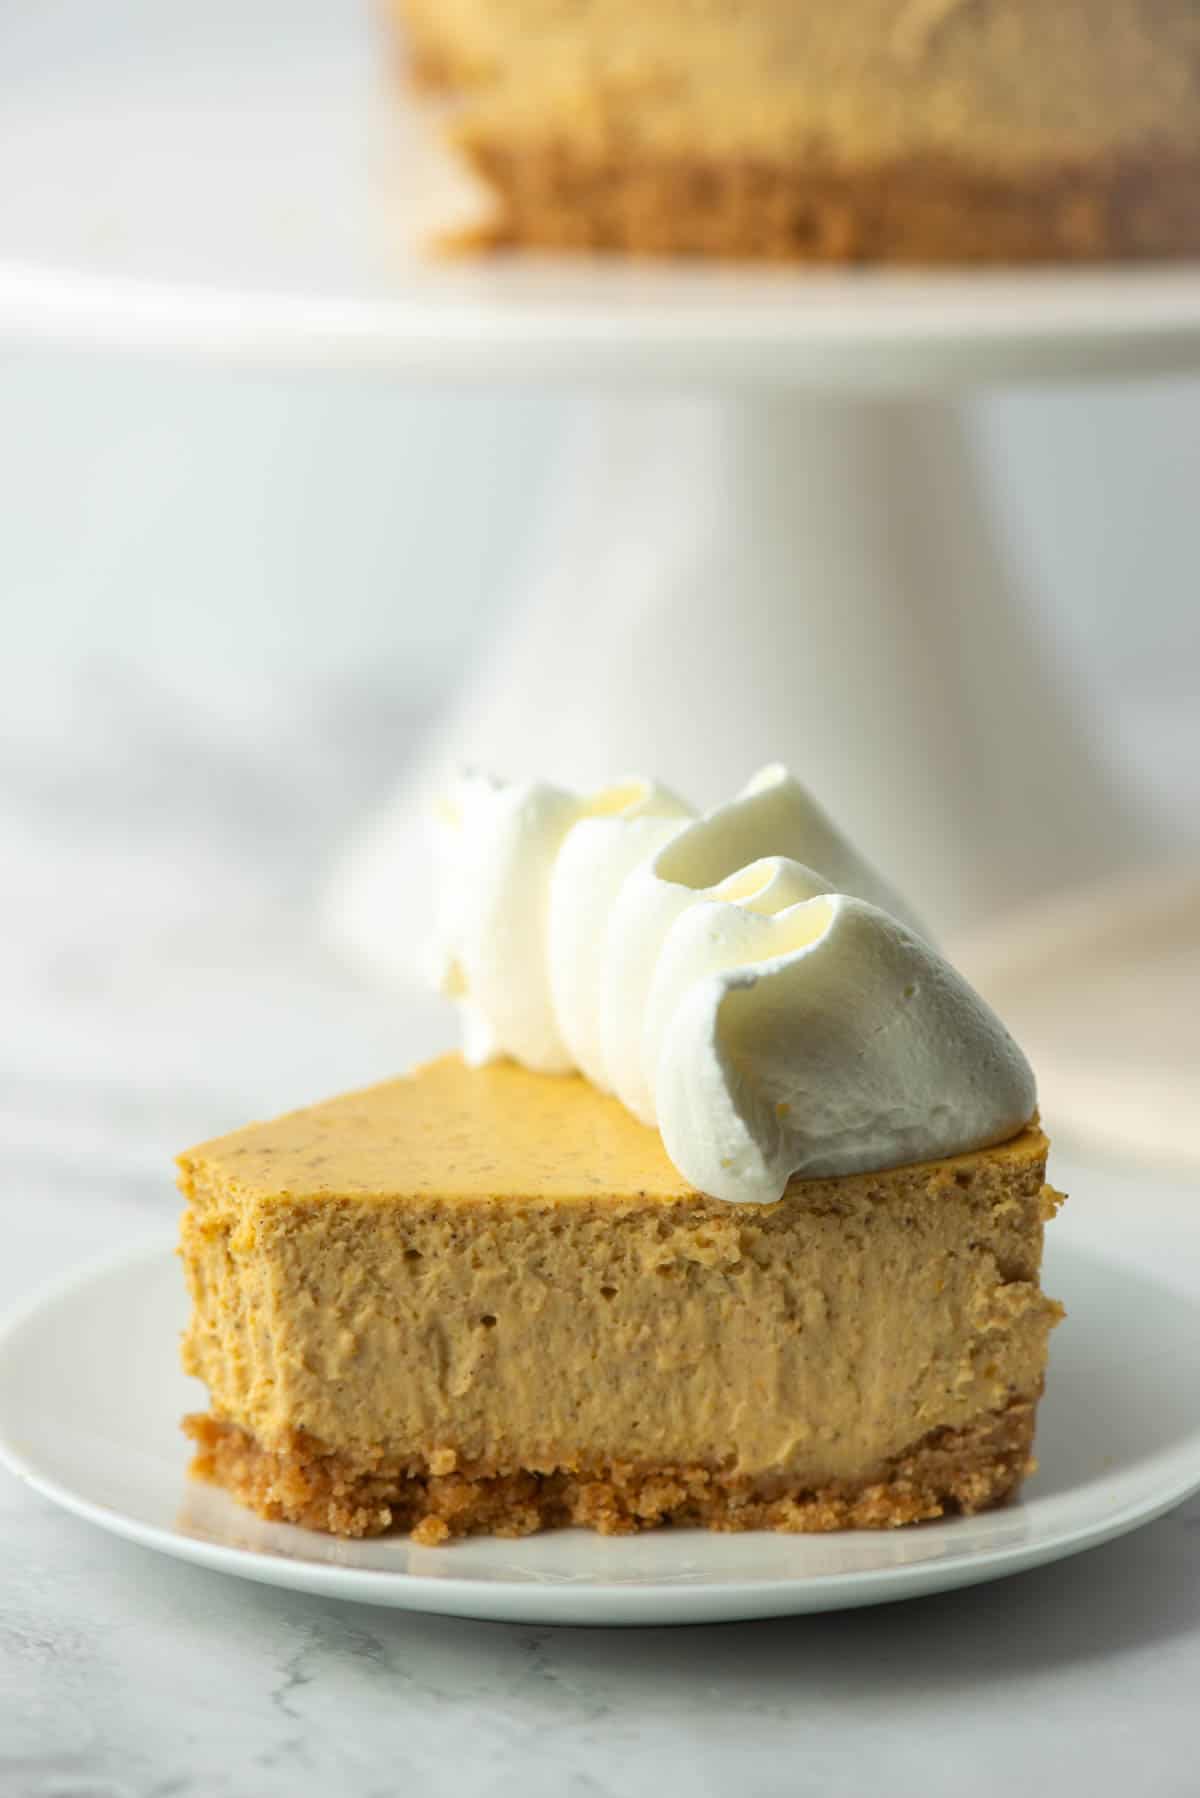
How to bake a cheesecake without cracks
Okay, let's get to one of the biggest issues with cheesecakes: unsightly cracks. Cracks don't make the cheesecake taste any differently and, of course, they could be covered up. But, there are two main things to know to avoid cracks: baking temperature and water baths.
Bake at a lower temperature
For temperature, cheesecakes turn out best when baked at a lower temperature. For that reason, I bake almost all of my cheesecakes, including this one, at 325 degrees.
Use the moat method for a water bath
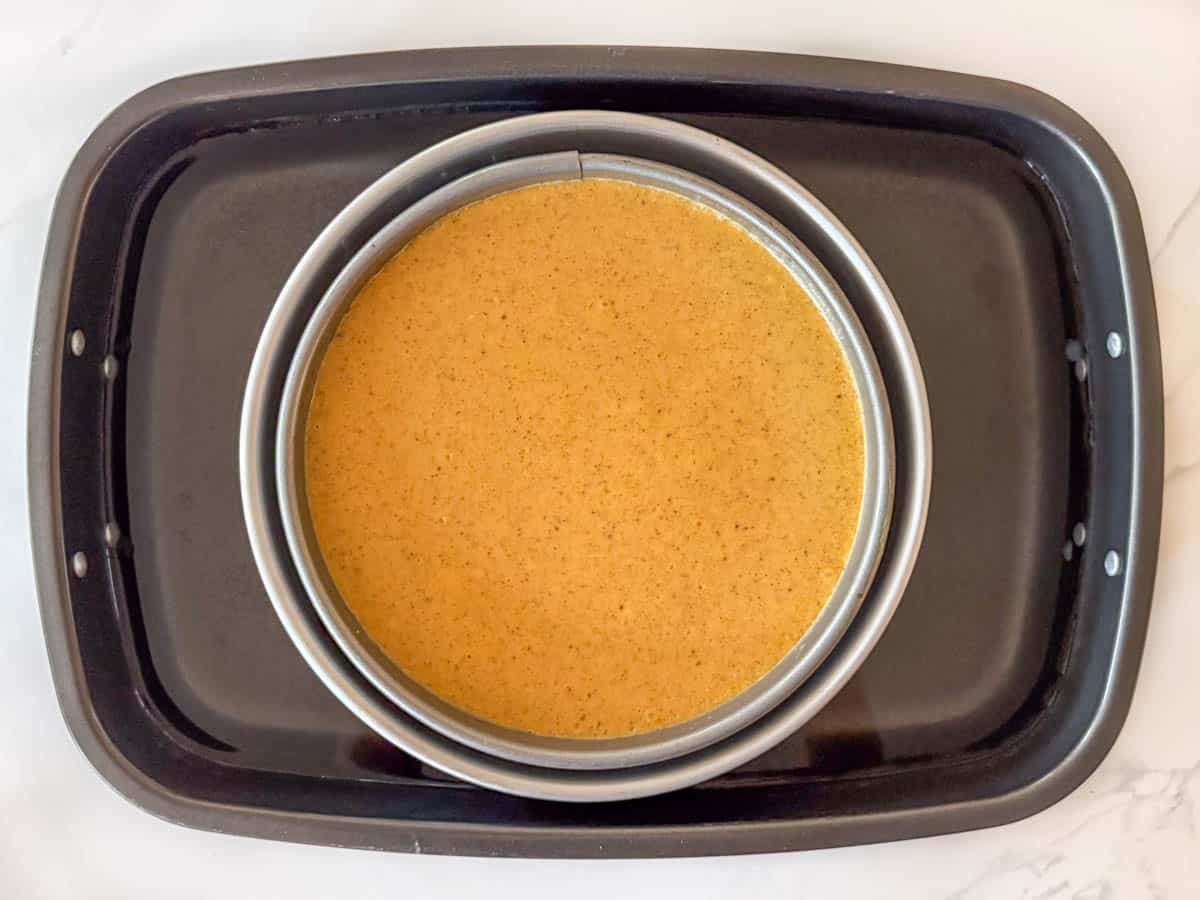
The most basic way to do a water bath is to wrap the springform pan with aluminum foil and place it in a roasting pan with water and then hope it doesn't leak. But, have you ever wrapped it super carefully with the extra wide aluminum foil only to discover that it still leaked? Yes, me too. That's when I discovered that, sometimes, it is just condensation that collects in the aluminum foil even if it's wrapped really well. A step up from the aluminum foil wrap is the moat method. It's my very favorite method and one that I've been using for over 10 years to make hundreds of cheesecakes. Amazon used to sell a moat cheesecake pan, but it is no longer available so I will spare you the link. However, I'll explain how to recreate the moat method. For the moat method, place your 8 or 9 inch springform pan inside a 10 inch cake pan. Then place the 10 inch cake pan into a larger roasting pan with water. With this moat method, there is no possible way that water gets in to your springform pan. I've never had a cheesecake crack when I've combined a lower baking temperature with the moat method.
Equipment
To make the best cheesecake, a stand up mixer or hand held mixer is needed. Also, a springform pan is essential. To use the moat method, you will also want to use a cake pan that is larger than your springform pan, and a roasting pan that will fit the cake pan.
Substitutions
Gluten Free: If you need a gluten free crust, you can use the crust from my No Bake Pumpkin Cheesecake with a Gluten Free Crust recipe.
Storage
Store the cheesecake in an airtight container in the refrigerator for up to 5-7 days.
Next Level Tips
- Always, always, always use room temperature cream cheese and room temperature eggs for cheesecakes.
- The very best way to avoid cracks is to bake at a lower temperature and use the moat method, as described above and in the FAQs. This is where you place your springform pan inside of a cake pan and then put the cake pan in a roasting pan with water. This avoids leaky aluminum foil and direct heat on the springform pan.
- Allow the cheesecake to cool in the oven without touching it for two hours. Then move it to a cooling rack and allow it to come to room temperature before placing it in the refrigerator.
- Cheesecake needs time to set in the refrigerator after baking. The texture and taste is the very best when you actually make it two days ahead of time. Yes, two days! If you are making this pumpkin spice cheesecake for Thanksgiving, I would recommend making it on Tuesday. This is actually a bonus, as it cuts down on the to-do list of everything that needs to be done the day before or the day of Thanksgiving too!
FAQ
Yes! However, you can carefully speed up this process if you forgot to set out the cream cheese and eggs. Most microwaves now have a soften option. You can carefully soften the cream cheese in the microwave to room temperature but not melted. For the eggs, you can place them from the refrigerator into a bowl of warm (not hot) water to quicken up the process for the eggs. However, I do recommend letting the cream cheese and eggs come to room temperature naturally on the counter. Unless you're in a pinch, of course. We've all been there!
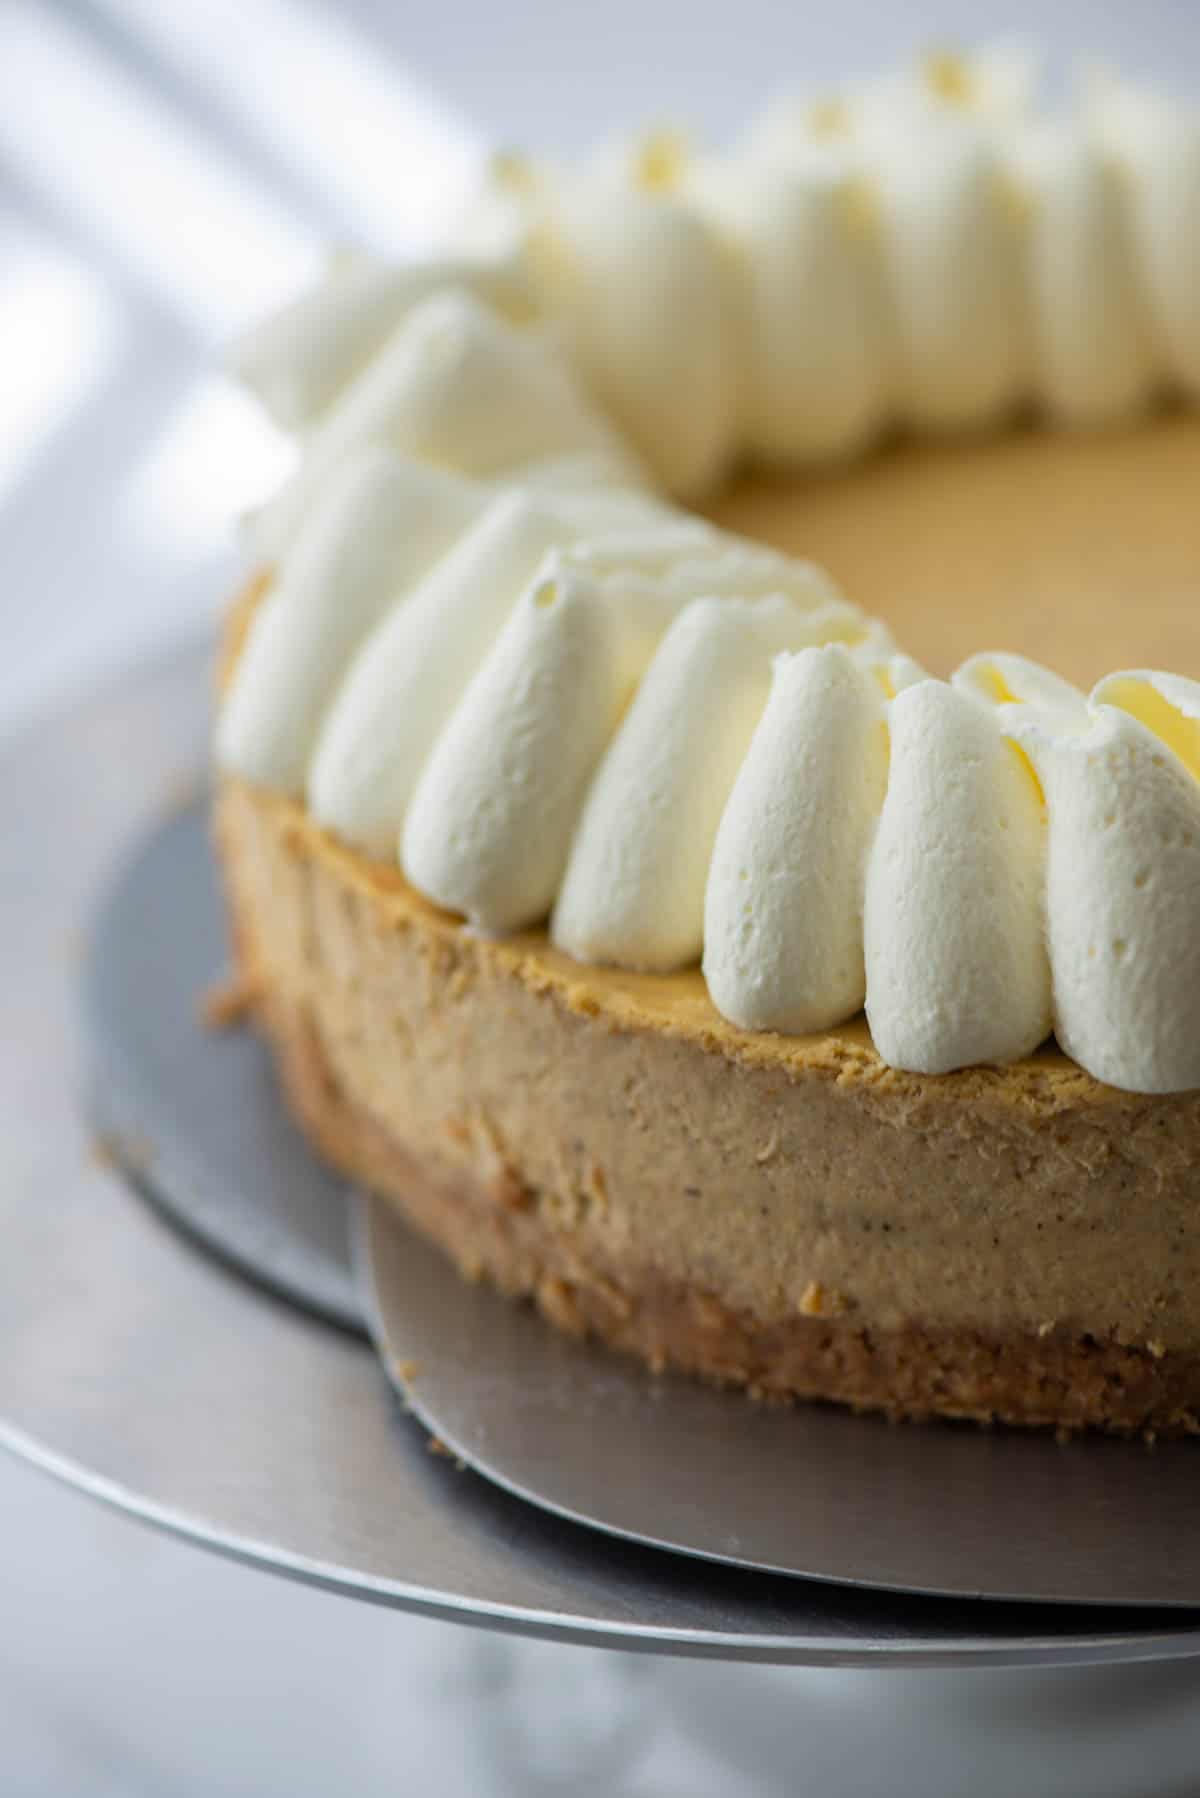
The reason we pack the graham cracker crust tightly, but not too tightly, into the springform pan is so that we can easily remove the bottom of the springform pan without the curst crumbling. After the rim of the springform pan is off, take a cake lifter (or metal pizza peel or a very large spatula) and gently slide it in between cheesecake crust and bottom of springform pan. Don't lift the cheesecake up in the air (especially if the whole crust is not supported). Rather, use the cake lifter to slide the cheesecake off of the springform bottom onto the serving plate. You can buy a cheap cake lifter on Amazon or like at a Hobby Lobby type store in the baking section. If you're using a large metal spatula, run it under the entire outer edge first before using it to slide the cheesecake. [See photo below.]
The moat method creates a barrier between the springform pan and the direct heat of the oven. Kind of like in the olden days when castles used moats to protect the castles from invaders! So, in the moat method, we place the springform pan into a larger cake pan before putting the cake pan into a larger roasting pan with the water bath. There ends up to be a moat (of air) that separates the springform pan from the cake pan and the water bath. I highly recommend doing it this way as it works every time. I've seen silicon springform covers on Amazon, but I have not tried them as they get mixed reviews.
Pairing
Looking for other recipes to pair with this? Try these:
Pumpkin Spice Cheesecake
Equipment
- 1 Stand up mixer or hand held mixer
- 1 8 or 9 inch springform pan
Ingredients
Graham Cracker Crust
- 2 cups graham crackers crumbs approx. 14 full crackers
- 2 tablespoon white sugar
- 8 tablespoon salted butter (one stick) melted
Cheesecake Filling
- 32 ounces cream cheese room temperature
- 1 cup white sugar
- 4 eggs room temperature
- 1 cup canned pumpkin puree
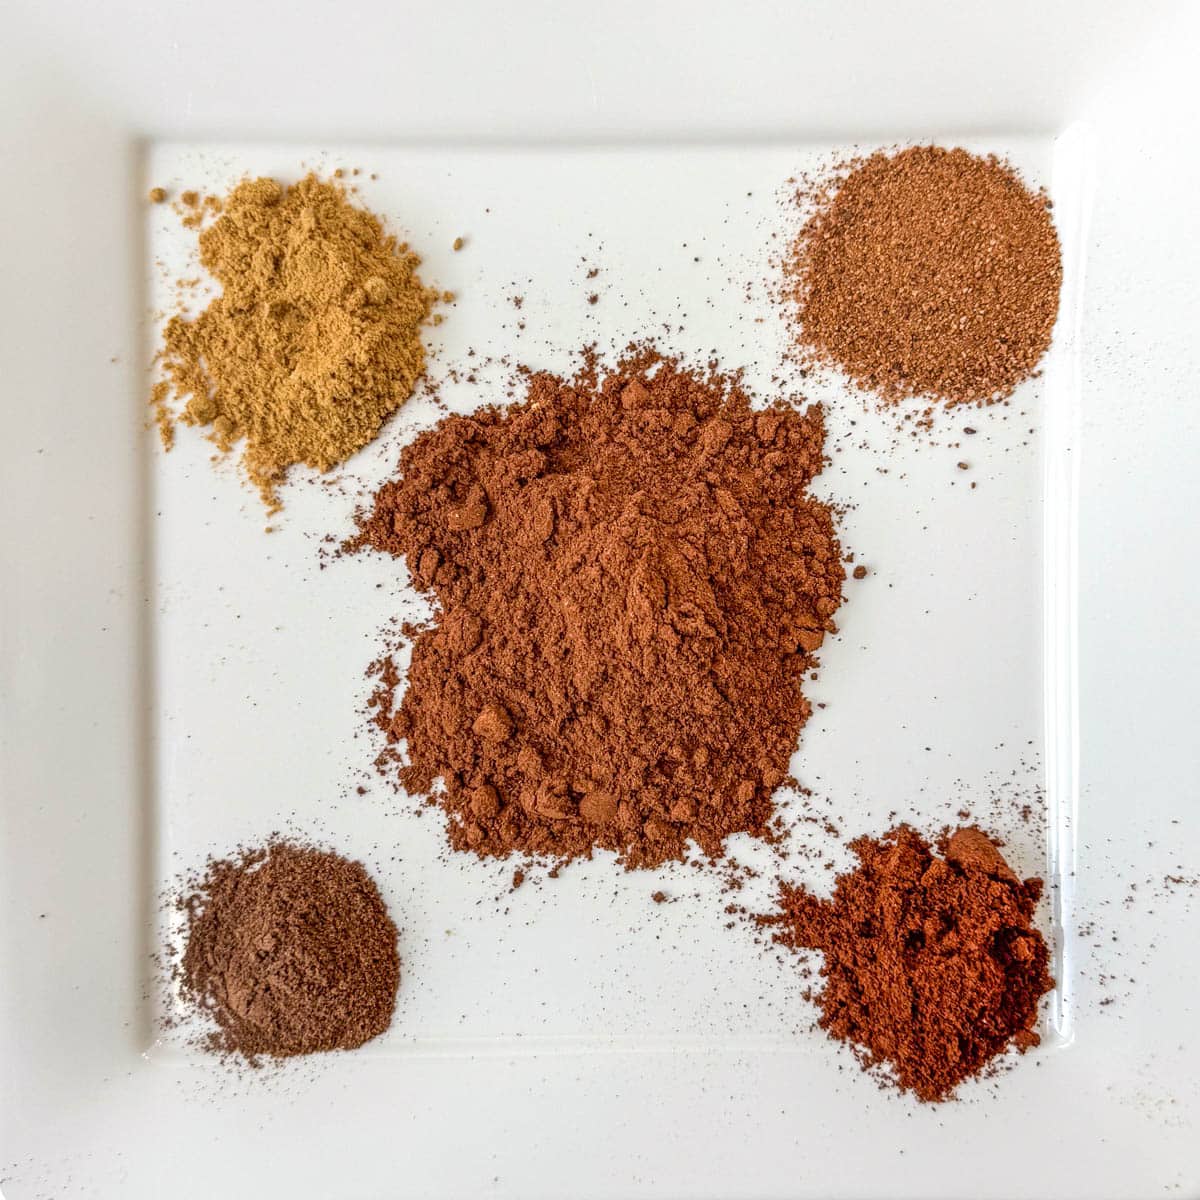
- 1 tablespoon pumpkin pie spice*
- 1 teaspoon vanilla
- ¼ teaspoon salt
Whipped Cream Topping (optional)
- 2 cups heavy whipping cream
- ½ cup powdered sugar
Instructions
Make the Crust
- Preheat oven to 325°. Spray 8 or 9 inch springform pan with cooking spray and set aside.
- Use a food processor to grind the graham crackers into mostly fine crumbs. (It doesn't have to be all super fine though.)
- Mix the graham cracker crumbs, melted butter and 2 tablespoons of white sugar together until well combined.
- Add the graham cracker mixture to the springform pan. Pat down flat with hands or a flat bottom glass or measuring cup with medium pressure. It should be packed firmly but not too hard.
- Bake for 8 minutes and set aside to cool.
Make the Filling
- Place the room temperature cream cheese into the mixing bowl and mix on low speed until creamy and all lumps are gone. Scrape down the sides of the mixing bowl.
- Add the white sugar to the cream cheese in the mixing bowl and mix on low speed until well combined. Scrape down the sides of the mixing bowl.
- Next, add the pumpkin puree, pumpkin pie spice, vanilla and salt to the mixing bowl and mix on low speed until well combined. Scrape down the sides of the mixing bowl.
- Add the eggs to the mixing bowl one at a time. Mix on low speed until each egg is combined before adding the next egg. Between eggs, scrape down the sides of the mixing bowl.
Bake and Cool the Cheesecake
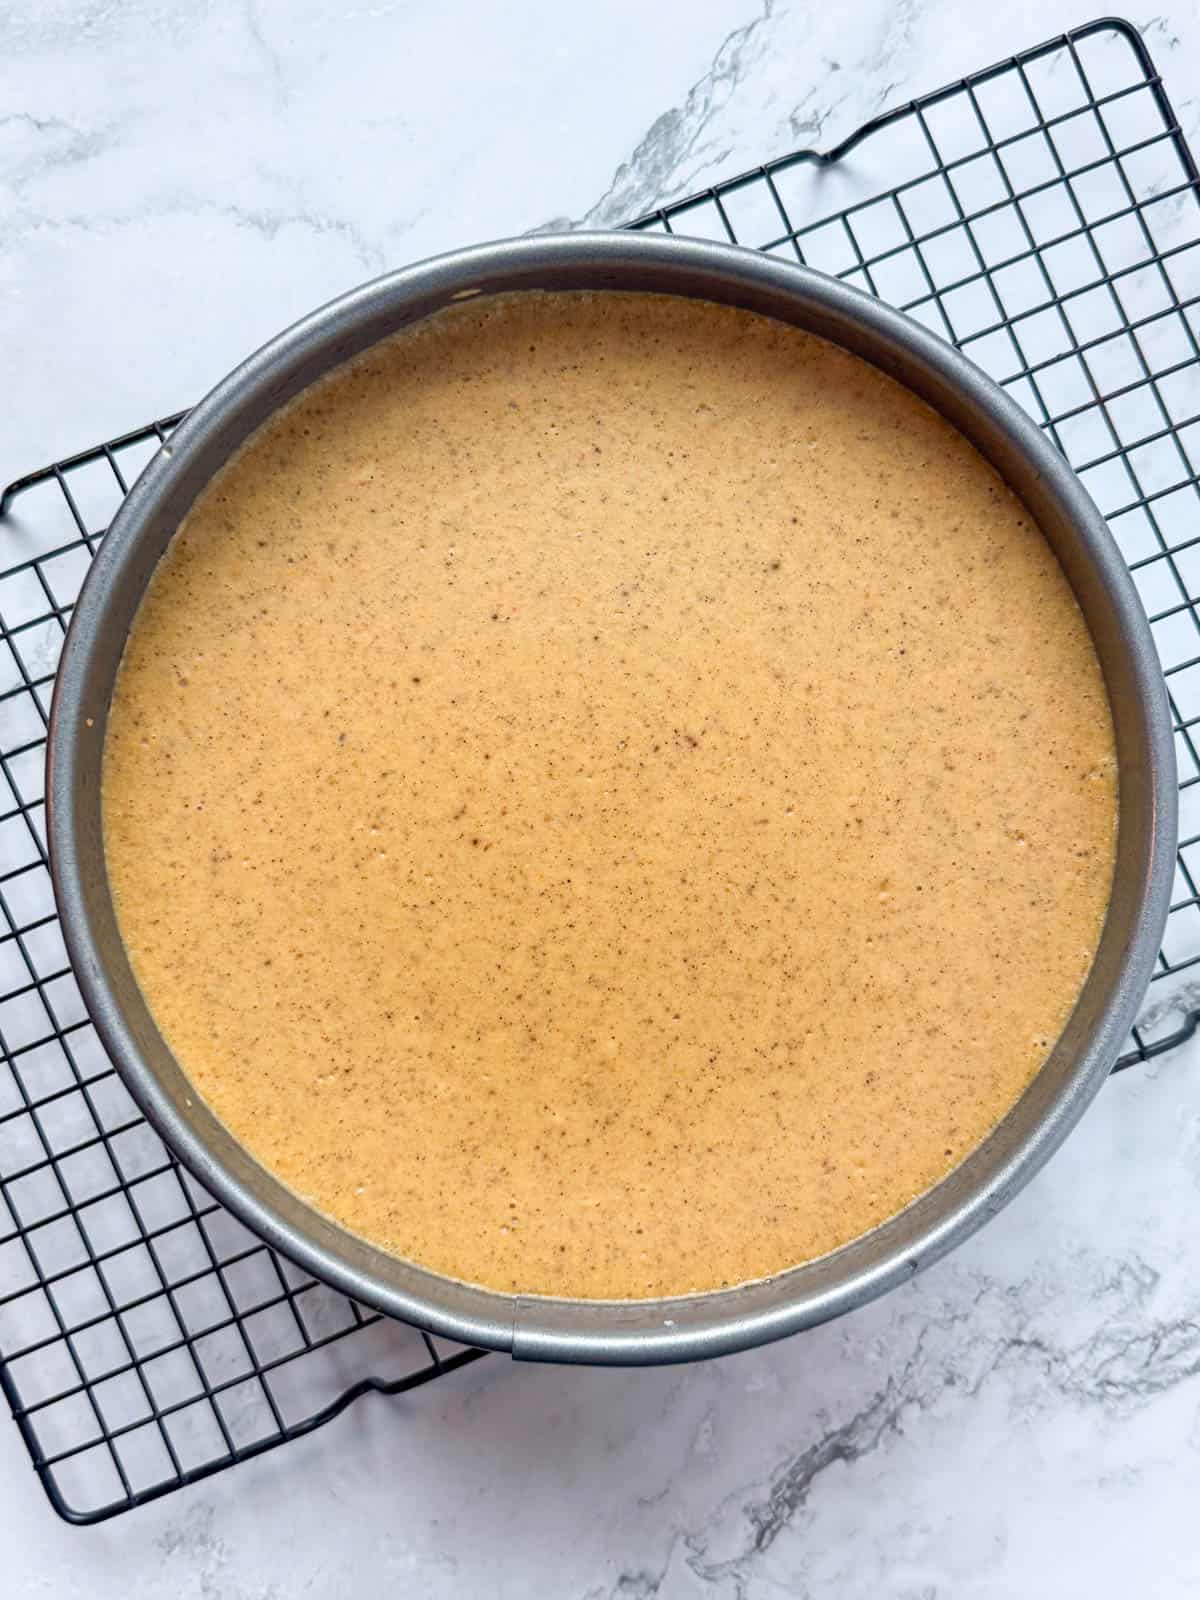
- Add the filling to the springform pan. Place the springform pan in a larger cake pan (or cover sides of springform pan with aluminum foil). Fill roasting pan with one inch of water. Carefully add the cake pan with springform pan into roasting pan. Or, alternatively, add the springform pan wrapped in aluminum foil into roasting pan. [See FAQ or post description on why the moat method is preferred.]
- Bake at 325° for about 60 minutes until center is mostly set. Then, turn off the oven and open the oven door to start cooling. Leave alone for two hours. After two hours, remove the cake pan (or wrapped springform pan) from the oven and the water bath and let cool on cooling rack until room temperature.
- Before placing in the refrigerator, run a knife around the edges to loosen the cheesecake from the sides. Cover and refrigerate a minimum of 6 hours but preferably overnight or longer.
- After 6 hours, or preferably the next day, remove the rim. Also, remove the cheesecake from the bottom of the springform pan (see FAQ if needed) if so desired and top with favorite topping like whipped cream topping.
Whipped Cream Topping (optional)
- Put the metal mixing bowl in the refrigerator or freezer until cold.
- Add the heavy whipping cream and powdered sugar to the mixing bowl and mix on medium-high to high speeds until stiff peaks form. The time this takes depends on how cold the bowl and cream are as well as the speed of the mixing. Plan on 5-8 minutes but watch it carefully once it starts to fluff. You can stop the mixer at any time and check for stiff peaks. If the consistency is not at stiff peaks then continue mixing and checking.
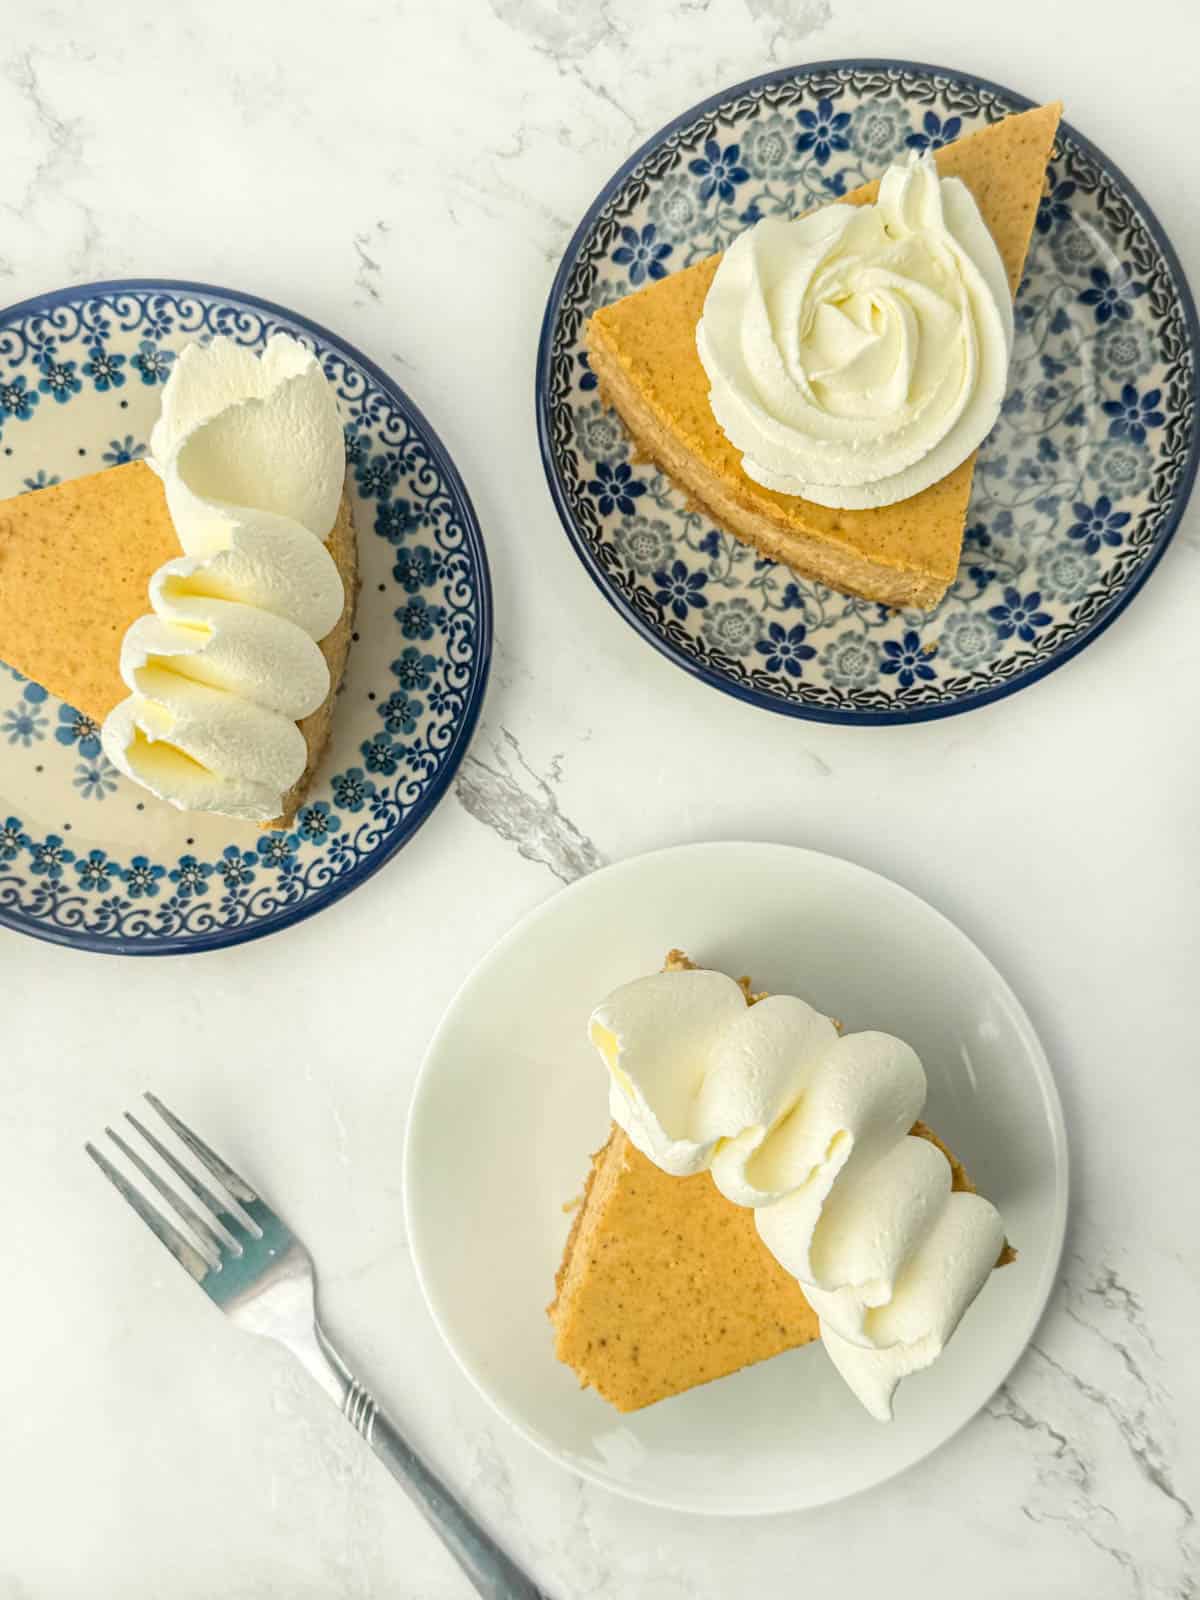
- Spoon or pipe on the whipped cream topping to entire cheesecake or individual pieces as desired.
Notes
- 1 and ¼ teaspoon cinnamon
- ½ teaspoon ground ginger
- ½ teaspoon ground cloves
- ¼ teaspoon ground nutmeg
- ¼ teaspoon ground allspice
Would you like to save this?
Don't worry! We won't spam you!

Leave a Reply