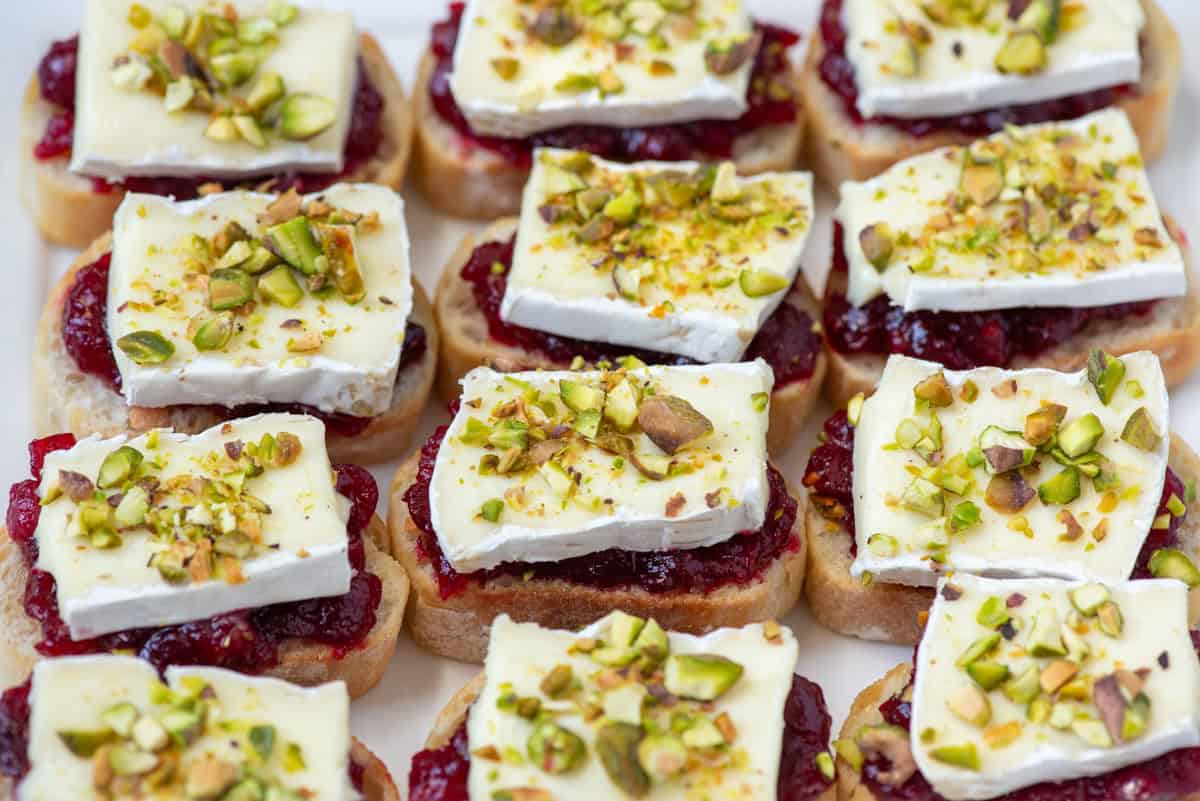
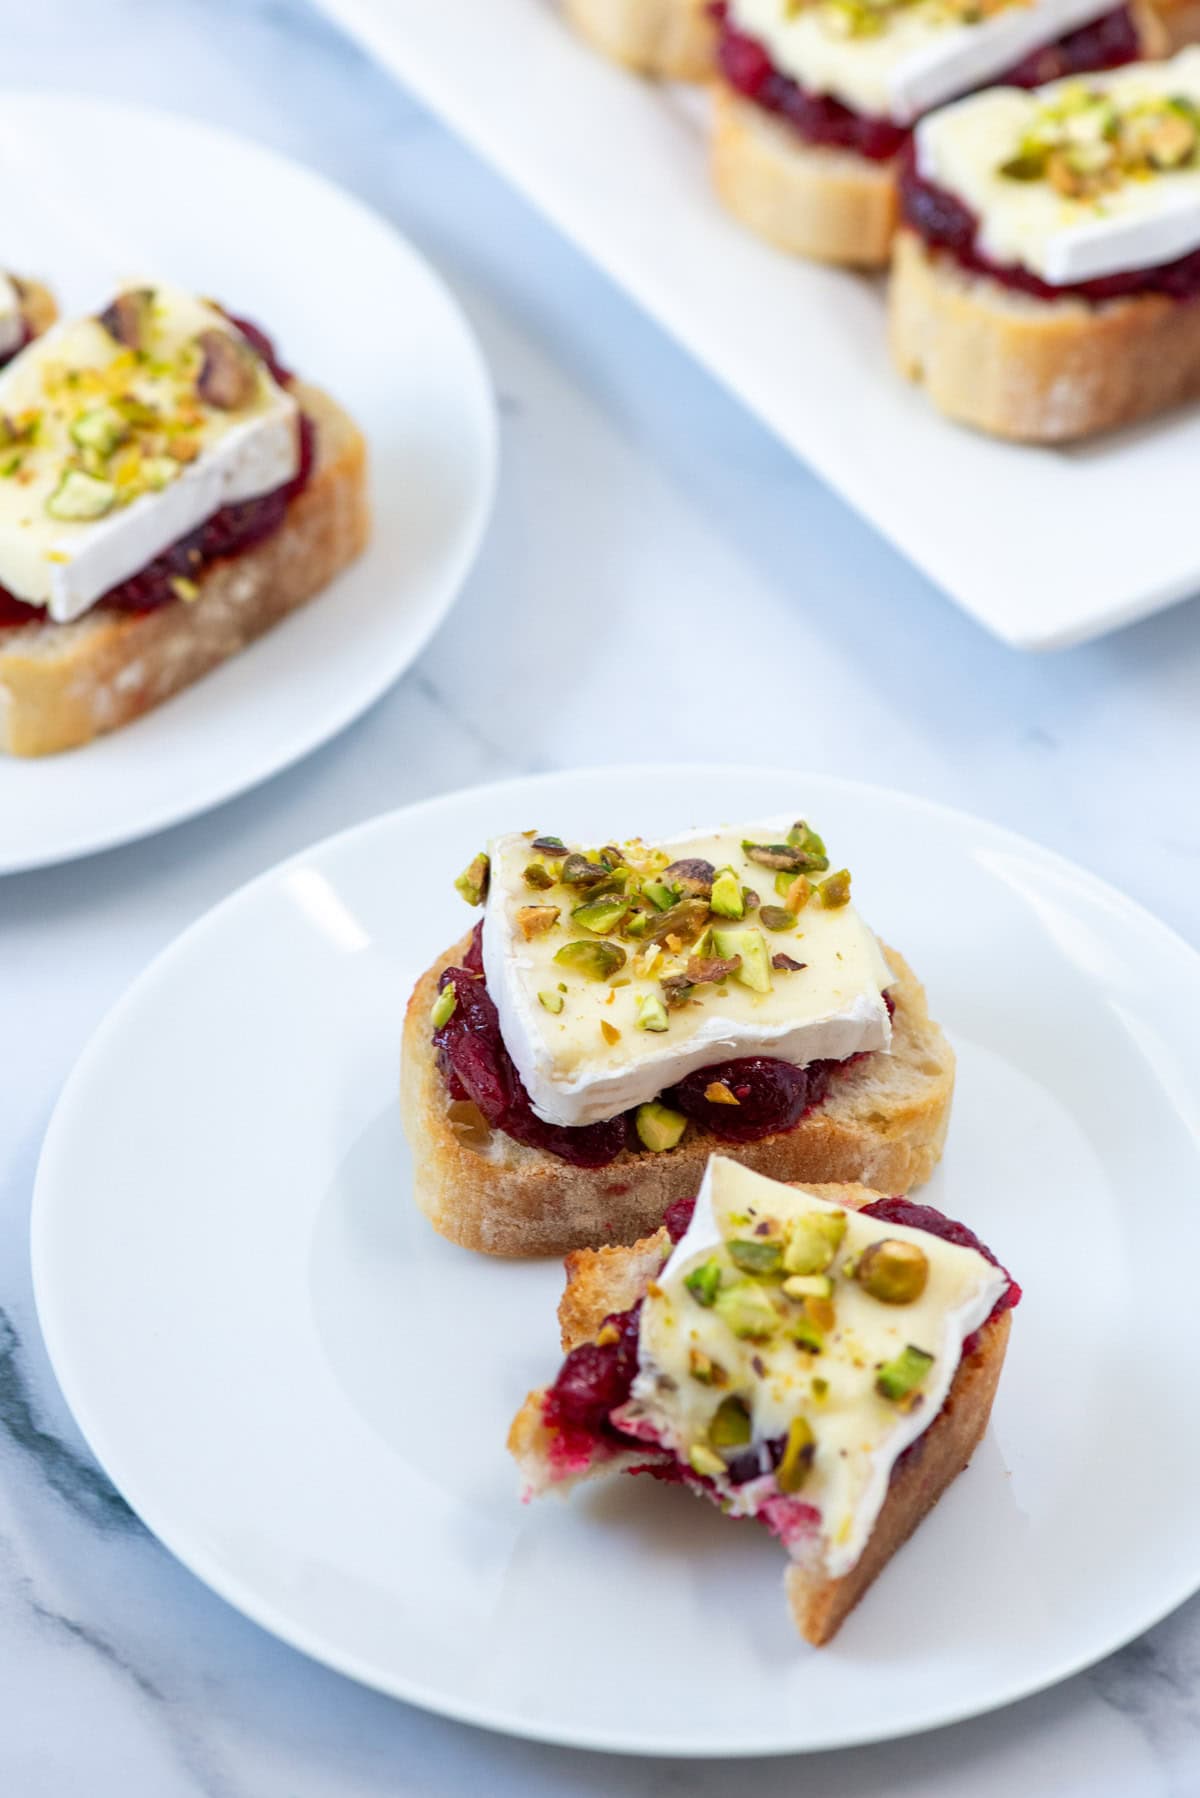
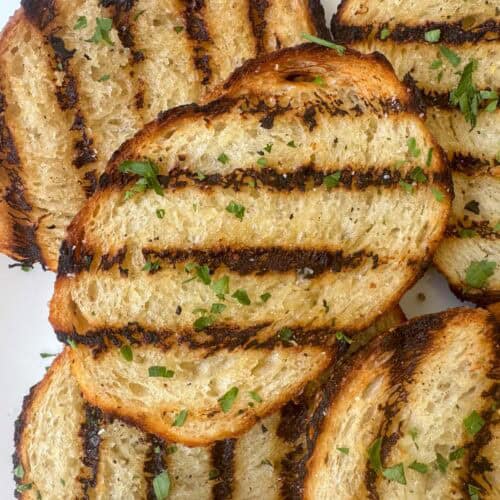
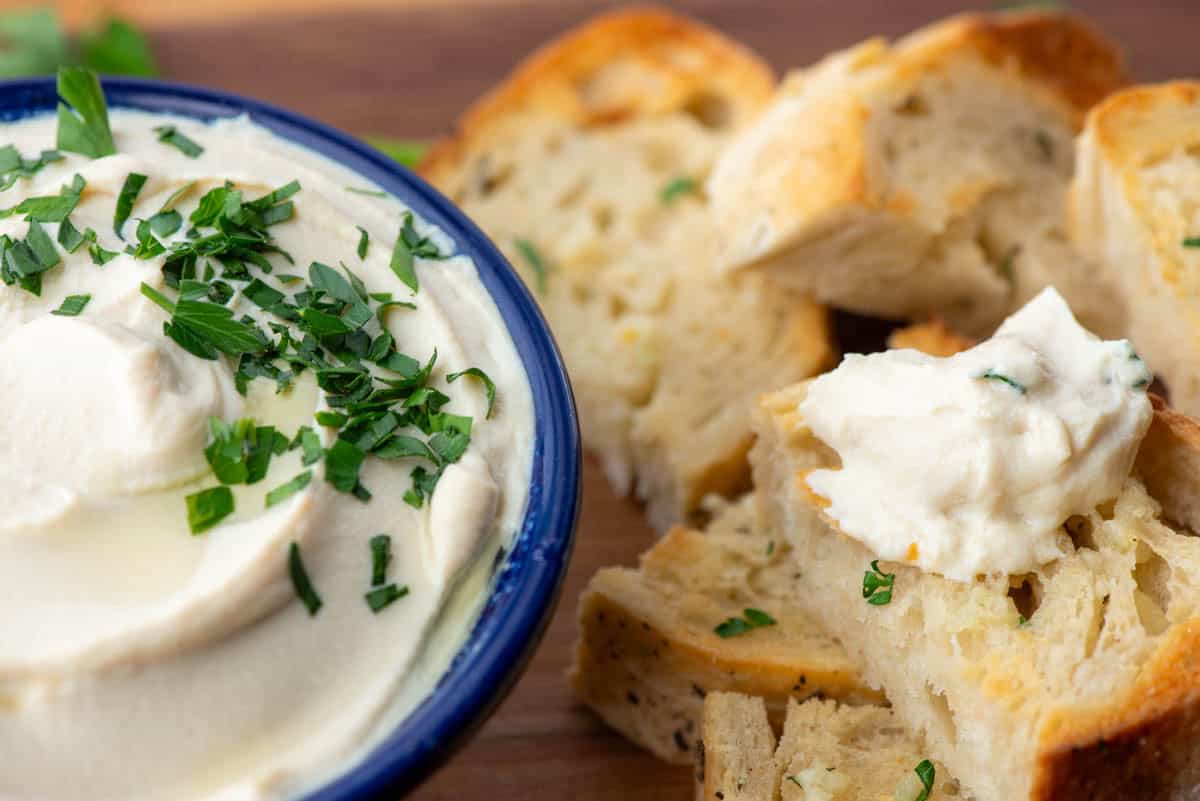
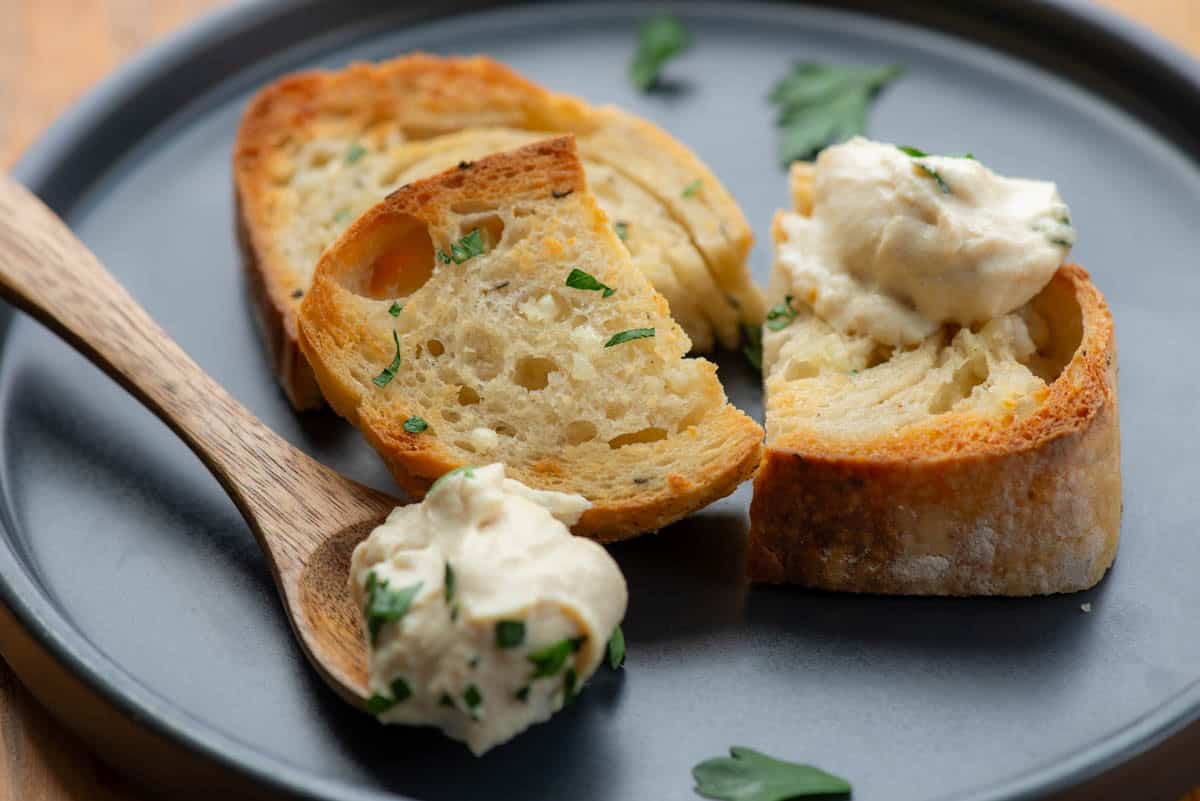
Cranberry brie crostini bites with pistachios are a quick and elegant appetizer that always impresses. Crisp toasted baguette slices are topped with sweet and tangy cranberry sauce, creamy brie slices and a sprinkle of crunchy pistachios. They are easy to assemble and perfect for get togethers.

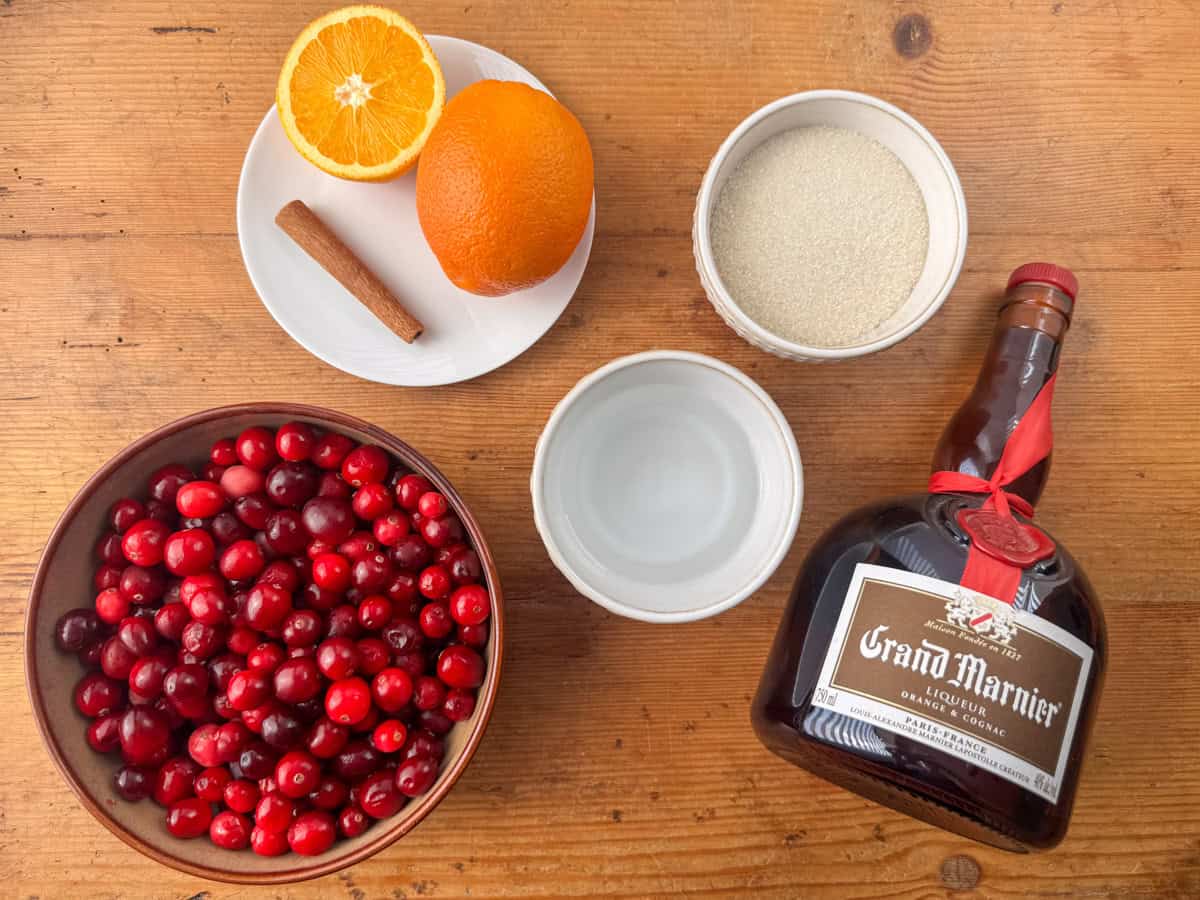
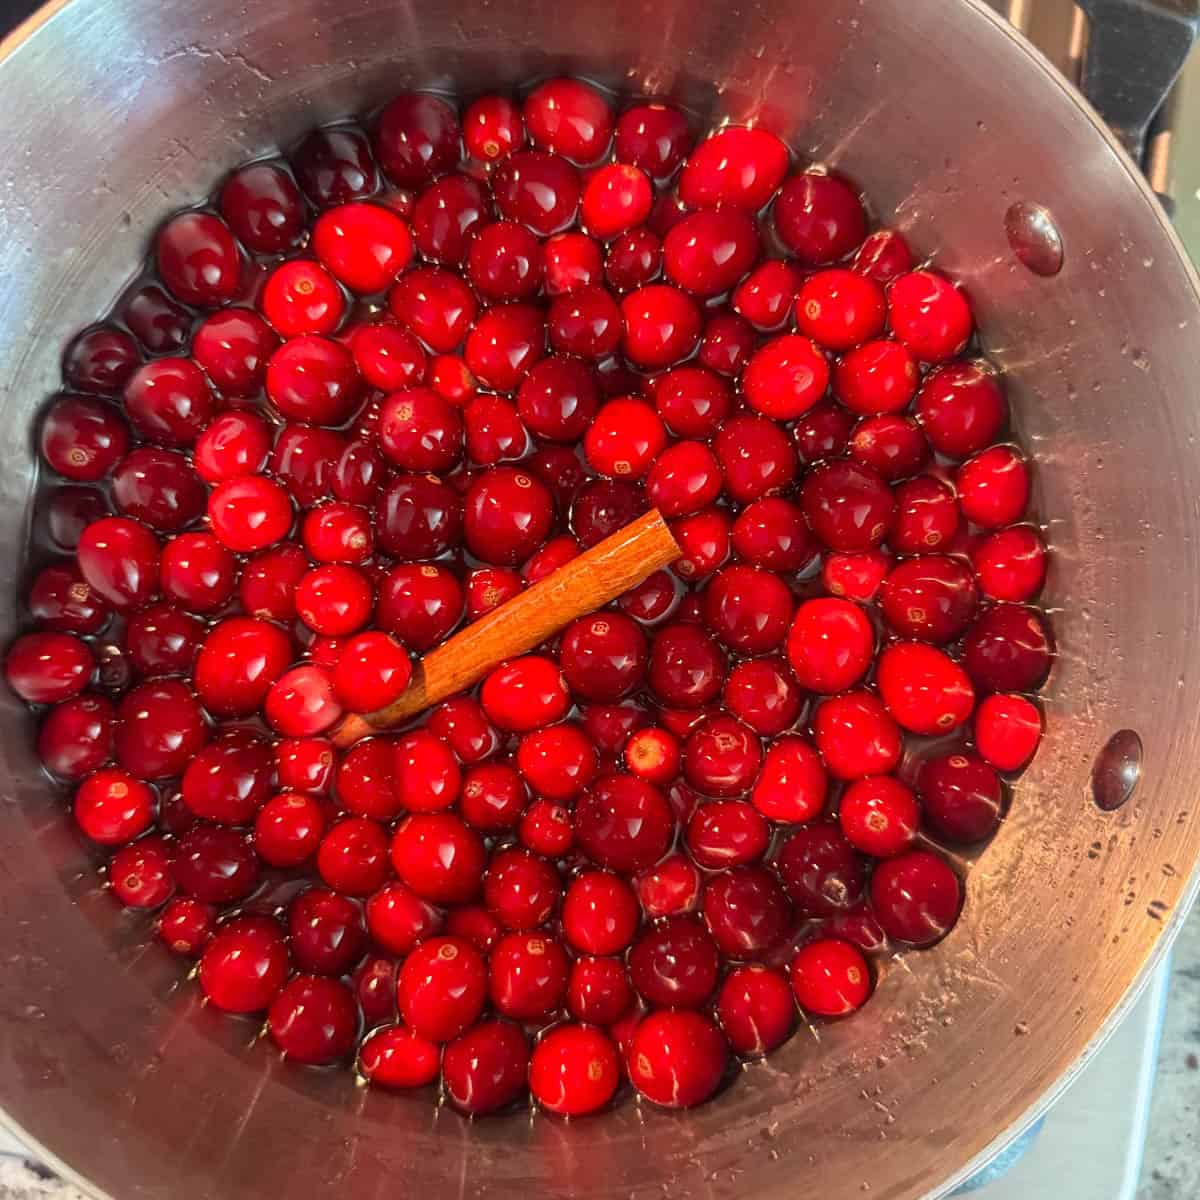
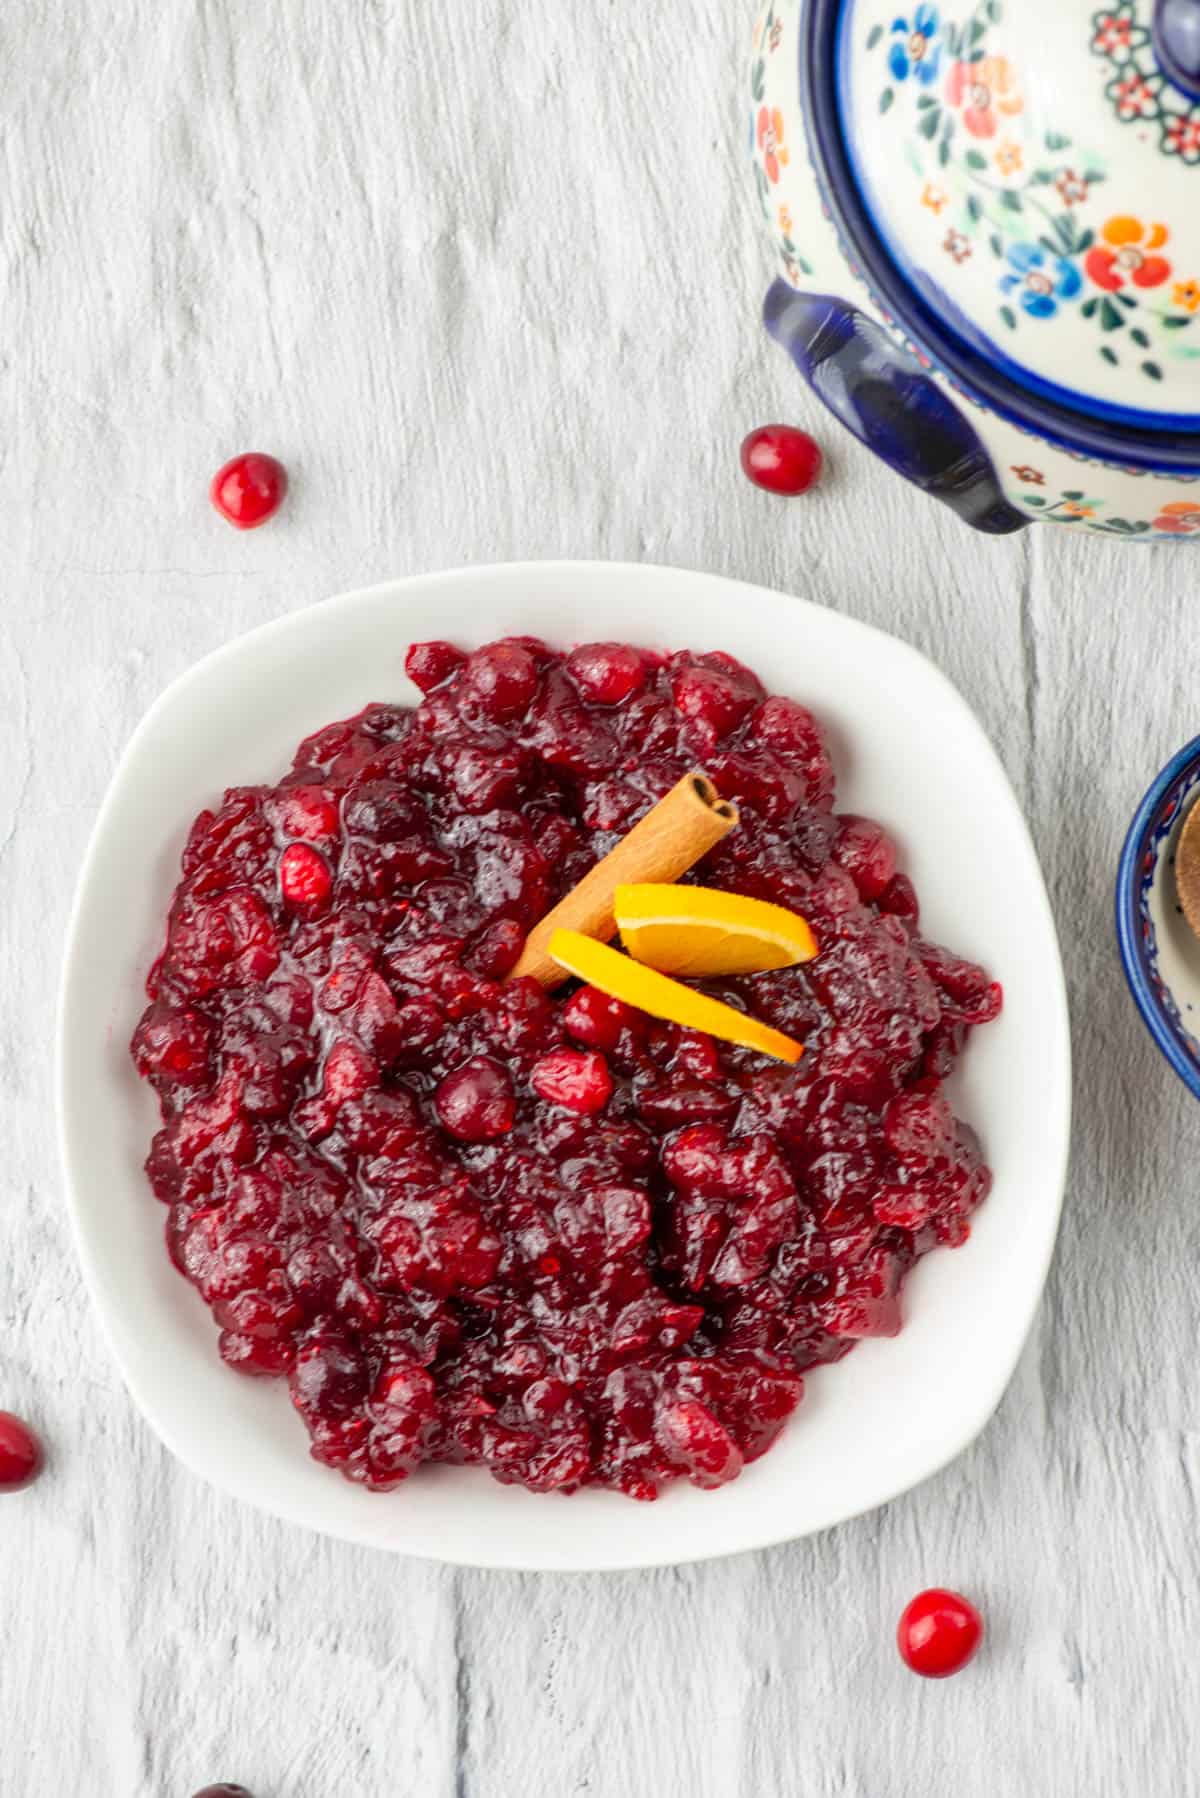
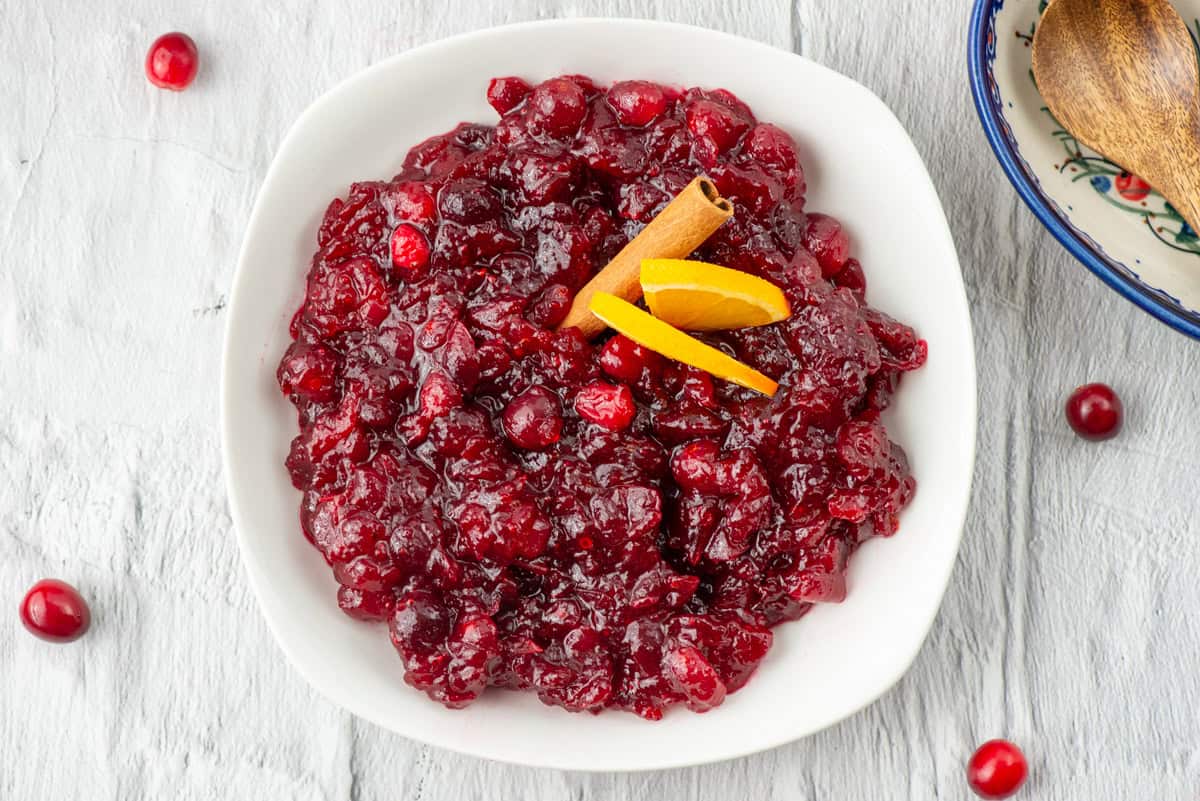
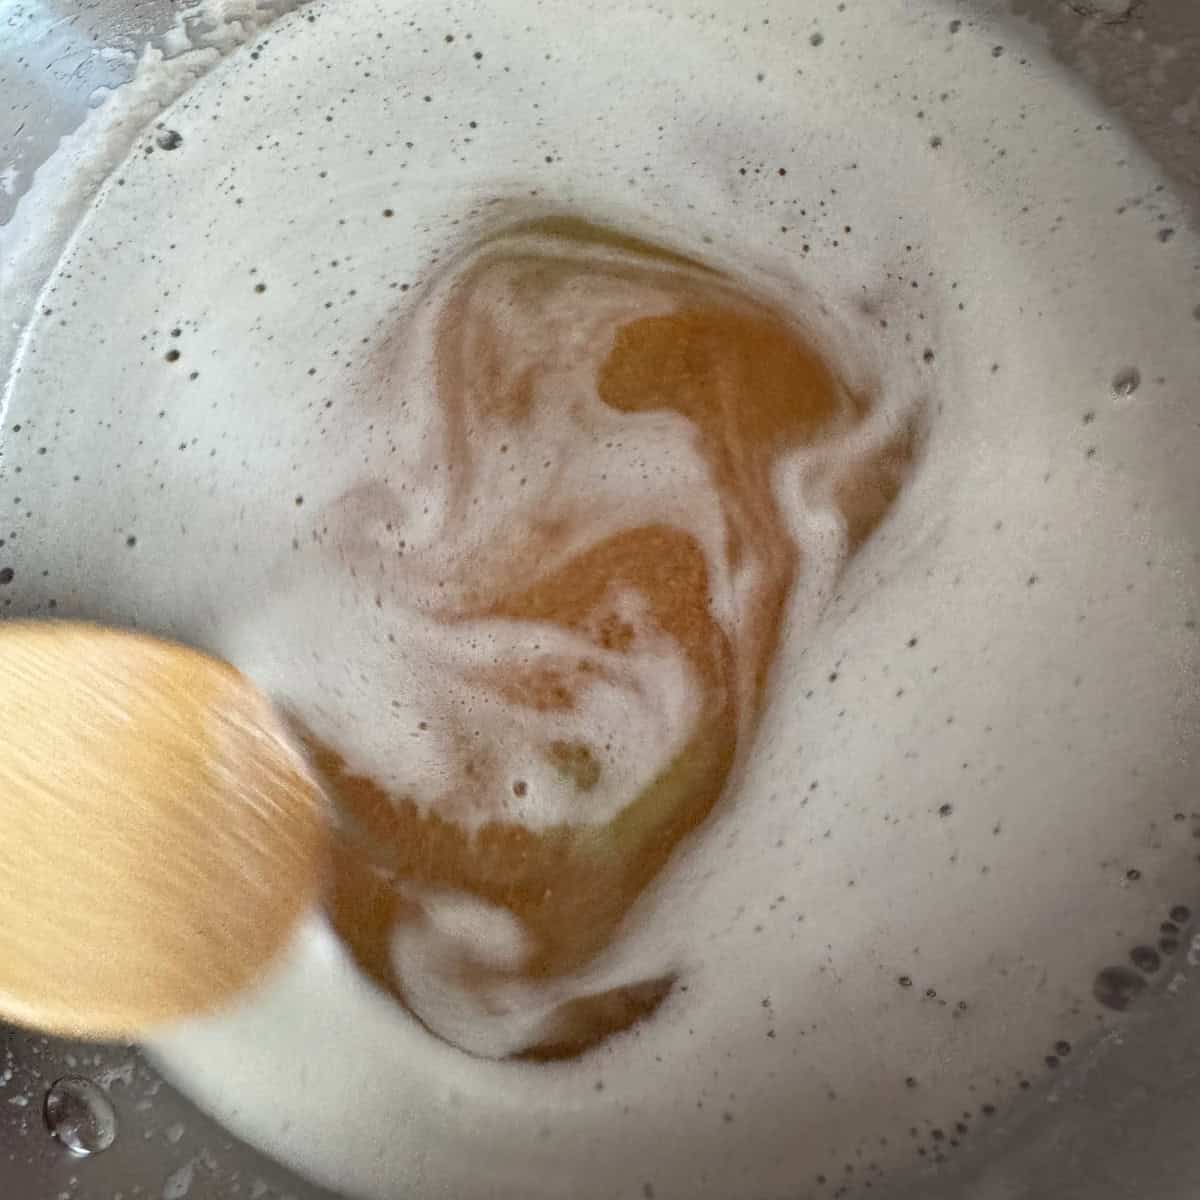
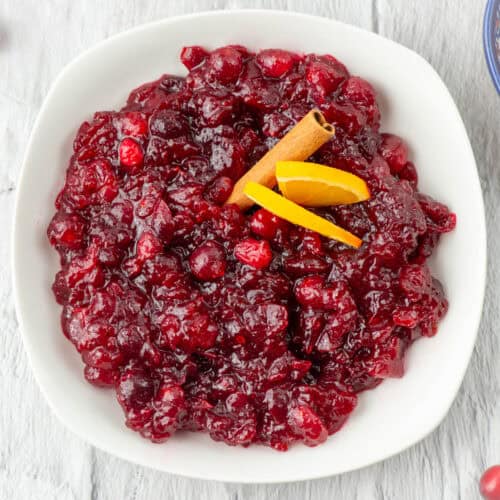
Cranberry sauce may be a holiday classic, but it doesn't have to be just a side dish. Whip up a double batch of homemade Grand Marnier cranberry sauce and you've got options. Save half for your holiday dinner, then use the rest to make these festive cranberry brie crostini bites as an appetizer. All it takes is a few additional ingredients...a baguette, a little brie, and a sprinkle of pistachios for an appetizer that feels like it was made to match the meal. Or maybe you have leftover cranberry sauce? Don't toss it! Use it for these irresistible bites and watch them disappear fast.
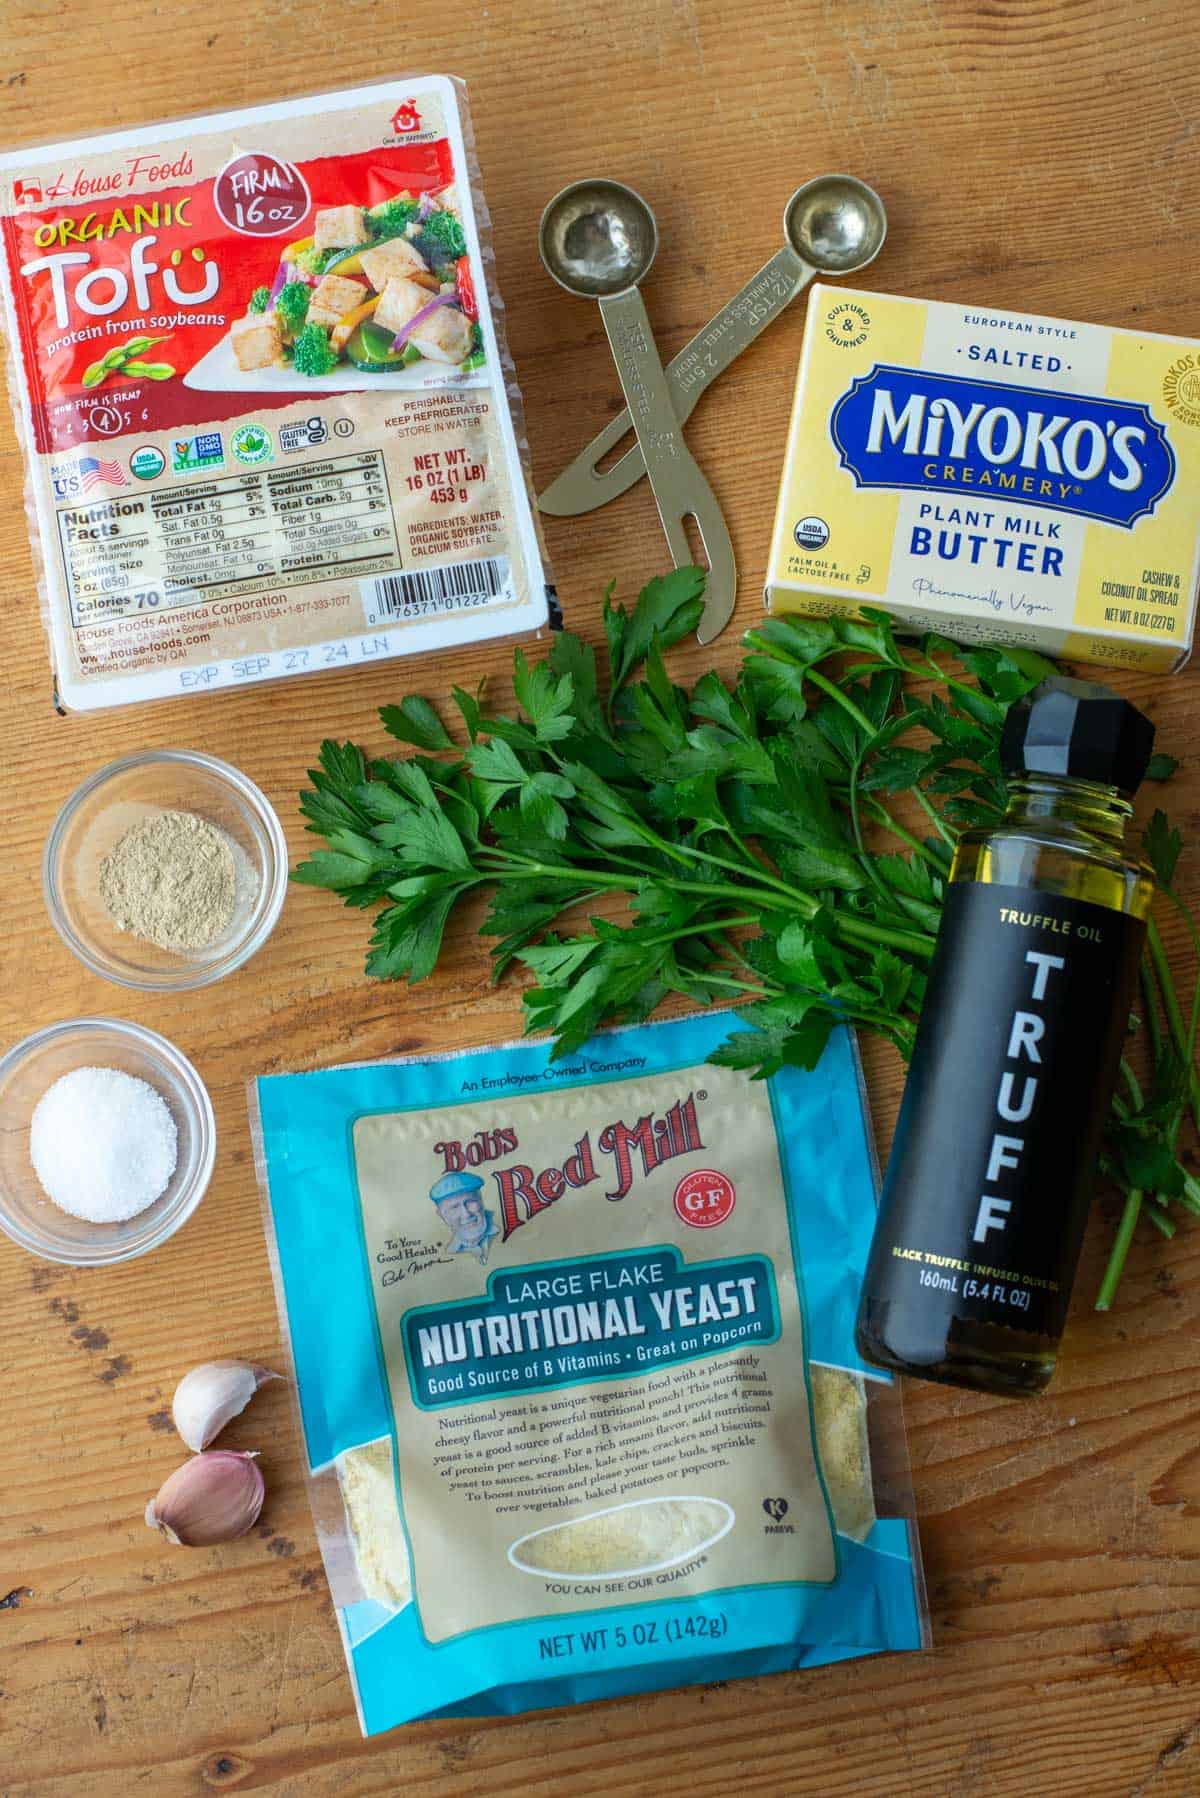
[feast_advanced_jump_to]Ingredients
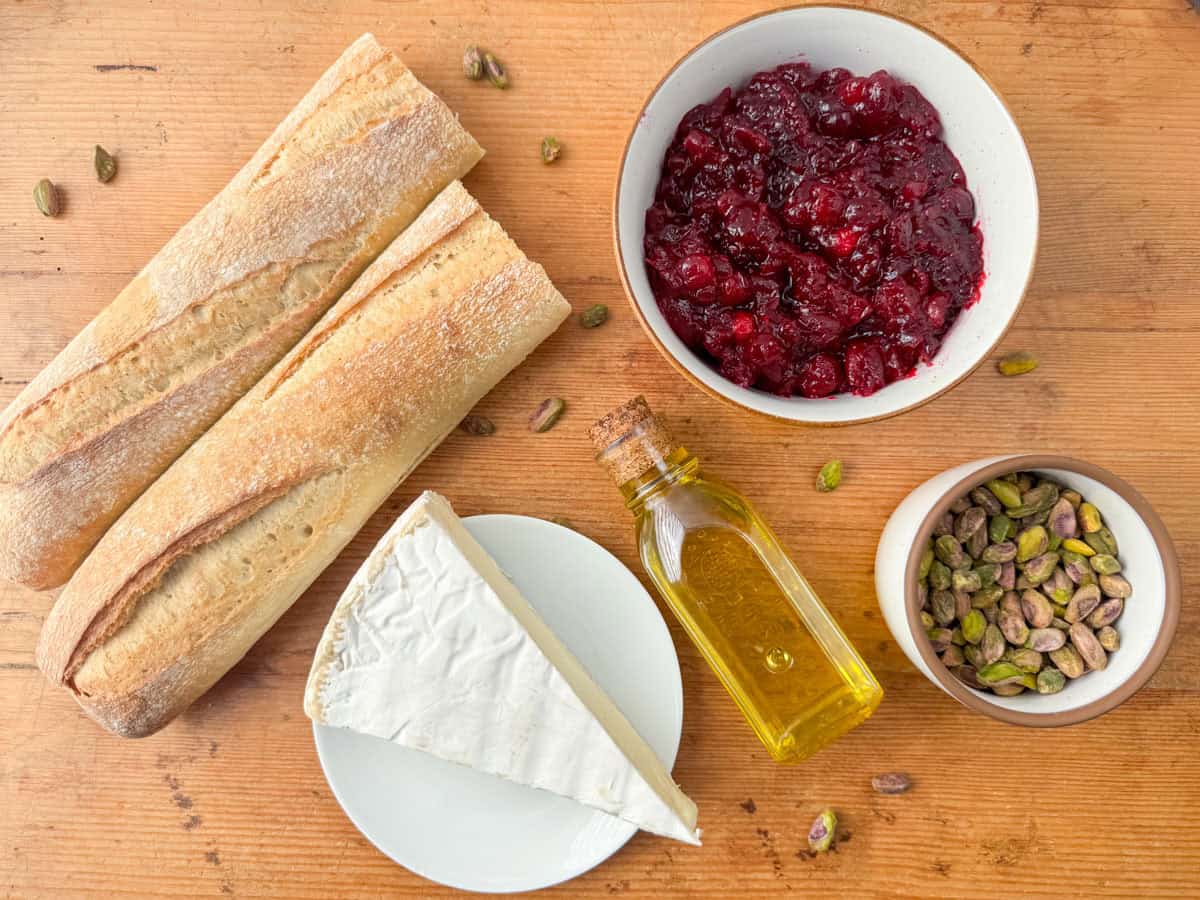
- Baguette
- Olive Oil
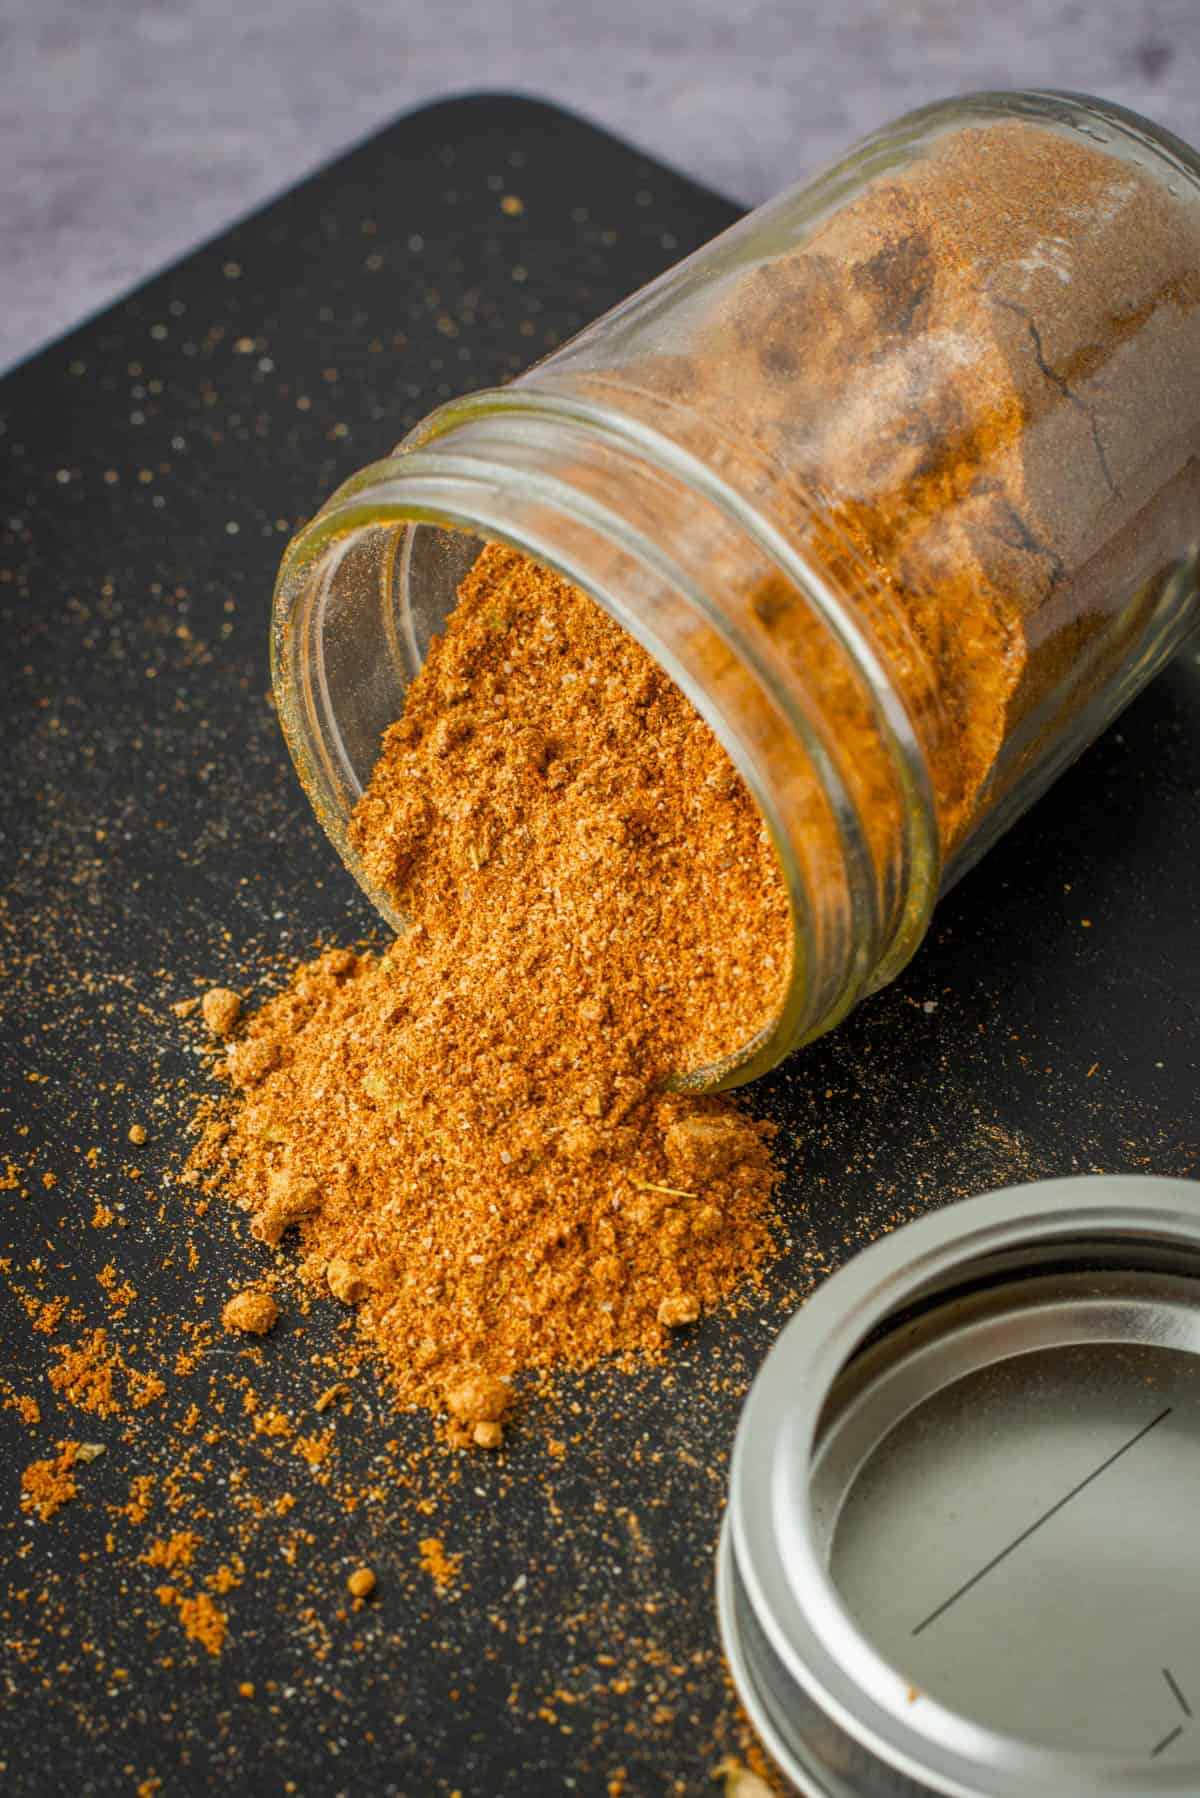
- Cranberry sauce (homemade or store bought)
- Brie
- Salted pistachios
See recipe card for quantities.
Substitutions
- Gluten free - to make this recipe gluten free, use a gluten free baguette.
- Vegan - to make his recipe vegan, use a vegan baguette and a plant based brie.
- Pistachios - I highly recommend salted, roasted pistachios. That little salt adds a nice touch. You can use unsalted pistachios or even a different type of nut. Both pecans and walnuts would work well too.
- Cranberry sauce - you don't have to make homemade cranberry sauce, you can use canned sauce from the store. The holidays are busy, we get it.
Equipment
You'll need an oven, toaster oven or air fryer to make the crostini toasts.
Storage
If you have any leftover cranberry brie crostini bites, you can store them in an airtight container in the refrigerator overnight. The bread will lose its crispness even overnight though.
Next Level Tips
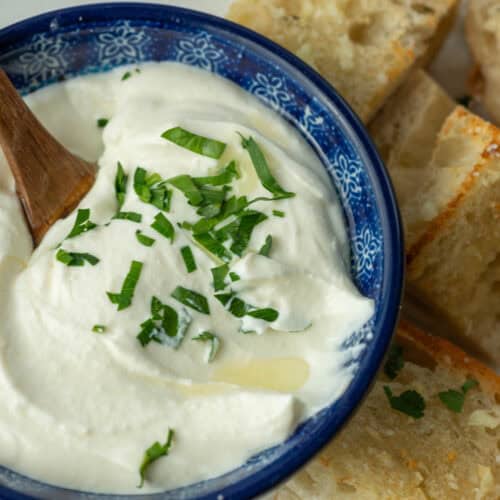
- You can warm the brie for this appetizer, however there's such a short window between warmed brie and melted, runny brie. In the U.S., everyone seems to want to melt brie. But we lived in Europe for 4 years, and the most common way to eat brie was room temperature with bread. Room temperature brie really allows the flavor to shine.
- Brie can be tricky to cut because it's a soft cheese. A cheese knife with holes is the best knife to use since it prevents sticking. But you can also use a sharp, thin knife. If you're still struggling you can also heat the knife blade with hot water, wipe it dry and then slice.
FAQ
Bruschetta is usually made with a large, rustic bread and then rubbed with garlic and topped with fresh ingredients. Crostini are smaller toasted slices, often from a baguette, that can hold cheese or a variety of other toppings. They are bite sized and often a bit more fancy, making them perfect for parties. It's becoming more common to slice bruschetta, like in my Caprese bruschetta or smoked salmon bruschetta recipes. If you want to use that type of bread, do it! You'll just have to cut the brie slices accordingly.

Related
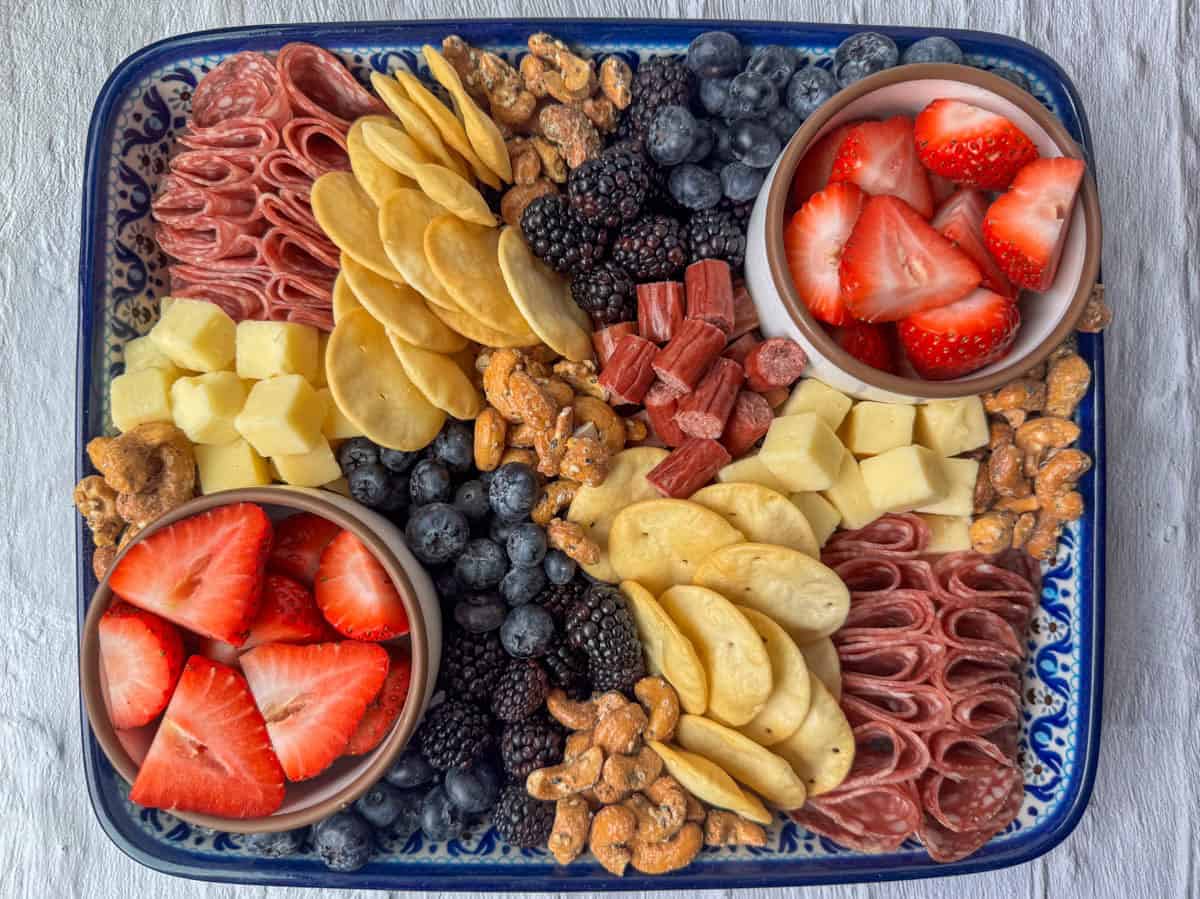
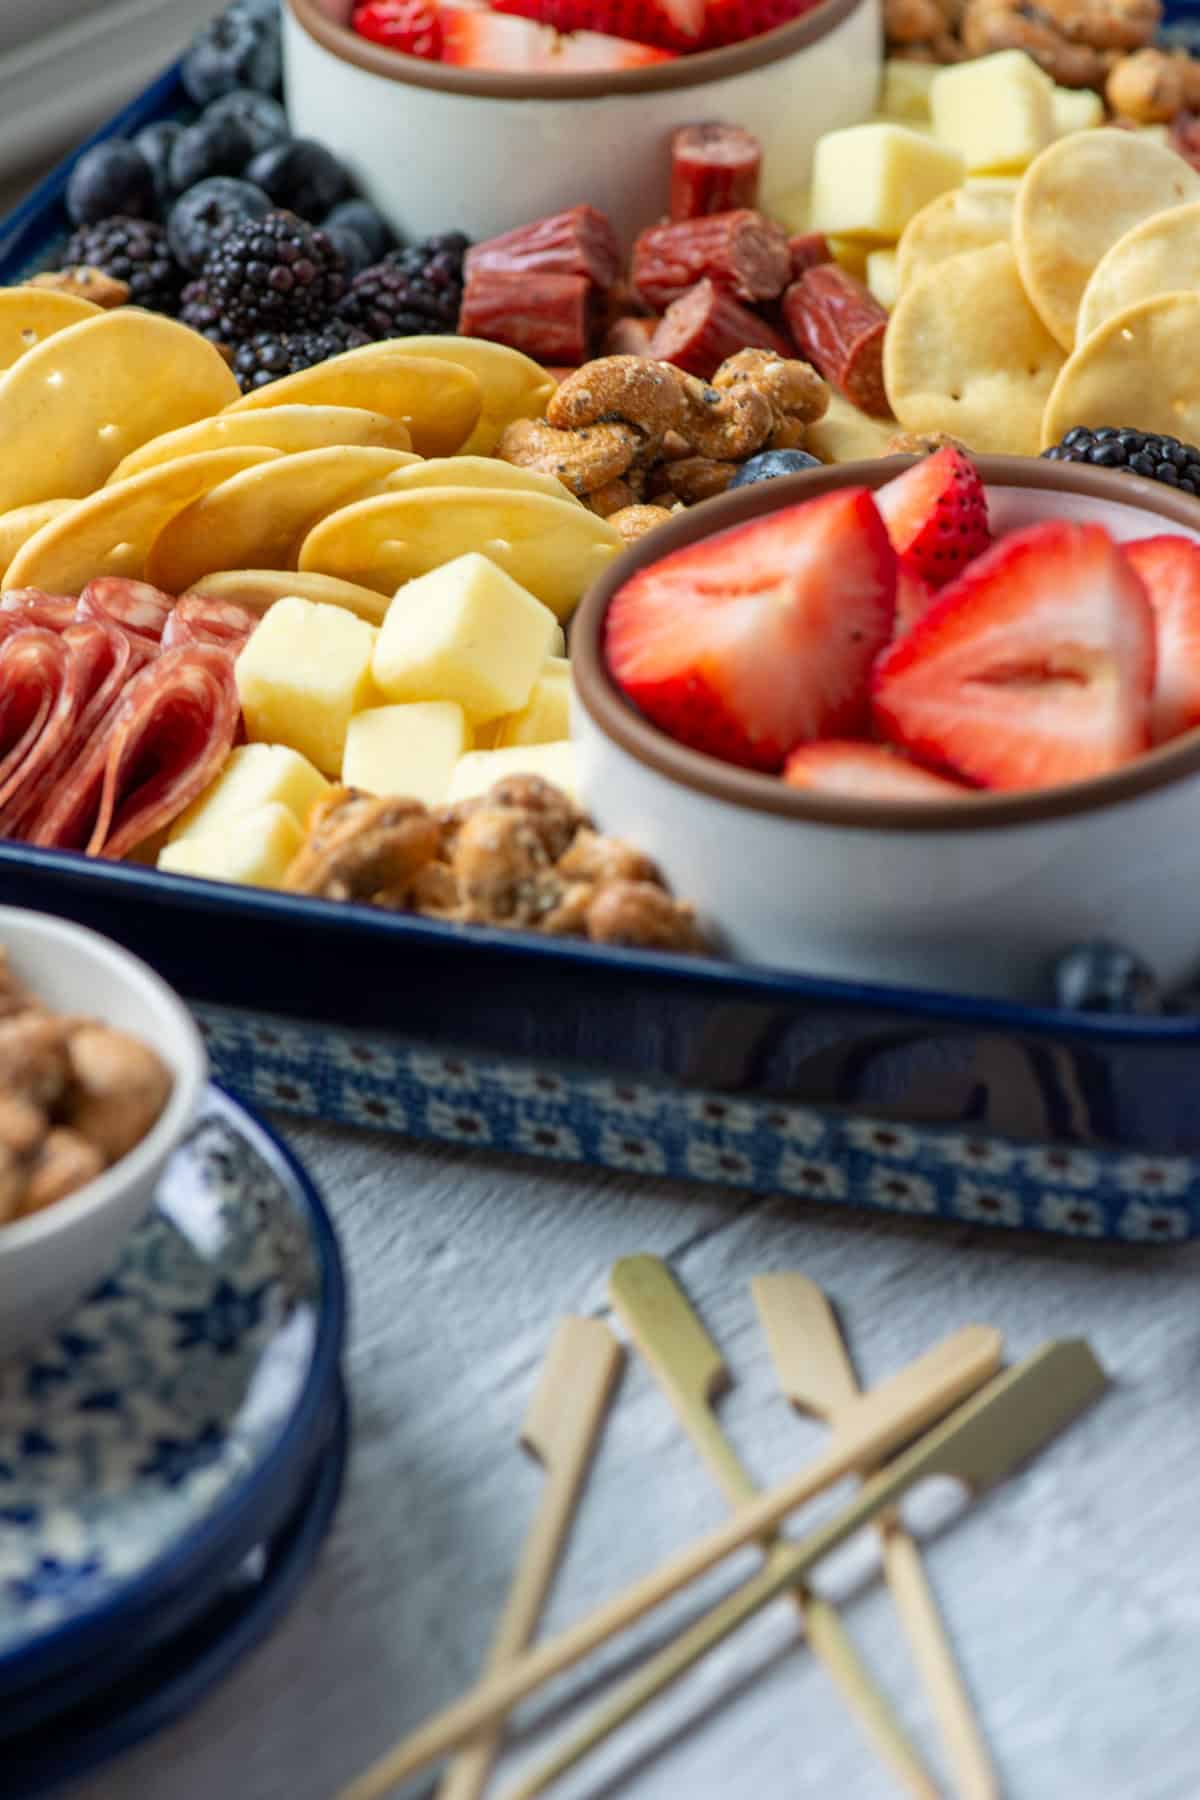
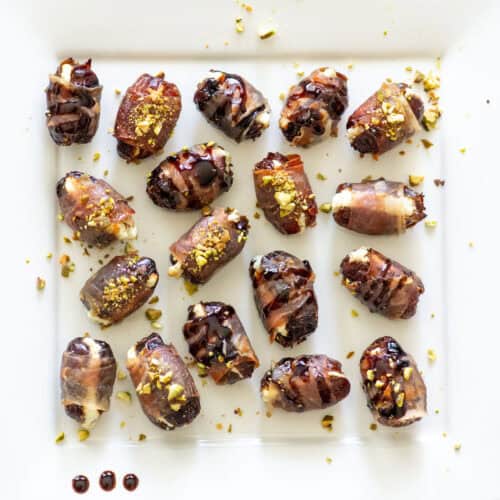
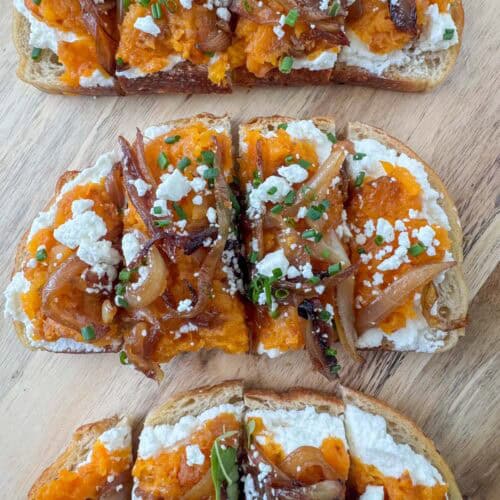
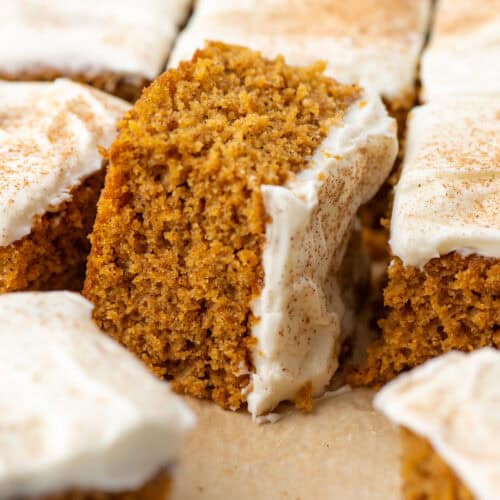
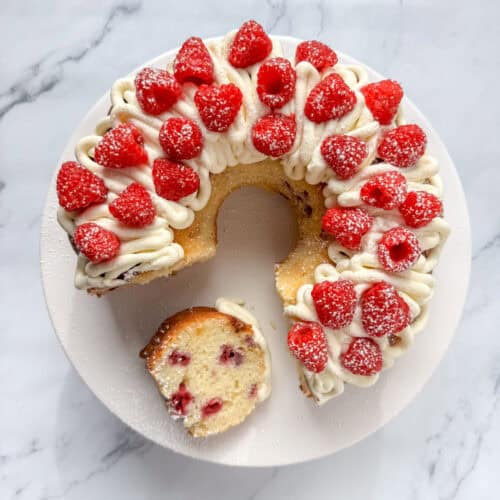
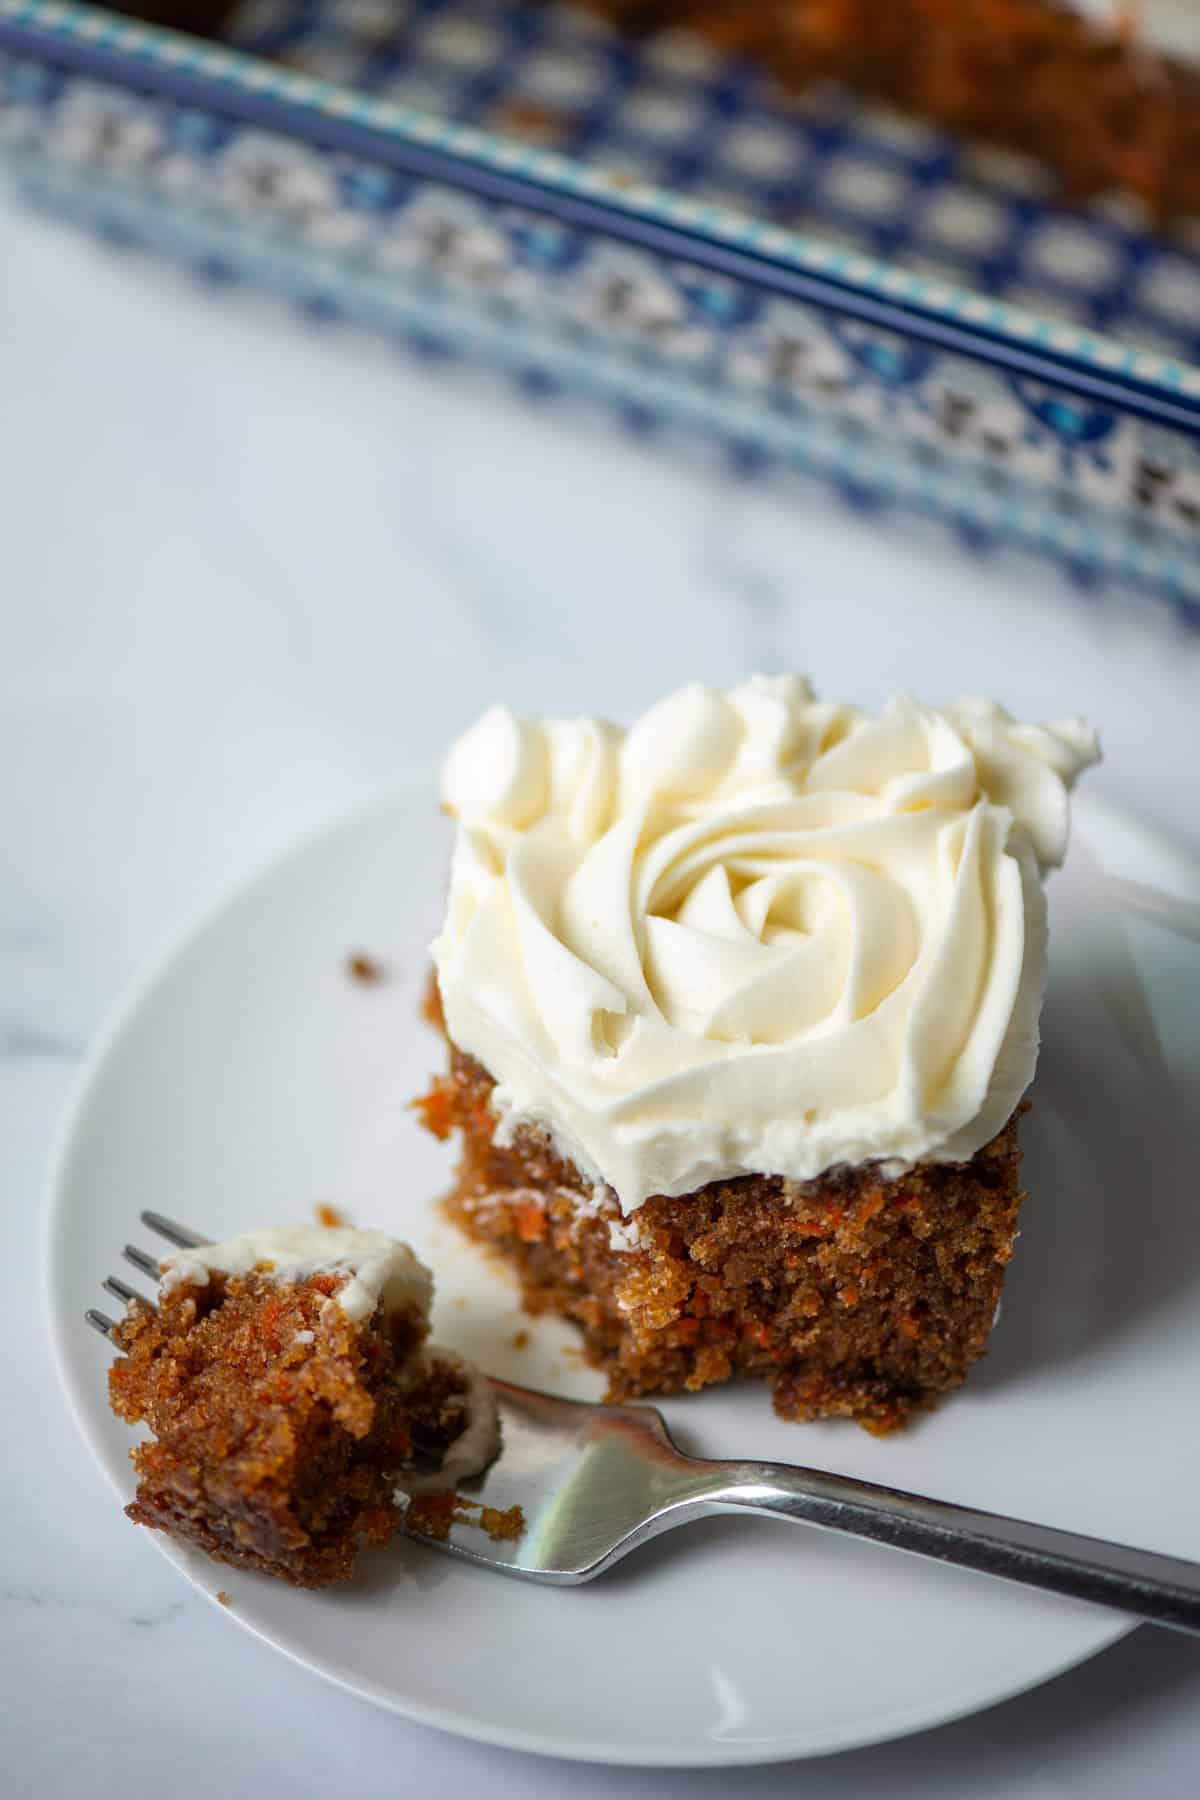
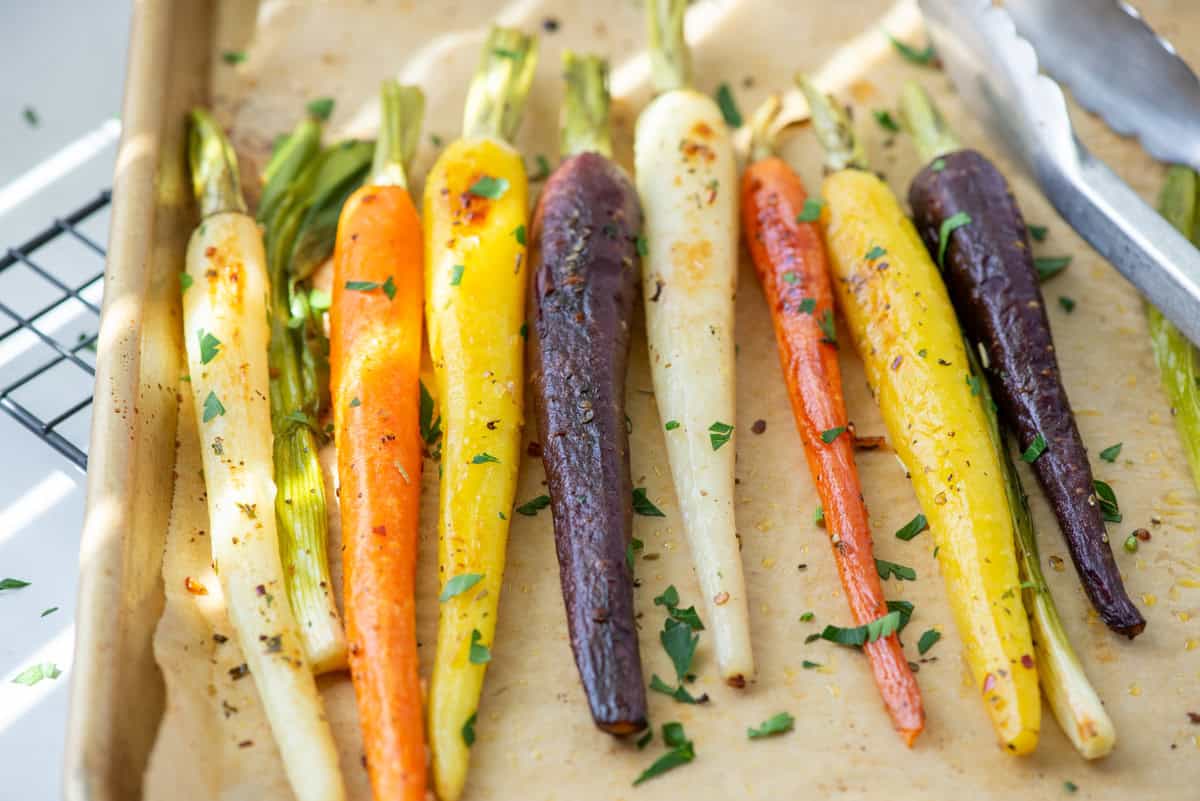
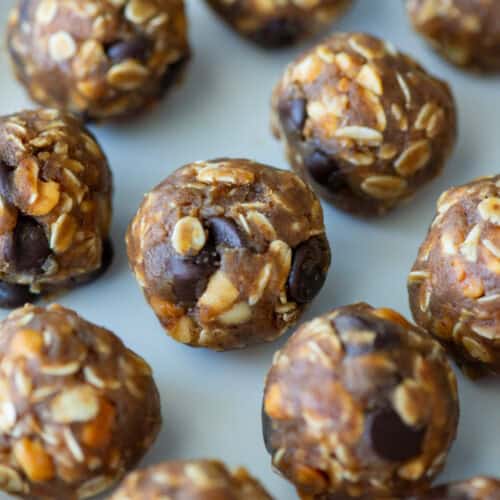
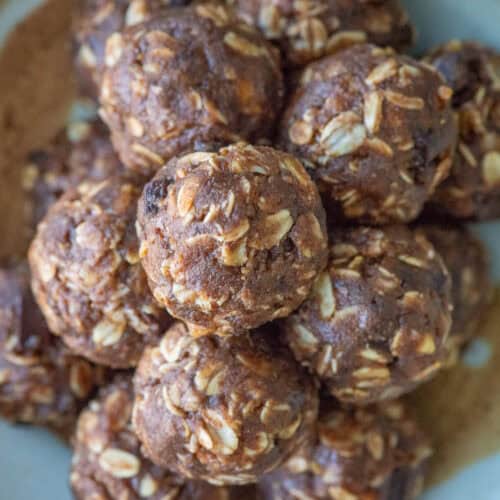
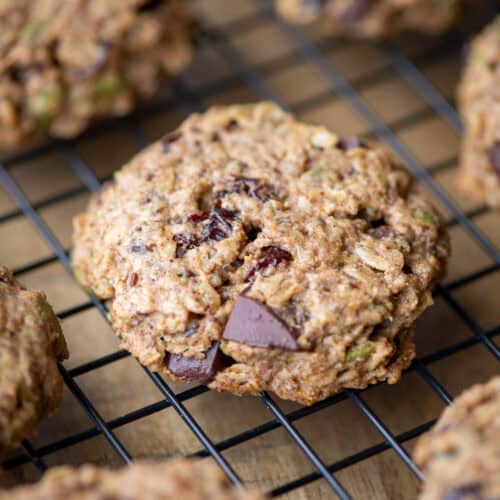
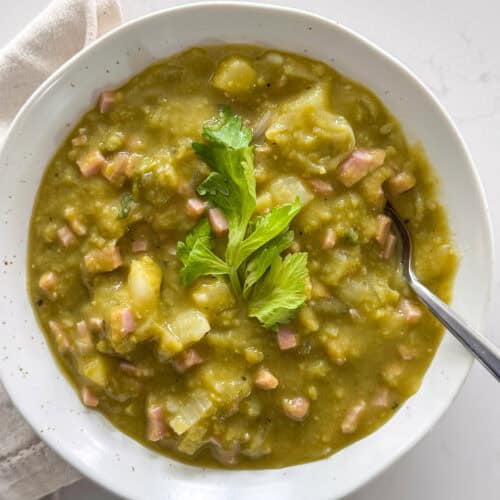
Looking for other recipes like this? Try these:


Easy Cranberry Brie Crostini
Ingredients
- 1 baguette
- 2 tablespoons olive oil
- 8 ounces brie cheese
- 2 cups cranberry sauce homemade or store bought
- ½ cup salted pistachios rough chopped
Instructions
- Preheat the oven to 400 ℉. Line a baking sheet with parchment paper or a baking mat.
- Slice the baguette into ½ to ¾ inch slices. Lightly brush each side of the baguette slices with olive oil. Place in a single layer on the baking sheet. Bake for 8 minutes, flipping over half way. Allow to cool.
- Spread a layer of cranberry sauce onto each slice.
- Slice the brie cheese into pieces slightly smaller than the baguette slices. Layer the brie cheese on top of the cranberry sauce.
- Rough chop the pistachios. Sprinkle them on top of the brie and lightly press down. Serve and enjoy!
Would you like to save this?
Don't worry! We won't spam you!


