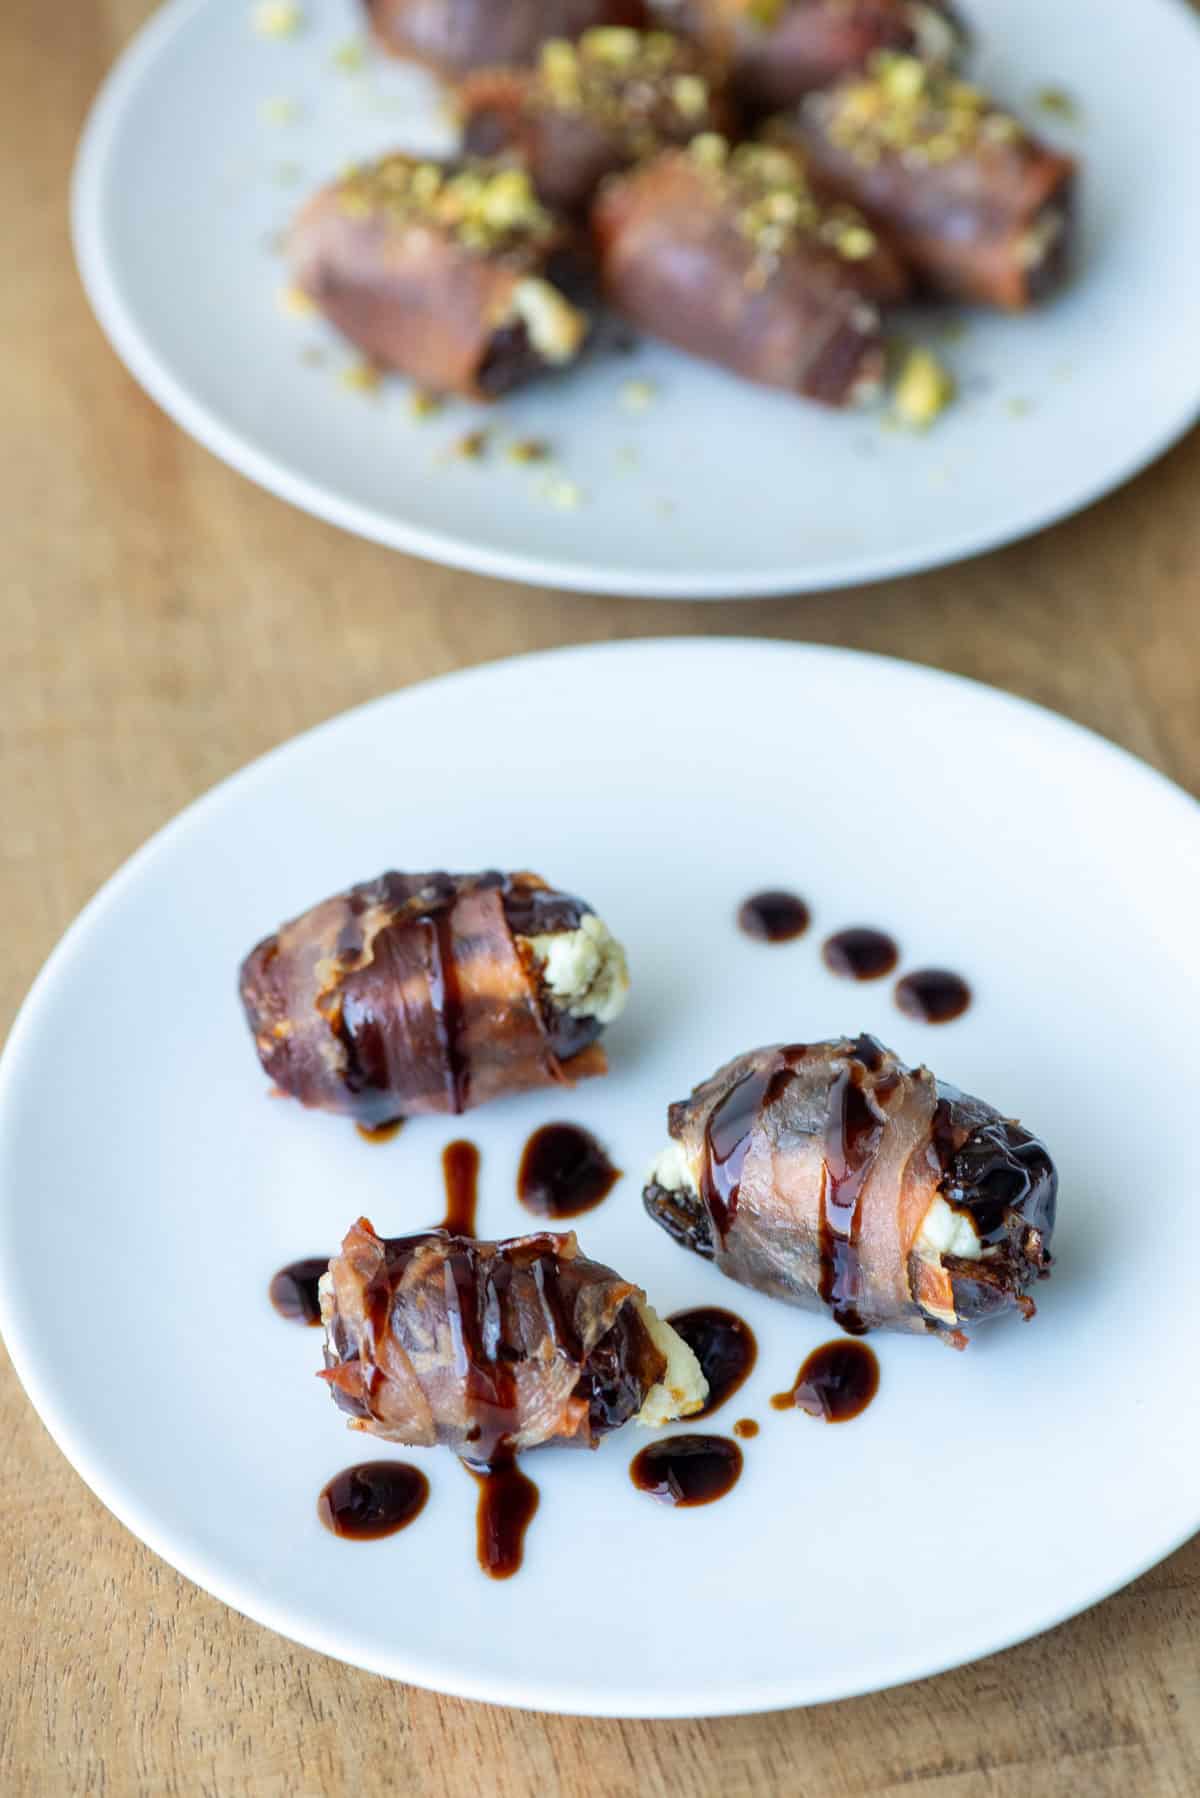
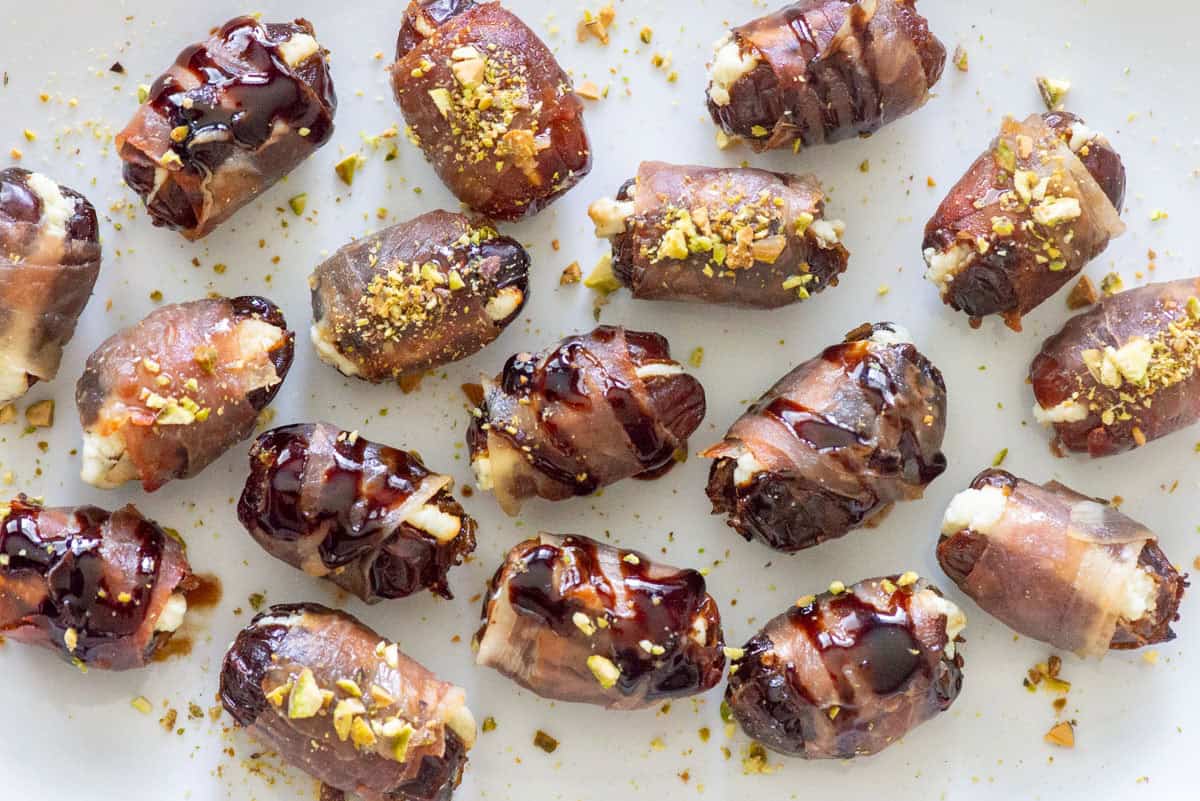
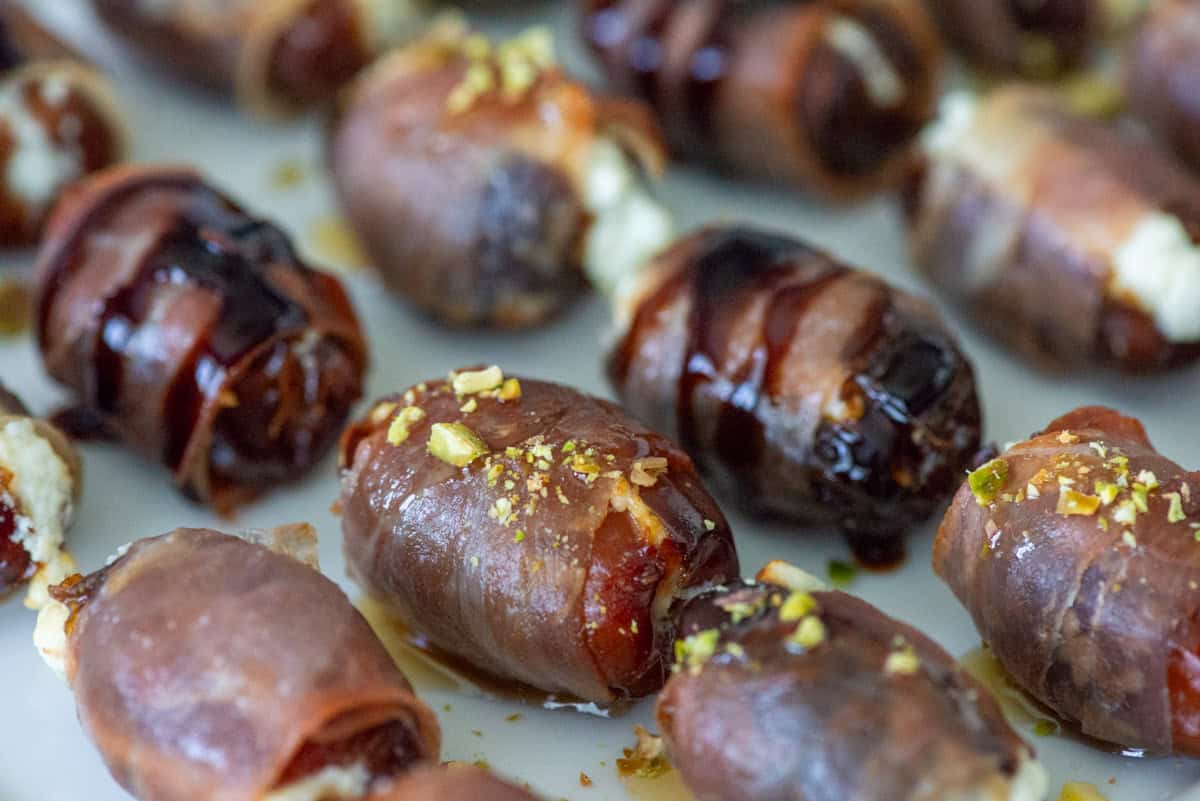
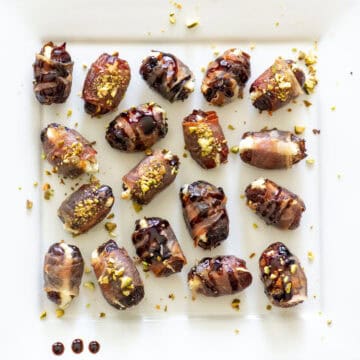
Prosciutto wrapped dates are one of those appetizers that disappear almost as soon as they hit the table. Sweet Medjool dates, creamy goat cheese and salty prosciutto come together with just a handful of ingredients but taste like something from your favorite restaurant. Serve them just as they are or finish them with a drizzle of balsamic glaze or hot honey and chopped pistachios.
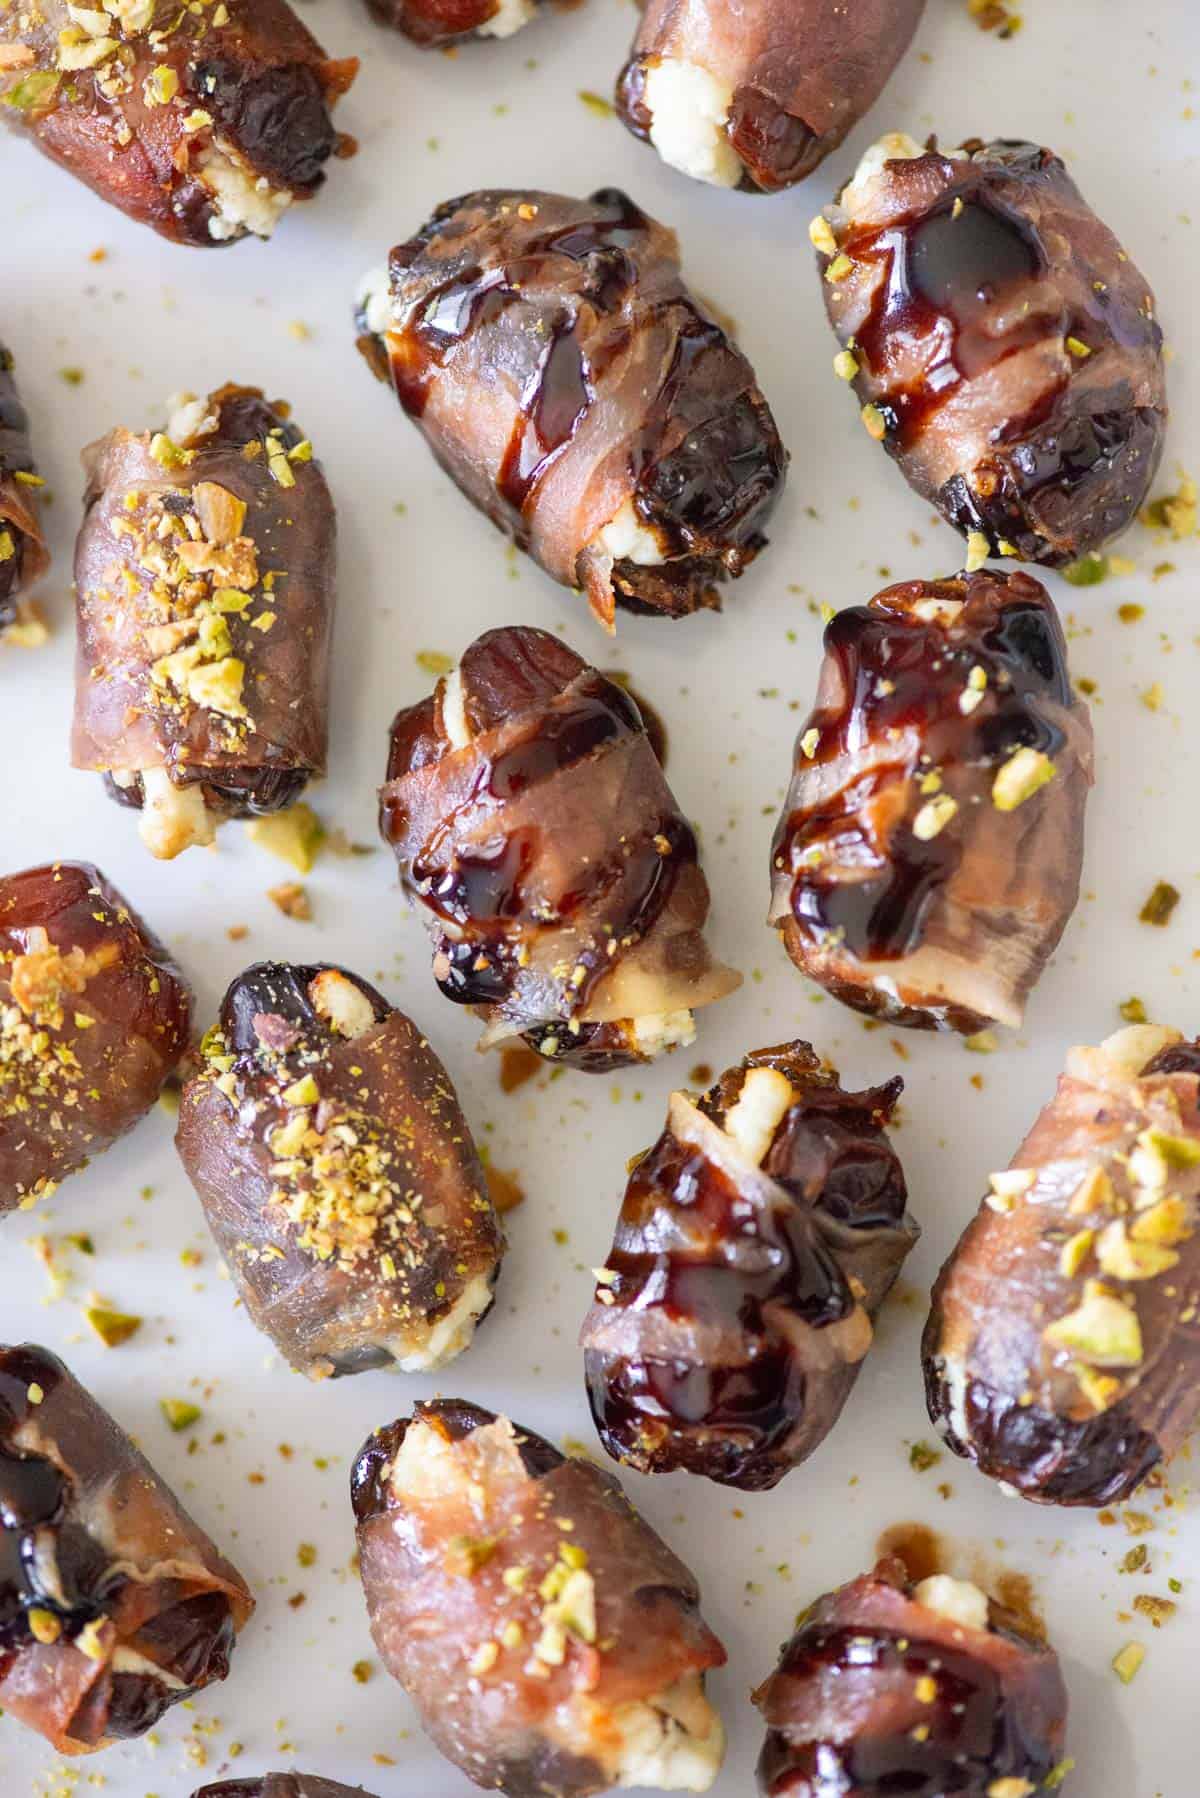
I'm a big fan of using prosciutto instead of bacon for recipes like this because it's already cured, easy to work with and less messy. It crisps up beautifully while letting the sweet dates and creamy goat cheese shine. A drizzle of balsamic glaze is my go to topping, but hot honey with chopped pistachios is a fun alternative when I want a little extra kick.
Ingredients

- Dates (I find dates with pits easier to use)
- Goat cheese
- Prosciutto
- Balsamic glaze (optional)
- Hot honey or honey (optional)
- Chopped pistachios (optional)
See recipe card for quantities.
Instructions
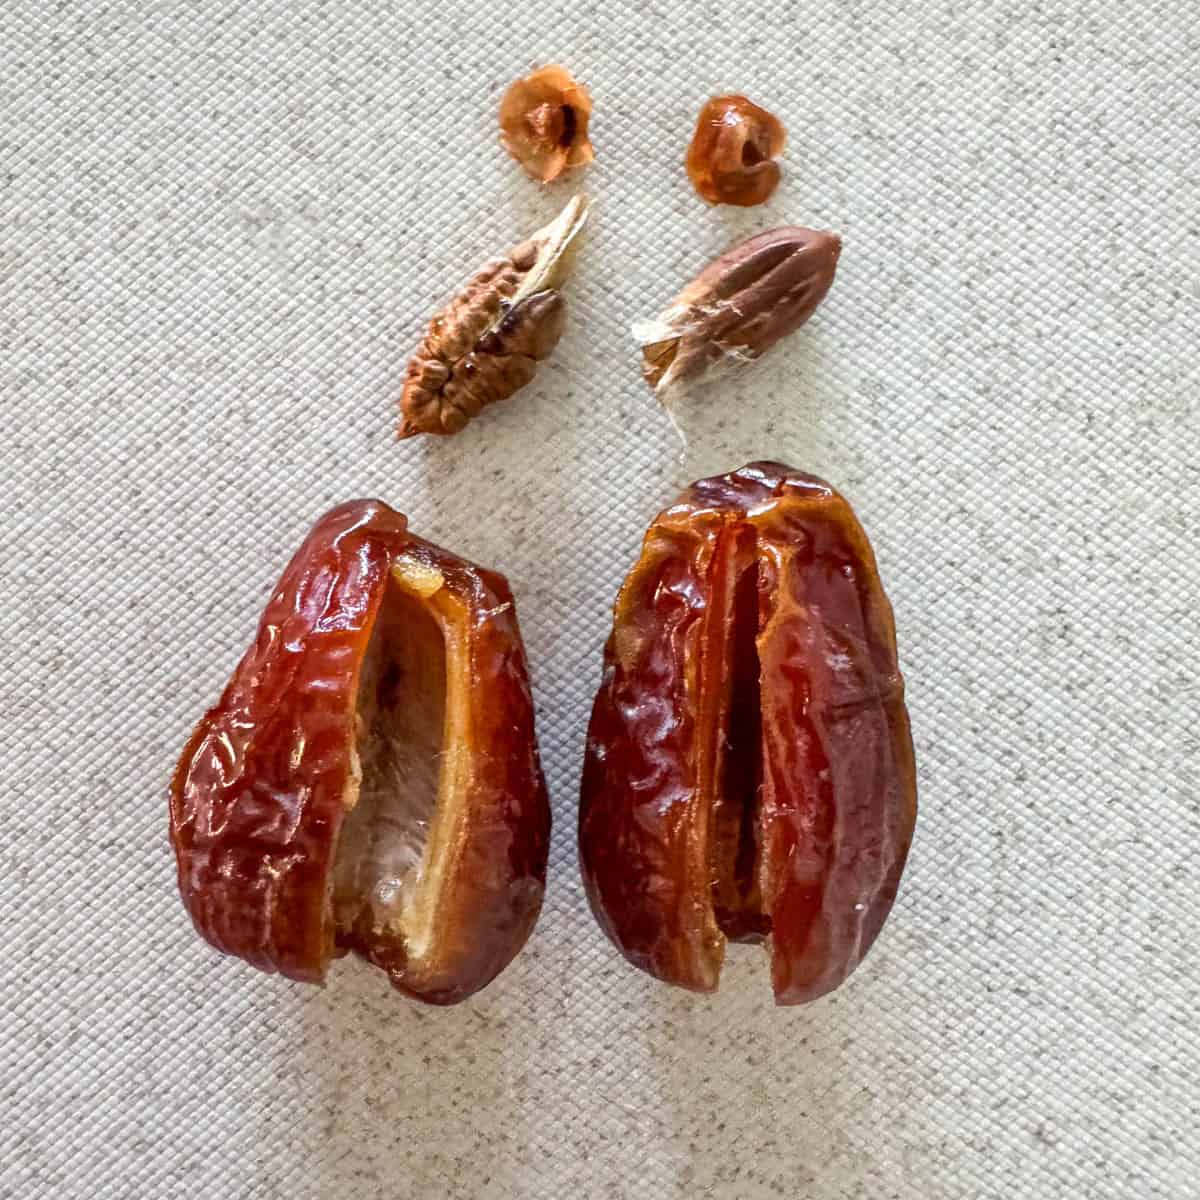
Step 1: Slice each date lengthwise through one side, leaving the other side intact. Remove the pit and stem end.
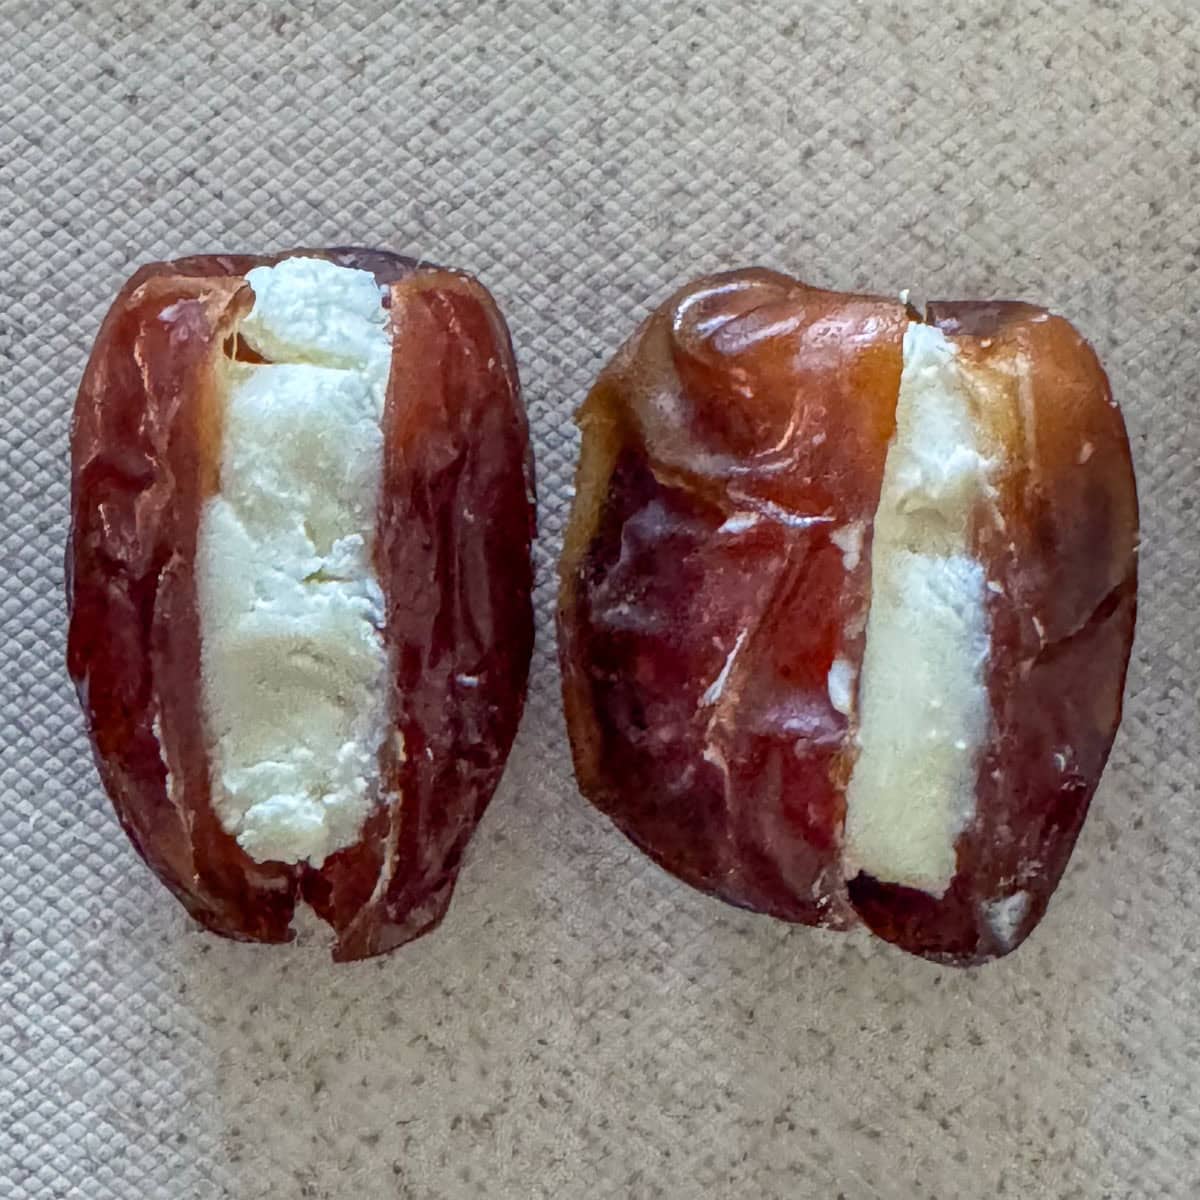
Step 2: Fill each date with about 1 teaspoon of goat cheese, being careful not to overfill.
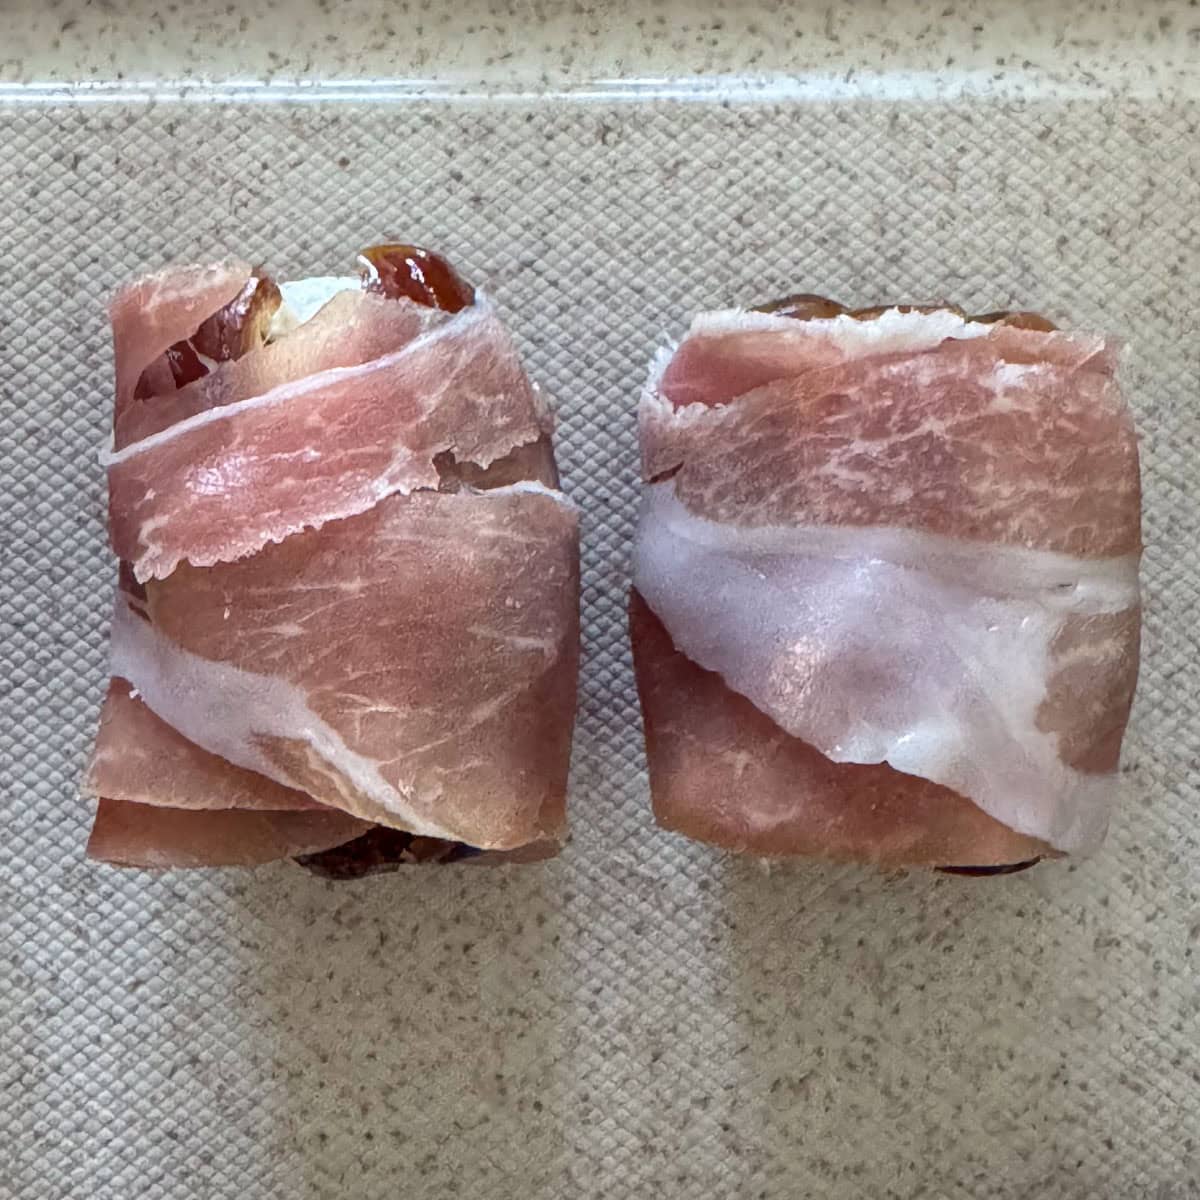
Step 3: Cut the prosciutto into halves or thirds lengthwise and wrap the dates. Start on the underside and overlap as you go.
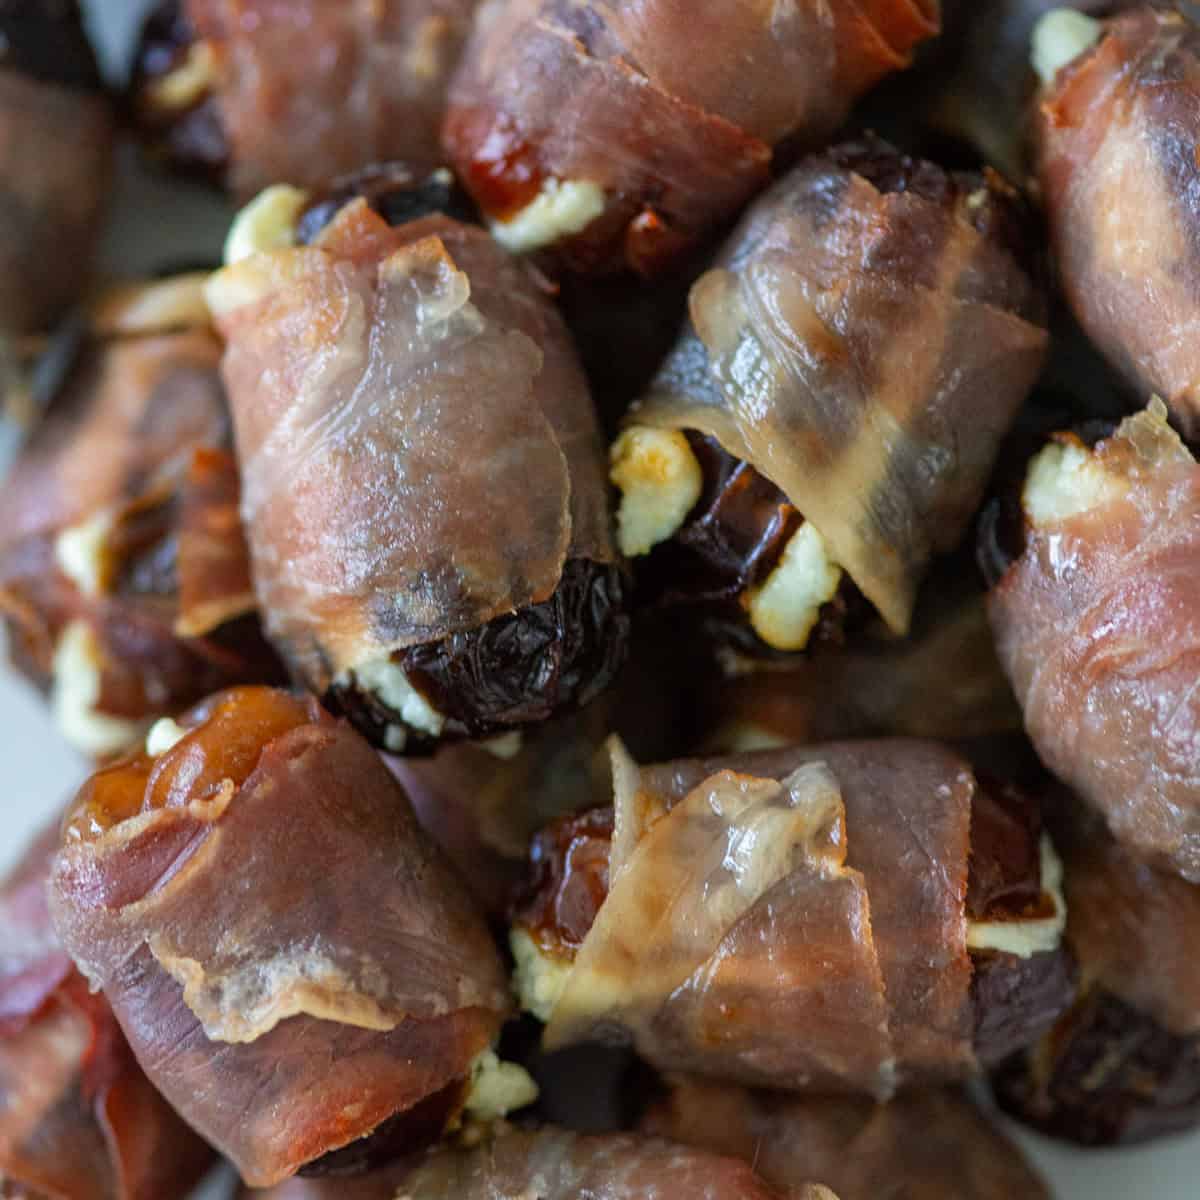
Step 4: Air fry at 375 degrees for 6 to 7 minutes or bake at 400 degrees for 10 to 12 minutes. Allow the dates to cool for 5 minutes. Serve as is or drizzle with balsamic glaze or hot honey and sprinkle with chopped pistachios.
Substitutions and Variations
- Gluten free - these prosciutto wrapped dates are naturally gluten free, so no substitutions are needed.
- Vegan - to make this recipe vegan, use vegan prosciutto or bacon, vegan goat cheese or cream cheese and do not use honey.
- Prosciutto - you can substitute bacon for the prosciutto; however, I would recommend using precooked bacon or partially cooking thinly sliced bacon.
- Goat cheese - you can substitute another cheese if you don't like or don't have goat cheese. I love goat cheese, but I've also used cream cheese and brie. Other soft cheeses like blue cheese and gorgonzola work well too.
Equipment
If cooking the prosciutto wrapped dates, an oven or air fryer is needed.

Storage
Store in an airtight container in the refrigerator for up to 3 days.
Next Level Tips
- Prosciutto is cured, so it doesn't need to be cooked. You could skip the baking or air frying, but I don't recommend it. The baked, crispy prosciutto is such a great texture pairing for the soft cheese and dates. If you want a prosciutto wrapped appetizer that doesn't need to be cooked, I recommend prosciutto wrapped melon. So good!
- Also, because prosciutto is cured, it works so much better as a wrap than bacon. Bacon needs to be fully cooked and often makes a mess when baking. Prosciutto is also thinner and adds great flavor. A little prosciutto goes a long way!
- Or maybe you're looking more for an easy appetizer that would also work as a snack? In that case, I recommend macadamia nut stuffed dates. It's incredible how those two ingredients come together to form pure deliciousness.
FAQ
Yes, to save time you can stuff and wrap the dates and refrigerate until ready to cook. I recommend baking or air frying just before serving. However, prosciutto wrapped dates can't be eaten hot, so there isn't a rush to serve them immediately.
Balsamic glaze is balsamic vinegar that's been simmered until thick and syrupy. It has a sweet, tangy flavor that's perfect for drizzling over appetizers, vegetables and salads. You can make your own by reducing balsamic vinegar or simply pick up a bottle at your local grocery store.
Yes, but I find dates without pits a bit more difficult to slice open as they tend to squish when slicing open. I think dates with the pits inside are quicker and easier to slice open and fill. Plus, dates with pits are usually cheaper too!
Related
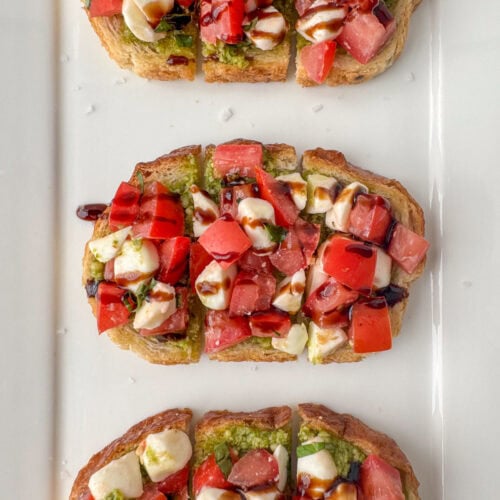
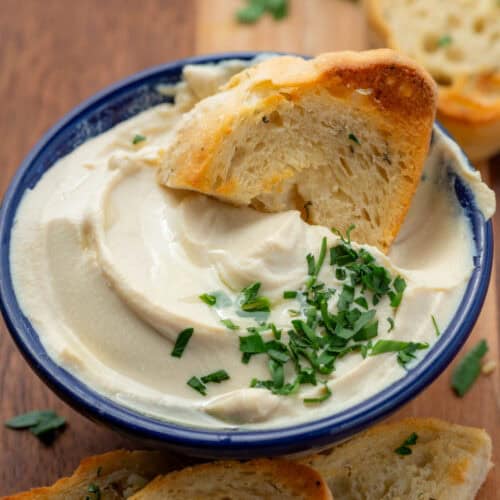
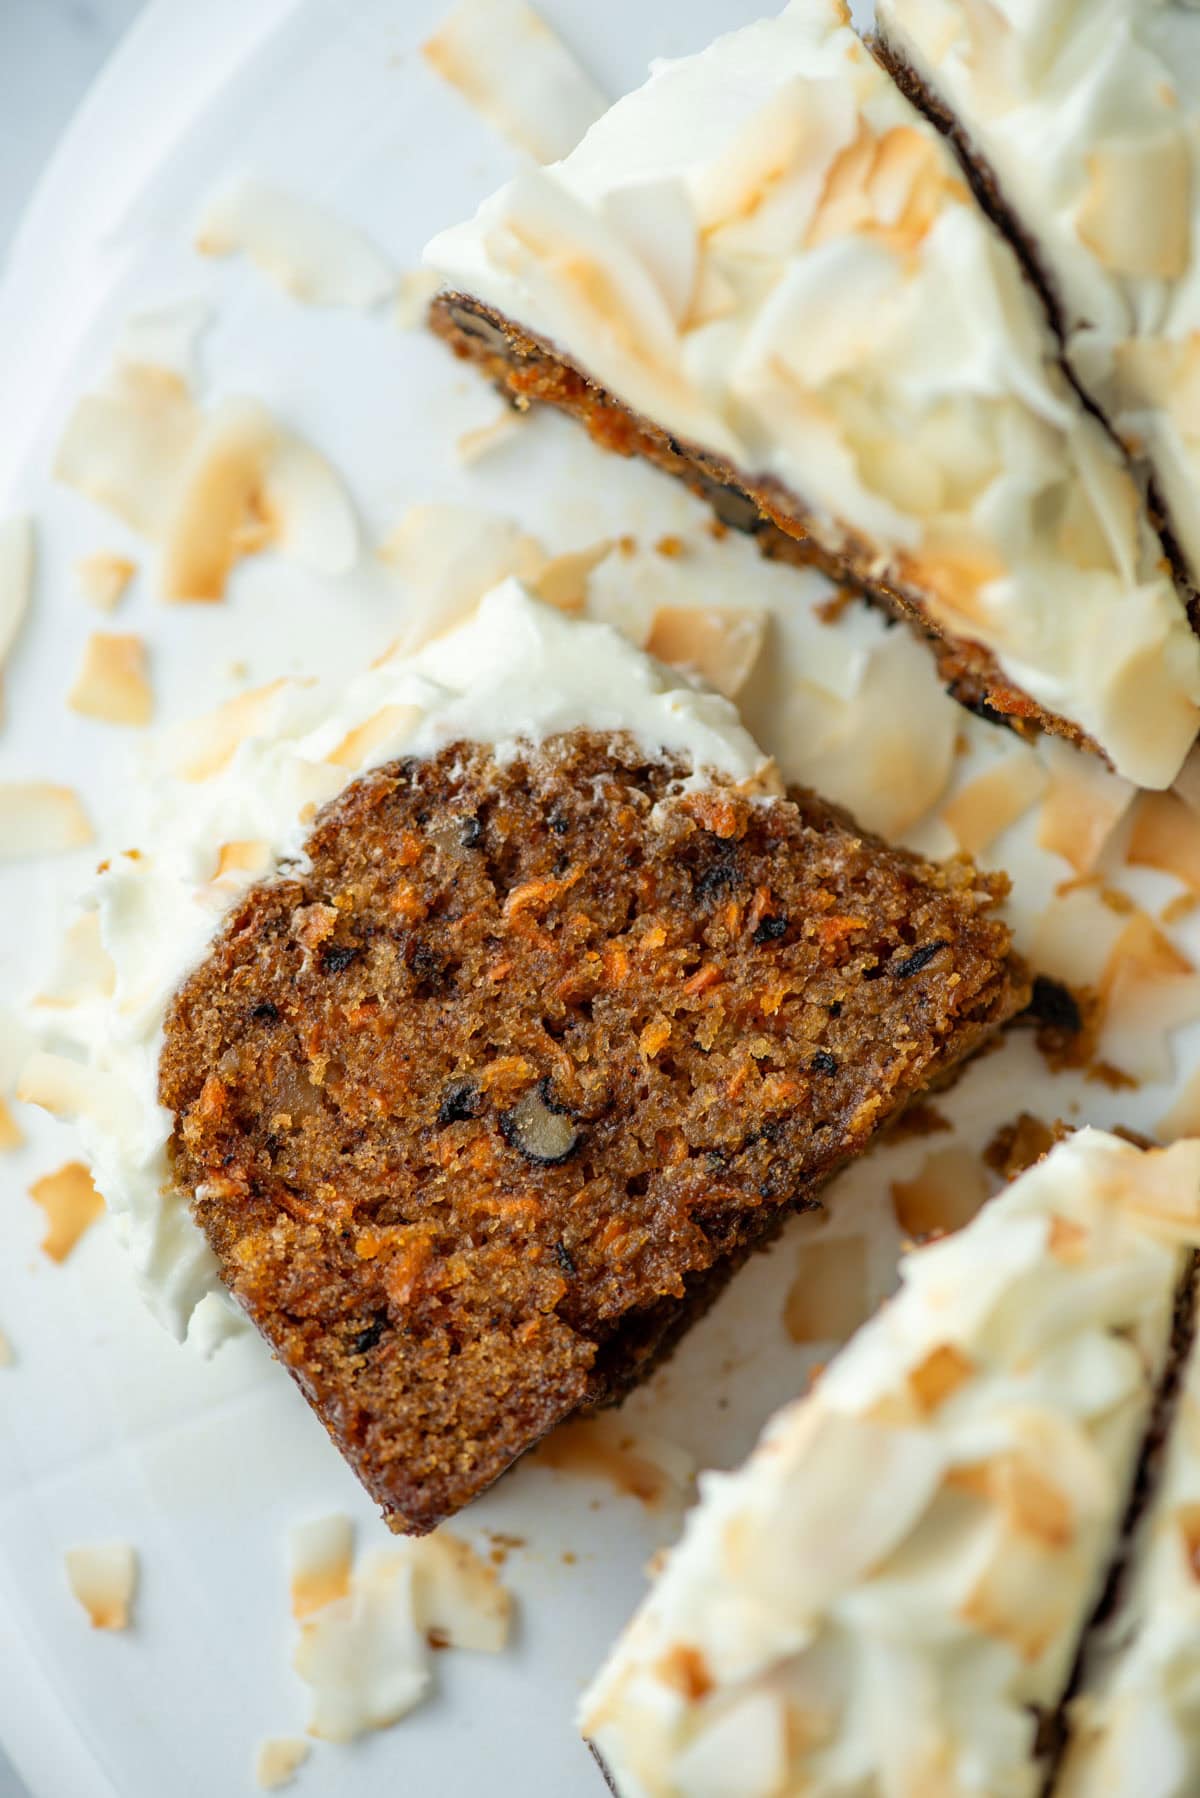
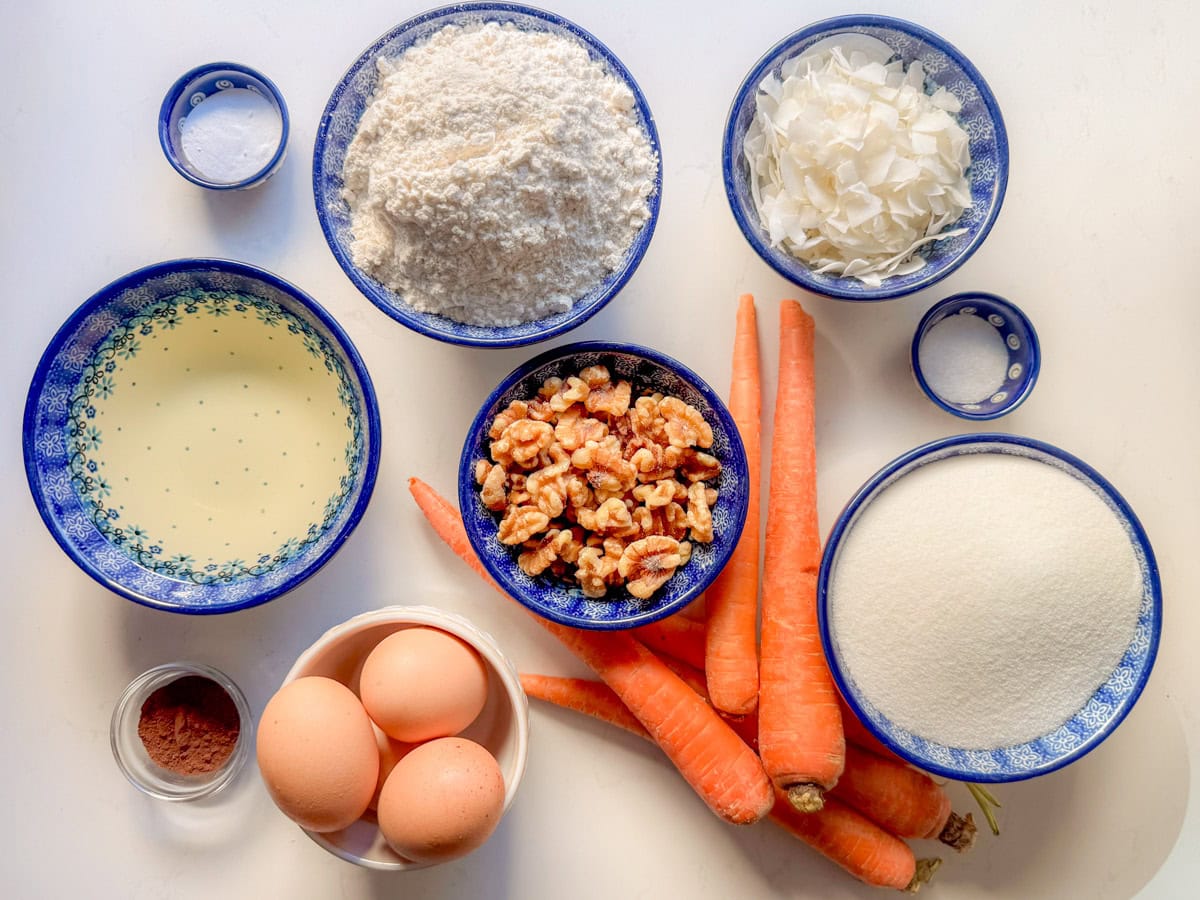
Looking for other recipes like this? Try these:

Prosciutto Wrapped Dates
Ingredients
- 1 pound dates
- 5 ounces goat cheese
- 4 ounces prosciutto
- balsamic glaze drizzle optional
- hot honey (or regular honey) optional
- chopped pistachios optional
Instructions
- If baking, preheat the oven to 400°F and line a baking sheet with a silicone baking mat or parchment paper.
- Using a small knife, slice each date lengthwise through one side, leaving the other side intact. Remove the pit and stem end.
- Fill each date with about 1 teaspoon of goat cheese, being careful not to overfill them.
- Cut each slice of prosciutto lengthwise into halves or thirds. (Thirds work best for small to medium dates.) Starting on the underside, wrap each stuffed date with a strip of prosciutto, overlapping slightly as you go. Press the end of the prosciutto gently against the date to secure it. Tip: A pizza cutter or kitchen shears makes cutting the prosciutto quick and easy.
- Place the wrapped dates in a single layer on the prepared baking sheet or in the air fryer basket with the cut side facing up.
- For the air fryer, cook at 375°F for 6 to 7 minutes or until the prosciutto is crispy. For the oven, bake for 10 to 12 minutes or until the prosciutto is crispy. Let the dates cool for about 5 minutes before topping or serving.
- Serve as is or finish with a drizzle of balsamic glaze. Or, for a sweet and spicy version, drizzle with hot honey and sprinkle with chopped pistachios. Enjoy!
Would you like to save this?
Don't worry! We won't spam you!